Bridging the Gap: From Manual RNG Clutch Kits to Automatic Clutch Packs
When drag racers and high-performance street builders transition from manual platforms to automatic transmissions, the terminology and hardware shift dramatically. Enthusiasts accustomed to upgrading their manual setups with a heavy-duty, race-spec RNG clutch kit often find themselves searching for equivalent durability in automatic platforms. While you cannot physically install a manual clutch disc into an automatic transmission, the quest for high-torque capacity remains exactly the same. The automatic equivalent to a high-performance manual clutch upgrade is the automatic clutch pack rebuild.
In modern high-horsepower applications, transmissions like the GM 6L80, 4L60E, and ZF 8HP rely on multi-disc clutch packs to transfer engine torque to the gearsets. When subjected to 800+ horsepower, the factory paper-based or standard cellulose friction materials will glaze, delaminate, and fail catastrophically. This step-by-step guide will walk you through the precise teardown, measurement, and rebuilding process of the notorious GM 6L80 3-5-Reverse clutch pack, utilizing high-performance friction modules that serve as the true automatic alternative to a manual RNG clutch kit.
Understanding Automatic Clutch Pack Architecture
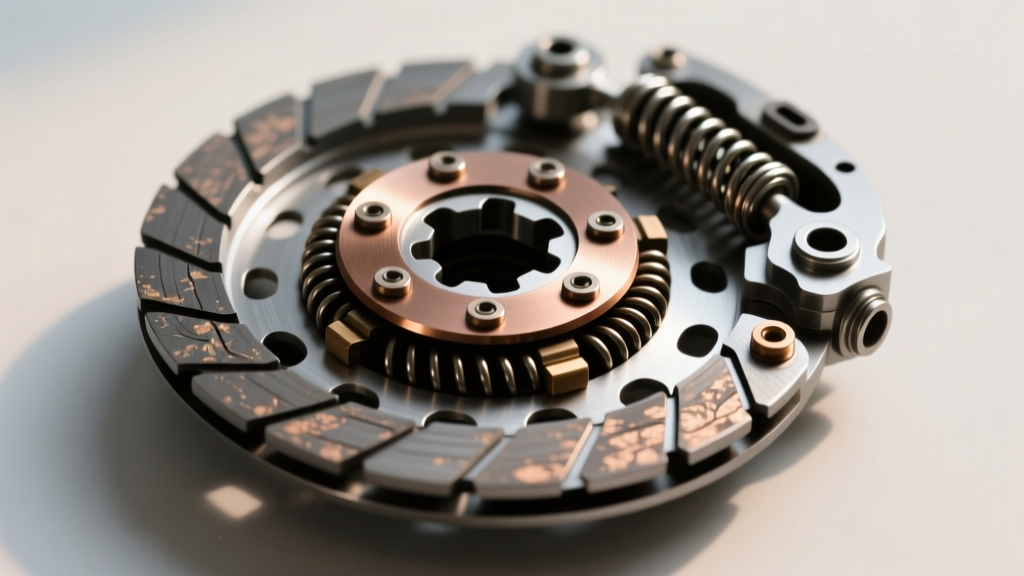
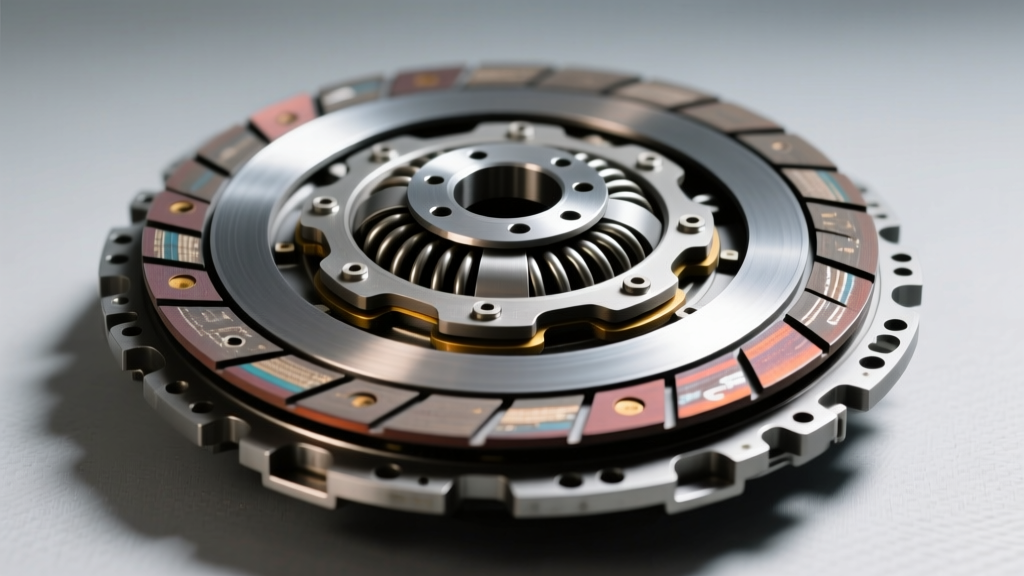
Unlike a single-plate manual clutch that relies on a pressure plate and flywheel, an automatic clutch pack consists of alternating friction discs (splined to the hub) and steel reaction plates (splined to the drum). A hydraulic piston, sealed by lip seals and O-rings, compresses the pack against a backing plate. The clearance between the top steel plate and the snap ring is the most critical measurement in the entire rebuild process. Too tight, and the pack will drag and burn up; too loose, and the piston will bottom out on its travel limit before fully clamping the discs, resulting in immediate slip and failure.
The Material Science: GPZ and Red Eagle vs. OE
Factory OE frictions are designed for smooth shifts and fuel economy. High-performance alternatives utilize advanced materials. Raybestos GPZ (part number 764760GPZ for the 6L80 3-5-R) uses a proprietary carbon-based composite that offers a 30% higher coefficient of friction and vastly superior heat dissipation compared to OE. Similarly, Alto's Red Eagle line features a specialized phosphorus-infused coating that bites aggressively into the Kolene-treated steel plates, mimicking the aggressive engagement of a puck-style manual disc.
Essential Tools for the Bench
Before touching a snap ring, ensure your bench is equipped with the following precision tools:
- Dial Indicator with Magnetic Base: For measuring exact pack travel and clearance.
- Feeler Gauge Set: Metric and standard, down to 0.001-inch increments.
- Internal Snap Ring Pliers: Heavy-duty, with interchangeable tips for deep drum access.
- Rubber-Tipped Air Blow Gun: Regulated to 30-45 PSI for air-testing the hydraulic piston.
- Assembly Lubricant: Petroleum jelly for O-rings and lip seals.
- Soaking Tray: Filled with the exact ATF you plan to run (e.g., Dexron VI or ZF Lifeguard 8).
Step-by-Step: Rebuilding the GM 6L80 3-5-Reverse Clutch Pack
The 3-5-Reverse clutch pack in the GM 6L80 and 6L90 is the most common failure point in high-torque applications. It handles the torque load in 3rd, 5th, and Reverse gears. Upgrading this pack is mandatory for any vehicle pushing over 500 lb-ft of torque.
Step 1: Teardown, Cleaning, and Inspection
Begin by removing the thick selective snap ring securing the 3-5-R backing plate. Carefully extract the backing plate, followed by the alternating friction and steel discs. Note the order: the 6L80 3-5-R pack typically starts with a friction disc and ends with a steel plate, sitting on top of a waved cushion plate (which acts as a dampener). Inspect the aluminum piston drum for scoring. If the piston bore is gouged, the drum must be replaced, as no lip seal will hold line pressure (which can exceed 280 PSI in performance tunes). Clean the drum thoroughly with lint-free shop towels and brake cleaner, ensuring no debris remains in the hydraulic feed holes.
Step 2: Pre-Soaking the Friction Discs
This step is frequently skipped by novices, leading to immediate post-rebuild failure. High-performance carbon and Kevlar-based friction materials are highly porous. You must submerge the new Raybestos GPZ or Alto Red Eagle friction discs in clean ATF for a minimum of 30 minutes prior to assembly. This allows the friction material to become fully saturated, preventing a 'dry start' upon initial engagement which would instantly glaze the surface of the new steels.
Step 3: Staging and Assembling the Pack
Lubricate the inner and outer drum seals with petroleum jelly to prevent cutting during installation. Install the waved cushion plate first, followed by your first soaked friction disc. Alternate friction and steel until the pack is fully stacked. Ensure the splines of the friction discs align perfectly with the inner hub teeth; forcing them will chip the carbon composite. Place the flat backing plate on top of the final steel disc.
Step 4: Measuring and Adjusting Clearance
Mount the dial indicator to the bench or drum, with the needle resting on the backing plate. Push the backing plate down firmly to seat the pack, then zero the indicator. Pry the backing plate upward using two flathead screwdrivers on opposite sides. The total travel indicated is your clutch pack clearance. For the 6L80 3-5-R pack, the target performance clearance is 0.040 to 0.055 inches. If the clearance is outside this window, you must swap the selective snap ring. GM offers snap rings in thicknesses ranging from 1.80mm to 3.00mm to fine-tune this exact measurement.
Target Clearance Specs for Common Performance Transmissions
Clearance specifications vary wildly depending on the transmission architecture, the number of frictions in the pack, and the intended use case. Street/strip builds generally favor the tighter end of the spectrum for firmer shifts, while dedicated drag cars may run slightly looser clearances to allow for a fractionally longer slip phase, absorbing the shock of a transbrake release.
| Transmission Model | Clutch Pack Application | Friction Count | Target Clearance (Inches) | Target Clearance (mm) |
|---|---|---|---|---|
| GM 6L80 / 6L90 | 3-5-Reverse | 5 or 6 | 0.040" - 0.055" | 1.02 - 1.40 mm |
| GM 4L60E / 4L65E | 3-4 Clutch (Input) | 6 to 8 | 0.030" - 0.045" | 0.76 - 1.14 mm |
| ZF 8HP70 / 8HP90 | Clutch A (1st/2nd/3rd) | 5 | 0.025" - 0.035" | 0.64 - 0.89 mm |
| Ford 6R80 | Overdrive (4-5-6) | 6 | 0.045" - 0.060" | 1.14 - 1.52 mm |
The Ultimate Verification: Air-Testing the Pack
Before installing the valve body or bolting the transmission to the engine, you must verify the mechanical integrity of the clutch pack and its hydraulic piston. This is the automatic transmission equivalent to checking the pedal feel and release bearing travel on a manual RNG clutch kit setup.
Set your air compressor regulator to exactly 40 PSI. Place a rubber-tipped blow gun directly over the hydraulic feed hole in the transmission case or drum that corresponds to the 3-5-R clutch circuit. Apply air in short, sharp bursts.
Pro-Tip: You are listening for two distinct sounds. First, a solid, metallic 'thud' or 'clack' indicates the piston is moving and the clutch pack is compressing against the backing plate. Second, when you remove the air, you should hear the pack release. If you hear a continuous hissing sound while applying air, you have a cut lip seal, a scored piston bore, or a porous aluminum casting that will leak line pressure under load.
Sourcing and Torque Specifications for Reassembly
Once the clutch packs are verified, reassembly requires strict adherence to torque specifications. The 6L80 oil pump-to-case bolts must be torqued to 106 in-lbs (8.8 ft-lbs) in a star pattern. Overtorquing these bolts will warp the pump stator, causing immediate converter clutch failure and low line pressure. When mating the transmission bellhousing to the engine block, torque the M12 bolts to 37 ft-lbs, ensuring the torque converter is fully seated into the pump gear (verifying the three distinct 'clicks' of depth during installation).
For sourcing high-end friction modules and Kolene steels, rely on industry leaders rather than generic marketplace kits. According to technical bulletins from Sonnax Industries, pairing upgraded frictions with heavy-duty accumulator valves and pressure regulator springs is vital to handle the increased torque capacity without blowing out the clutch pack seals. Furthermore, referencing rebuild standards from the Automatic Transmission Rebuilders Association (ATRA) ensures your hydraulic clearances and end-play measurements remain within safe operational tolerances.
Conclusion
Rebuilding an automatic clutch pack requires a different mindset than bolting in a manual RNG clutch kit, but the performance rewards are identical. By meticulously soaking your high-performance carbon frictions, measuring clearances to the thousandth of an inch with a dial indicator, and rigorously air-testing your hydraulic circuits, you transform a fragile factory 6L80 into a horsepower-devouring powerhouse. Whether you are launching off a transbrake or rolling into the throttle on the street, a properly spec'd automatic clutch pack will handle the torque seamlessly, proving that modern automatic architecture can rival any manual setup when built with precision and premium components. For more advanced friction material data, consult the engineering specs directly via Raybestos Powertrain before finalizing your next transmission build.