The Friction Material Paradigm: Preventive Maintenance Starts at Selection
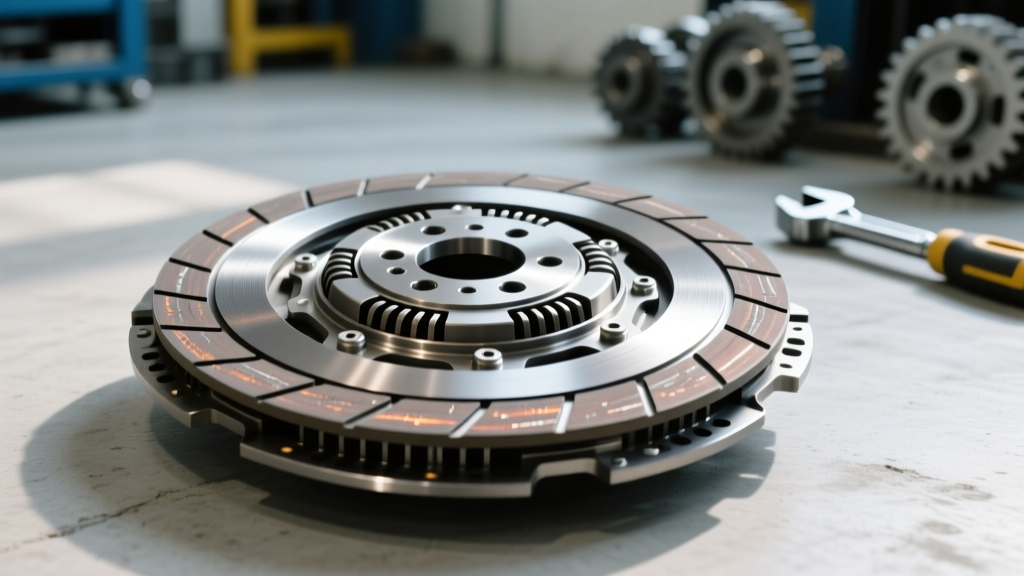
When automotive enthusiasts and daily drivers search for vehicle clutch kits, the focus is often strictly on horsepower capacity. However, from a preventive maintenance perspective, the wrong friction material or pressure plate design can accelerate wear across the entire drivetrain. Choosing a kit is not just about holding boost; it is about managing clamping force, thermal dissipation, and harmonic vibration. In 2026, with modern manual transmissions featuring tighter bellhousing tolerances and more sensitive hydraulic throwout bearings, matching the clutch brand to your specific maintenance tolerance is critical.
A high-clamp-load ceramic puck disc will transmit immense shock loads through the input shaft, eventually degrading the transmission's front bearing and scoring the cast-iron flywheel mating surface. Conversely, a self-adjusting organic kit from an OEM supplier minimizes drivetrain shock but requires strict adherence to hydraulic fluid flush intervals to prevent slave cylinder sludge buildup. Below, we dissect the top clutch manufacturers, analyzing their engineering philosophies, real-world failure modes, and the preventive maintenance protocols required to maximize their lifespan.
Expert Insight: Upgrading to a heavy-duty pressure plate increases the diaphragm spring preload by up to 45%. If your crankshaft thrust bearings are already near their service limit (typically 0.004-inch to 0.008-inch endplay), this added forward pressure will accelerate thrust bearing failure, leading to catastrophic block damage.
2026 Brand Matrix: OEM vs. Performance vs. Towing
To establish a proper preventive maintenance baseline, you must understand the mechanical trade-offs of each major brand. The following matrix outlines the engineering characteristics of the most prominent clutch manufacturers on the market today.
| Brand / Series | Friction Material | Clamp Load Increase | Flywheel Wear Index | Avg. Price Range | Ideal Application |
|---|---|---|---|---|---|
| LuK (RepSet) | Organic / SAC | OEM Baseline | Very Low | $180 - $350 | Daily driving, Euro OEM replacements |
| Sachs (XTend) | Organic Compound | OEM to +10% | Low | $220 - $450 | Commuting, light towing, OEM+ upgrades |
| Exedy (Stage 1) | Carbon-Kevlar Blend | +20% to +30% | Medium | $350 - $600 | JDM platforms, spirited street driving |
| ACT (Heavy Duty) | 4-Puck Ceramic | +40% to +60% | High | $650 - $950 | Track use, high-boost forced induction |
| South Bend (DXD) | Multi-Disc / Kevlar | +50% (Distributed) | Medium | $800 - $1,600 | Diesel towing, heavy-duty commercial |
LuK and Sachs: The OEM Self-Adjusting Standard
LuK (part of the Schaeffler Group) and Sachs dominate the OEM landscape. LuK's RepSet and Sachs' XTend lines frequently utilize Self-Adjusting Clutch (SAC) technology. As the organic friction material wears, a ramp-and-pawl mechanism inside the pressure plate automatically compensates for the thickness loss, maintaining consistent pedal feel. Preventive Maintenance Note: SAC pressure plates are highly sensitive to improper installation. If the clutch alignment tool is not perfectly centered during installation, the diaphragm fingers can become bent, rendering the self-adjusting mechanism useless and causing premature release bearing wear. For detailed inspection criteria on these systems, refer to the technical bulletins on RepXpert.
ACT and Exedy: Managing Performance Clamp Loads
ACT (Advanced Clutch Technology) is renowned for its Heavy Duty (HD) pressure plates and 4-puck ceramic discs. While an ACT HD-SS kit will easily hold 550+ wheel horsepower, the ceramic pucks lack the dampening characteristics of a full-face organic disc. This results in severe drivetrain chatter at low RPMs. To mitigate transmission gear rattle and input shaft wear, preventive maintenance for ACT kits requires upgrading to a heavy-duty engine and transmission mount setup to absorb the torsional vibrations that the clutch disc's sprung hub can no longer manage alone. More technical data on torsional dampening can be found via ACT's Technical Resources.
Drivetrain Preservation: Hydraulics and Throwout Bearing Longevity
The most common failure point in modern manual transmissions is not the friction disc itself, but the hydraulic throwout bearing (TOB) or concentric slave cylinder (CSC). When swapping between different vehicle clutch kits, the overall stack height of the friction disc and pressure plate can vary by up to 0.040 inches.
- Master Cylinder Pushrod Clearance: If you install a high-clamp ACT pressure plate, the diaphragm fingers may sit higher or lower than the OEM unit. You must measure the clearance between the master cylinder pushrod and the piston. A mandatory 0.020-inch to 0.040-inch air gap must exist when the pedal is released. Zero clearance will cause the TOB to ride constantly on the pressure plate fingers, generating immense heat and melting the TOB's internal plastic retainer.
- Fluid Flush Intervals: Performance kits generate higher thermal loads in the bellhousing. DOT 4 brake fluid in the clutch hydraulic system is hygroscopic. Moisture contamination lowers the fluid's boiling point, leading to vapor lock in the slave cylinder during heavy traffic. Flush the hydraulic system with high-temp DOT 4 (e.g., Motul RBF 600) every 24 months.
Flywheel Step-Height and Resurfacing Tolerances
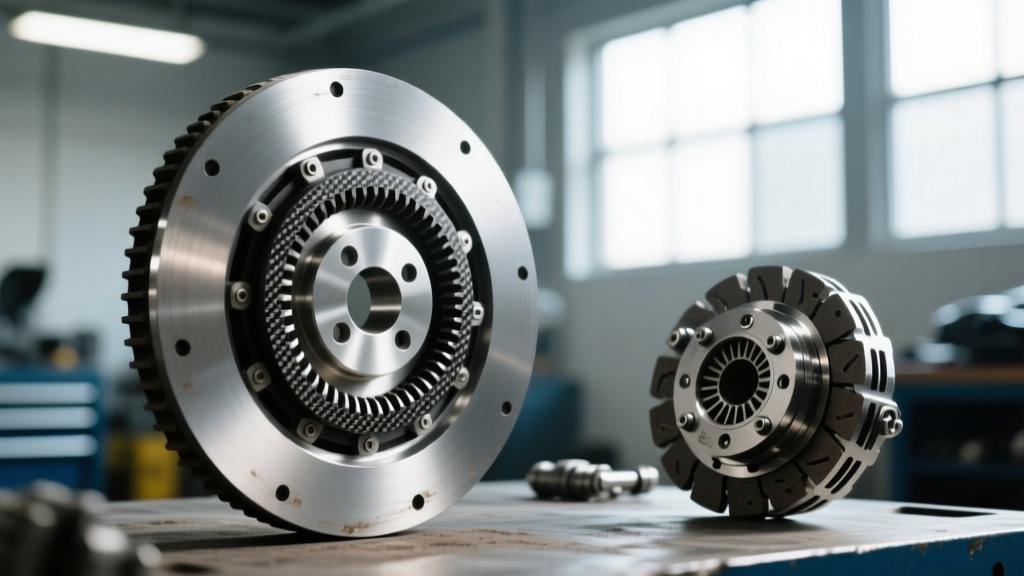
No clutch kit comparison is complete without addressing the flywheel mating surface. Reusing a worn flywheel with a new clutch kit is a primary cause of premature release bearing failure and clutch slip. The 'step height'—the distance between the flywheel's friction surface and the pressure plate mounting flange—dictates the clamping geometry.
Critical Step-Height Specifications
When performing preventive maintenance during a clutch swap, the flywheel must be measured with a dial indicator and machined to the exact OEM step height. If the step is too deep, the pressure plate diaphragm is over-extended, reducing clamping force. If the step is too shallow, the TOB is preloaded, leading to immediate failure.
- GM LS-Series (e.g., 6.0L LQ4, 6.2L LS3): Standard step height is typically 0.020 to 0.040 inches. Maximum allowable runout is 0.005 inches.
- Ford 5.0L Coyote: Requires strict adherence to the 0.030-inch step spec. Deviations greater than 0.010 inches will cause hydraulic slave cylinder bottoming.
- Dual-Mass Flywheels (DMF): For European applications using LuK DMFs, resurfacing is generally prohibited. Preventive maintenance involves checking the free-play. According to Schaeffler engineering limits, if radial play exceeds 1.5mm or axial play exceeds 1.0mm, the DMF must be replaced, regardless of the friction surface condition. For diesel towing applications, converting to a solid South Bend single-mass flywheel kit eliminates DMF failure points entirely, a popular upgrade detailed in South Bend's technical guides.
Installation Torque Sequences & Break-In Protocols
Proper torque application ensures the pressure plate diaphragm remains perfectly parallel to the flywheel, preventing uneven disc wear and localized hot-spotting.
- Flywheel to Crankshaft: Always use new, high-tensile strength bolts coated with medium-strength threadlocker. For a GM LS engine, torque to 25 lb-ft, then 59 lb-ft, followed by a final 90-degree turn.
- Pressure Plate to Flywheel: Use a star-pattern sequence. Thread all bolts by hand to prevent cross-threading the aluminum or cast-iron flywheel. Torque in three progressive steps (e.g., 15 lb-ft, 25 lb-ft, and a final 35 lb-ft for most 240mm to 260mm kits).
The 500-Mile Break-In Rule
Organic and Kevlar-faced vehicle clutch kits require a heat-cycling break-in period to bed the friction material into the flywheel's micro-pores. For the first 500 miles, avoid wide-open-throttle (WOT) pulls, heavy towing, and 'lugging' the engine at low RPMs in high gears. Conversely, full-face ceramic discs (like ACT's 6-puck) require aggressive slip to glaze the surface properly, but 4-puck ceramics should still be treated gently for the first 50 miles to seat the hub springs. Skipping the break-in procedure will result in a permanent loss of up to 20% of the kit's torque capacity due to surface glazing and thermal warping.
Final Diagnostic Checklist
Before buttoning up the bellhousing, complete this preventive maintenance checklist:
- Verify input shaft splines are clean and lightly coated with high-melt-point molybdenum grease (excess grease will sling onto the friction disc and cause slip).
- Inspect the clutch fork pivot ball for spherical wear; replace if a groove is visible.
- Confirm the release bearing collar moves smoothly on the transmission front bearing retainer sleeve without binding.
By selecting the correct brand for your specific use case and adhering to these stringent installation and maintenance protocols, you ensure that your drivetrain remains reliable, efficient, and protected against the compounding costs of cascading mechanical failures.