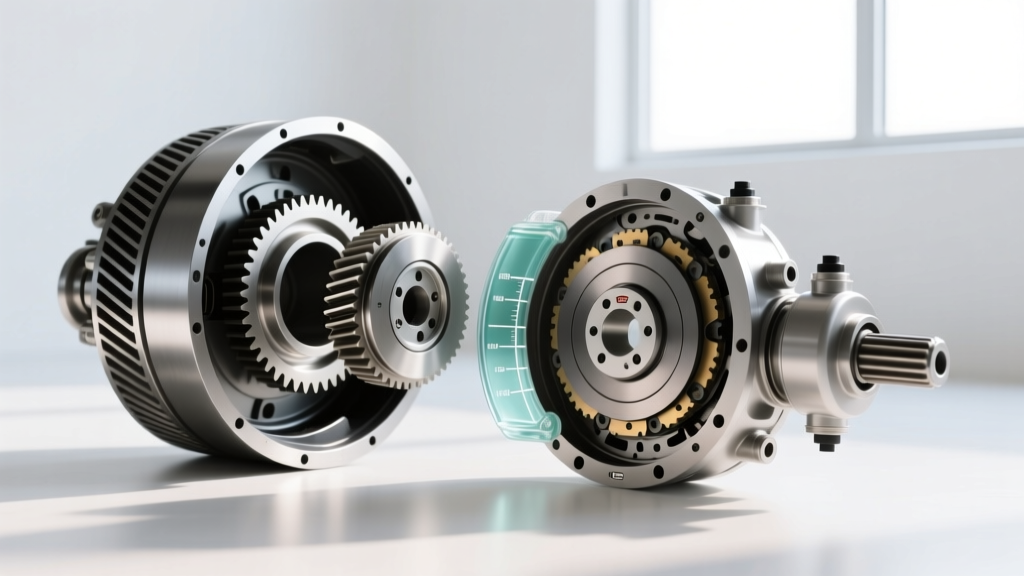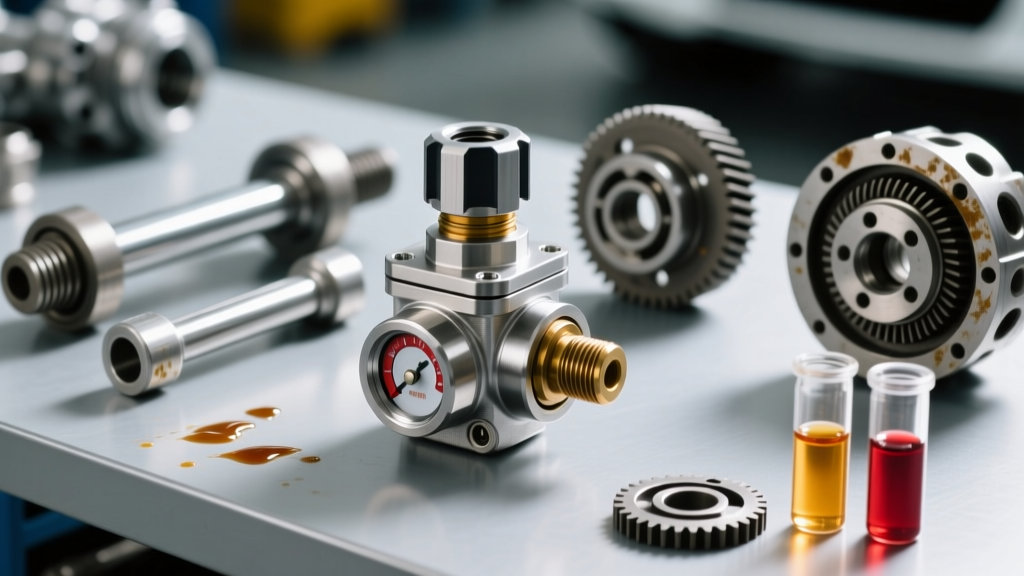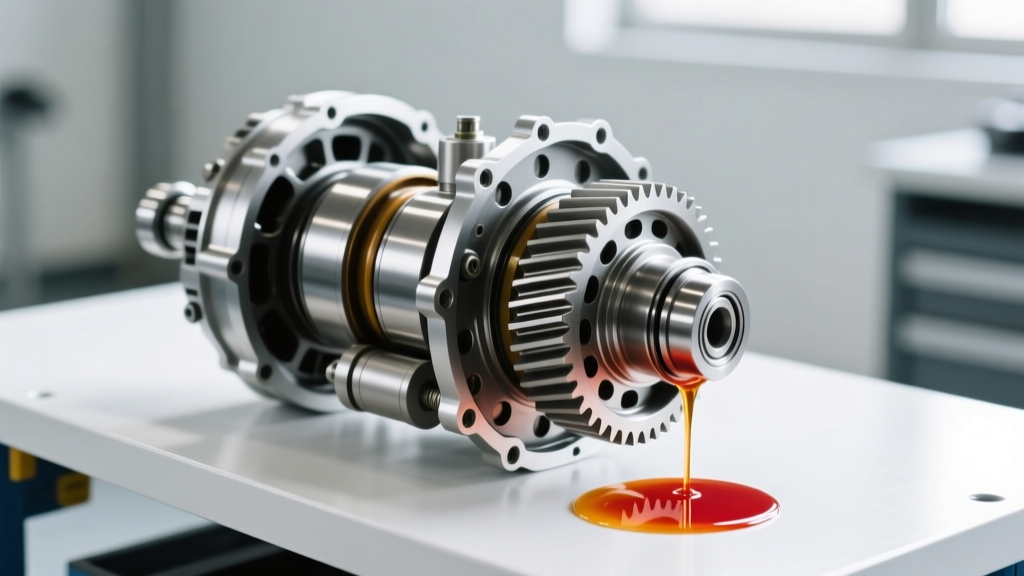
When a customer complains of a recurring rear differential leak, the amateur mechanic immediately blames the seal. They order a new Timken 8852S pinion seal or a National 710928 axle seal, spend three hours wrestling with pry bars and slide hammers, and send the truck down the road. Three weeks later, the vehicle is back on the lift, the undercarriage coated in a fresh mist of 75W-140 gear oil. The seal was not the root cause; it was the victim. To accurately diagnose chronic axle leaks, master technicians rely on a differential pressure procedure to uncover hidden breather blockages, housing porosity, and internal over-pressurization events.
The Thermodynamics of Axle Pressure and Thermal Expansion
Rear differentials operate in extreme thermal environments. Under heavy towing, off-road crawling, or high-speed highway driving, internal gear oil temperatures routinely exceed 200°F (93°C). As 75W-90 or 75W-140 synthetic gear oil heats up, it undergoes significant volumetric expansion. Simultaneously, the churning action of the ring and pinion gears aerates the fluid, creating a pressurized vapor mist inside the housing.
To manage this, every rear axle assembly is equipped with a breather vent. This one-way valve allows expanding air and vapors to escape while preventing water and debris from entering during cooling cycles. However, if the breather becomes clogged with mud, ice, or paint overspray, the differential becomes a sealed pressure vessel. Internal pressures can easily spike past 3 to 5 PSI. Standard lip seals are engineered to retain fluid against gravity and splash, not to hold back pneumatic pressure. When the pressure exceeds the seal's spring tension, vaporized gear oil is forced past the sealing lip, where it condenses on the outside of the housing, mimicking a catastrophic seal failure.
The Differential Pressure Procedure: Step-by-Step Diagnosis
Before tearing down the rear end or replacing perfectly good seals, perform this non-destructive differential pressure procedure to isolate the true source of the leak.
Phase 1: Breather Circuit Verification
Locate the axle breather tube, typically found on the upper driver-side axle tube or directly on the differential cover. Disconnect the breather hose from the housing. Using a low-pressure regulated air source (set to a maximum of 1 PSI) or a manual vacuum/pressure pump like the Mityvac MV8500, apply gentle pressure to the breather port. If the housing does not hold pressure, or if you hear air escaping through the disconnected tube's filter cap, the vent is functional. If the housing immediately pressurizes and holds, the internal check-valve or the tube itself is obstructed.
Phase 2: Housing Pressurization and Soap Testing
- Clean the Assembly: Thoroughly degrease the differential housing, pinion yoke, axle tubes, and cover bolts using brake cleaner. Allow it to dry completely.
- Connect the Air Supply: Remove the differential fill plug. Thread in a custom adapter connected to a regulated shop air line equipped with a water-column manometer or a highly sensitive low-pressure gauge. Never exceed 1.5 PSI. Excessive pressure can blow out good seals or damage the housing gasket.
- Apply Soap Solution: Spray a generous coat of soapy water over the pinion seal, axle seals, differential cover perimeter, axle tube welds, and the third-member mounting flange (on solid-axle setups like the Dana 44 or Ford 8.8).
- Observe for Bubbles: Pinpoint the exact origin of the leak. You may discover micro-cracks in cast-iron housings, porous aluminum welds on the axle tubes, or a warped differential cover that no amount of RTV silicone will fix.
Rear Differential Service: Resolving the Root Cause
Once the differential pressure procedure confirms the leak source, proper rear differential service must be executed. If the breather was clogged, replace the hose and route it higher into the chassis to prevent water ingestion during deep crossings. If the seals are indeed compromised, the fluid must be drained, and the internal components inspected.
When removing the differential cover, inspect the fluid for metallic glitter or chunky debris. A fine, silvery paste on the drain plug magnet is normal wear from the ring and pinion break-in process. However, brass-colored flakes indicate worn spider gear thrust washers, while dark, burnt-smelling fluid points to overheated limited-slip clutch packs. According to Ring & Pinion Technical Bulletins, failing to flush out burnt friction material from a Trac-Lok or Eaton G80 locker will cause immediate chatter and premature failure of the new clutch packs, even if fresh fluid is added.
Fluid Selection and Friction Modifiers
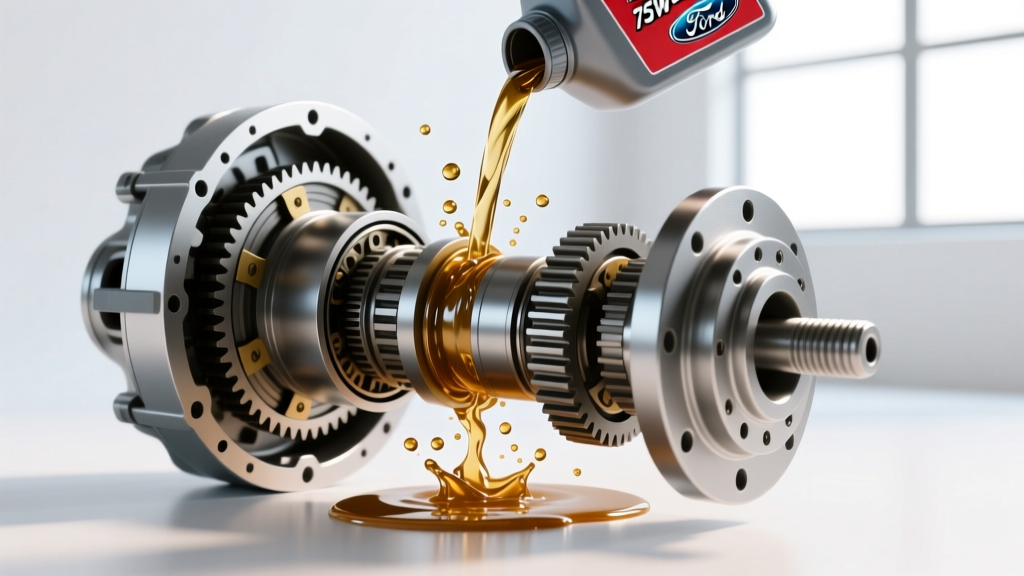
Using the correct fluid is paramount. For heavy-duty applications and modified trucks running 35-inch tires, upgrading from factory 75W-90 to a full synthetic 75W-140 (such as Amsoil Severe Gear or Royal Purple Max-Gear) provides a thicker hydrodynamic film at high operating temperatures. If the vehicle is equipped with a clutch-type limited-slip differential (LSD), you must add the manufacturer-specific friction modifier (e.g., Ford XL-3 or GM Limited Slip Axle Lubricant Additive) before filling the housing with gear oil. This ensures the modifier coats the clutch discs evenly during the initial fill and test drive.
Diagnostic Matrix: Rear Differential Leak & Pressure Failures
| Symptom / Location | Probable Cause | Corrective Action & Spec |
|---|---|---|
| Pinion Seal Mist (High RPM) | Clogged breather tube; excessive internal pressure | Clear/replace breather; verify 0 PSI at 200°F |
| Axle Seal Leak (One Side) | Bent axle shaft; worn carrier bearing; clogged breather | Check shaft runout (Max 0.005"); replace bearing |
| Cover Perimeter Weep | Warped stamped-steel cover; degraded RTV | Straighten flange or upgrade to cast aluminum cover |
| Third Member Base Leak | Failed O-ring; loose mounting studs | Torque studs to 35-45 lb-ft; replace O-ring |
| Fluid from ABS Sensor Port | Cracked tone ring; damaged sensor O-ring | Replace sensor O-ring; inspect tone ring for runout |
Torque Specifications and Reassembly Best Practices
Proper reassembly is just as critical as the diagnosis. Over-torquing stamped steel differential covers will warp the flange, guaranteeing a future leak. Always use a calibrated inch-pound or foot-pound torque wrench. Below are standard specifications for common rear axles:
- Ford 8.8-inch (Super 8.8): Cover bolts: 28-38 lb-ft. Pinion nut: 210-250 lb-ft (Requires new crush sleeve or solid spacer conversion). Fill capacity: ~5.5 pints.
- GM 8.6-inch (10-Bolt): Cover bolts: 22 lb-ft. Pinion nut: 175-225 lb-ft. Fill capacity: ~4.2 pints.
- Dana 44 / Spicer 44: Cover bolts: 25-35 lb-ft. Pinion nut: 200-250 lb-ft. Fill capacity: ~4.0 pints. Refer to Spicer Dana Differentials for specific carrier bearing preload shims.
When reinstalling the pinion nut, never use an impact wrench to set the final preload. Use a 1/2-inch drive torque wrench and an inch-pound beam-style torque wrench to measure rotational drag. For used bearings, target 8-14 inch-lbs of rotational preload; for new bearings, target 16-28 inch-lbs.
2026 Perspectives: EV e-Axles and Active Torque Vectoring
As the automotive landscape shifts, the differential pressure procedure is evolving. Modern electric vehicles (EVs) and advanced AWD systems utilize complex rear drive units (eRDUs) and active torque-vectoring differentials (like those from ZF and GKN). These units often feature internal hydraulic pumps, electronic pressure relief valves, and specialized low-viscosity fluids (e.g., Castrol OFF-E) designed to minimize drag and maximize range.
In these advanced systems, a 'differential pressure procedure' often involves connecting a bidirectional OBD2 scan tool to command the internal lube pump and monitor the hydraulic pressure sensors via live data PID streams. If the e-Axle breather becomes clogged, the pressurized vapor can force its way into the adjacent electric motor stator housing, contaminating the dielectric coolant and triggering high-voltage isolation faults. Therefore, inspecting and clearing the e-Axle breather circuit during routine 2026 service intervals is no longer just about keeping oil off the driveway—it is a critical high-voltage safety protocol.
Final Diagnostic Takeaway
Stop throwing seals at a thermodynamic problem. By integrating the differential pressure procedure into your standard diagnostic workflow, you will accurately identify breather restrictions, housing defects, and internal pressure anomalies. This methodical approach saves time, reduces warranty comebacks, and ensures the rear differential operates reliably for the next 100,000 miles.