The Critical First Step: Rear Differential Plug Extraction and Inspection
Before you can inspect a failing ring and pinion, replace a weeping seal, or press in new carrier bearings, the hypoid gear oil must be completely drained. This seemingly simple task begins with the rear differential plug. In modern drivetrains, the differential housing is frequently cast aluminum, while the drain and fill plugs are steel. Over years of thermal cycling and exposure to road salt, galvanic corrosion effectively welds the steel plug to the aluminum housing.
As an expert best practice for 2026, never apply brute force with a standard breaker bar to a seized rear differential plug. The thin aluminum threads of the differential cover will strip long before the corroded steel plug yields. Instead, apply a high-capillary penetrating fluid like Kroil or PB Blaster 24 hours prior to service. If the plug utilizes a 3/8-inch square drive (common on GM 8.5-inch and 8.6-inch 10-bolt axles) and becomes rounded out, use a specialized bolt extractor socket or carefully weld a 17mm nut to the exposed head of the plug to provide fresh leverage without damaging the housing threads.
Drain Plug vs. Fill Plug: Avoiding the Classic Mistake
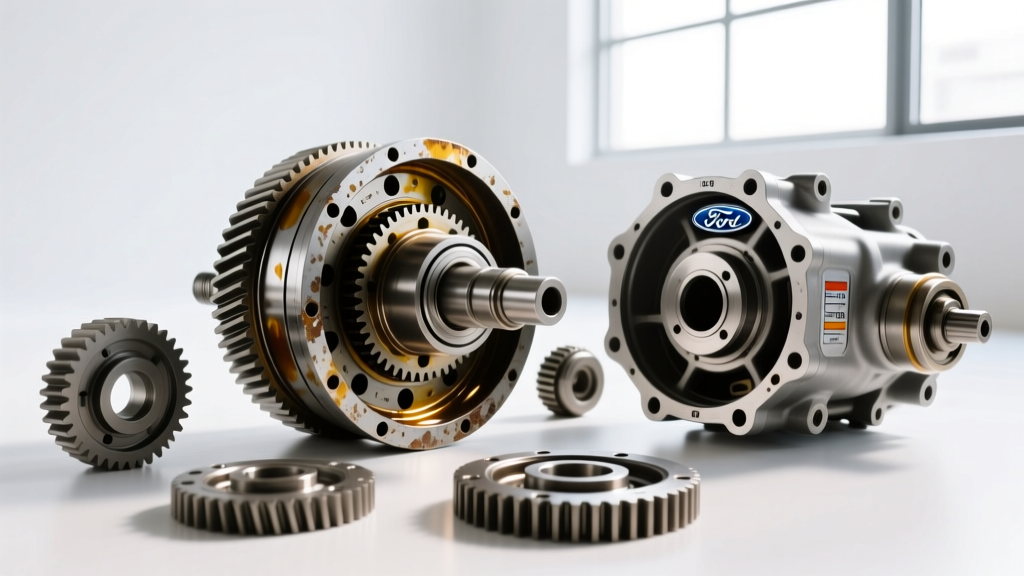
Always remove the fill plug before removing the drain plug. If the fill plug is seized, stripped, or broken off, draining the fluid first will leave the differential empty and the vehicle undrivable until the fill plug is extracted. Confirm the fluid level and condition through the top fill hole first; metallic glitter on the plug's magnetic tip indicates advanced bearing or gear wear, signaling that a simple fluid change is insufficient and a full bearing and seal replacement is required.
Diagnostic Pitfalls: When the Rear Differential Plug is Innocent
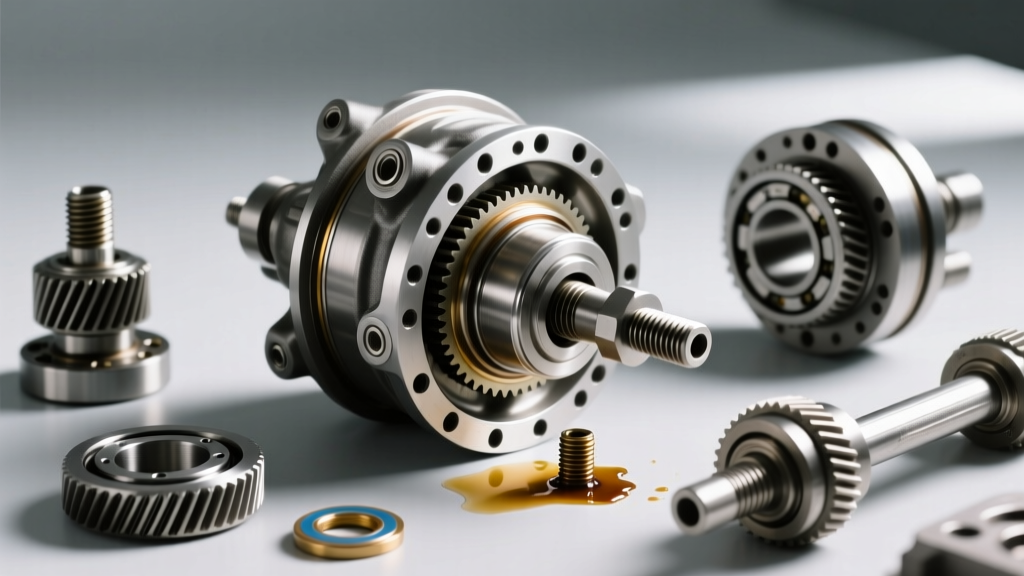
Customers frequently bring vehicles into the shop reporting a 'rear differential plug leak.' However, gear oil is highly migratory due to its low surface tension and the centrifugal forces generated by the rotating ring gear. A leak originating elsewhere will often pool at the lowest point of the housing—right around the rear differential plug—leading to misdiagnosis and unnecessary plug replacements.
| Suspected Source | Visual Evidence | Common Failure Mode | Required Repair |
|---|---|---|---|
| Rear Differential Plug | Wetness strictly localized to plug threads; no oil higher on housing. | Missing copper crush washer or degraded PTFE thread tape. | Clean threads, apply new copper washer or liquid thread sealant. |
| Pinion Seal | Oil flung forward toward the driveshaft; wetness on the yoke and exhaust. | Rubber lip degradation or a grooved pinion yoke sealing surface. | Replace pinion seal, install Speedi-Sleeve if yoke is grooved. |
| Axle Shaft Seal | Oil inside the rear wheel well; wet brake shoes or ABS tone ring. | Worn axle bearing allowing shaft deflection, tearing the seal lip. | Replace axle seal and axle bearing simultaneously. |
| Carrier Bearing | Whining noise under load; metal flakes on the rear differential plug magnet. | Spalling on bearing races due to fluid starvation or improper preload. | Complete carrier teardown, bearing replacement, and backlash reset. |
Pinion Seal and Bearing Replacement: Step-by-Step Expert Protocol
If diagnostics confirm pinion bearing wear or a leaking pinion seal, the repair requires precision. Let's use the ubiquitous Ford 8.8-inch rear axle (found in F-150s and Mustangs) as our benchmark. The OEM pinion seal (e.g., SKF 15386 or National 710985) is a straightforward swap, but doing it correctly dictates the future of the pinion bearing.
Managing Bearing Preload: Crush Sleeves vs. Solid Spacers
The factory Ford 8.8 utilizes a crush sleeve to set pinion bearing preload. When replacing the pinion seal, you must remove the pinion nut. If you simply reuse the old crush sleeve and retorque the nut, you will almost certainly over-crush the sleeve, applying excessive preload that will destroy the new pinion bearings within 5,000 miles.
Expert Tip: Ditch the crush sleeve entirely. Install a Solid Spacer Eliminator Kit (such as Ratech 1301K for the Ford 8.8). This kit uses a machined steel spacer and precision shims. It allows you to torque the pinion nut to a massive 250 ft-lbs to secure the yoke without altering the bearing preload, making future seal replacements a 20-minute job instead of a precision guessing game.
According to Timken's automotive bearing installation protocols, the target rolling torque for new pinion bearings is typically between 15 and 19 inch-pounds, while used bearings (if retaining the original setup) should read between 8 and 14 inch-pounds. You must measure this using a dedicated inch-pound beam torque wrench, not a standard click-type wrench.
Carrier Bearing and Axle Seal Overhaul
When the rear differential plug reveals heavy metallic debris, the carrier bearings (e.g., Timken SET 36 for GM 10-bolts) are likely spalled. Replacing carrier bearings requires pulling the differential carrier from the housing.
Pulling the Carrier and Checking Runout
- Extraction: Use a heavy-duty clamshell puller or hydraulic press to extract the carrier. Never pry between the ring gear and the housing, as this will score the machined aluminum bearing caps.
- Bearing Removal: Cut the old bearings off using a die grinder and a cold chisel. Do not damage the carrier journals.
- Ring Gear Runout: Before installing new bearings, mount a dial indicator on the housing. Check the ring gear face runout; it must not exceed 0.002 inches. If it does, the ring gear must be unbolted, the mating surface cleaned of debris, and re-torqued in a star pattern to 85 ft-lbs using blue Loctite.
- Pressing New Bearings: Heat the new Timken bearings in an induction heater or oil bath to 220°F (104°C) before pressing them onto the carrier. This ensures a perfect interference fit without galling the journals.
Reassembly, Fluid Specs, and the Rear Differential Plug Reseat
As of 2026, the automotive industry has largely shifted toward low-viscosity synthetic gear oils to reduce parasitic drivetrain losses and improve cold-weather fuel economy. While older axles spec'd 80W-90, modern OEMs frequently recommend 75W-85 or 75W-90 Full Synthetic gear oil.
As detailed in AMSOIL's gear lubricant engineering guidelines, synthetic hypoid fluids maintain their film strength under extreme pressure (EP) far better than conventional petroleum oils, which is critical when breaking in new carrier and pinion bearings. If the axle is equipped with a limited-slip differential (LSD) like an Eaton Posi or Ford Trac-Loc, you must add 4 to 6 ounces of LSD friction modifier (e.g., Motorcraft XL-3) to prevent clutch pack chatter during tight cornering.
Reseating the Rear Differential Plug
Once the bearings are set, the carrier is reinstalled, and the housing is filled to the bottom of the fill hole, it is time to address the rear differential plug.
- Thread Prep: Clean both the plug and housing threads with brake cleaner to remove all old oil residue.
- Sealing Method: If the plug uses a copper crush washer, anneal a new washer with a torch until it glows dull red, then quench it in water to soften it before installation. If the plug is tapered (NPT), use a high-temperature PTFE thread sealant paste, avoiding standard Teflon tape which can shred and clog the gear oil pickup or ABS sensor ports.
- Torque: Torque the steel rear differential plug to 25-30 ft-lbs. Do not overtighten, as this will distort the thin aluminum housing and cause stress fractures around the plug boss.
Cost Breakdown: DIY vs. Professional Bearing and Seal Service
Understanding the financial scope of a differential bearing and seal replacement helps technicians and DIYers plan accordingly. Below is a 2026 market estimate for a standard semi-floating rear axle (e.g., Ford 8.8 or GM 8.5).
| Service Component | DIY Parts Cost | Professional Shop Cost (Parts + Labor) |
|---|---|---|
| Pinion Seal & Solid Spacer Kit | $45 - $75 | $250 - $350 |
| Carrier Bearing Kit (Timken SET 36) | $80 - $120 | $600 - $850 (Requires setup tools) |
| Axle Shaft Seals & Bearings (Both sides) | $90 - $140 | $400 - $550 |
| 75W-90 Synthetic Fluid & Additives | $40 - $60 | $80 - $110 |
| Rear Differential Plug / Extractor Tools | $15 - $30 | N/A (Shop overhead) |
For comprehensive engineering tolerances and installation diagrams, always refer to Dana Spicer's official axle service manuals, as minor variations exist between OEM applications even when sharing the same base ring and pinion architecture. Mastering the rear differential plug extraction, precise preload measurement, and correct fluid selection ensures a silent, leak-free drivetrain for the next 150,000 miles.