The 4WD Drivetrain: Understanding the Transfer Case and Differential Relationship
If you are diving into DIY truck maintenance for the first time, the underside of a four-wheel-drive (4WD) vehicle can look like a confusing maze of heavy metal housings and spinning shafts. For beginners, one of the most common points of confusion is the relationship between the transfer case and the rear differential. Do they work together? Do they share the same lubricant? If one fails, does it affect the other?
To master how to fill rear differential fluid properly, you first need to understand how power travels from your engine to the pavement. In a traditional part-time 4WD truck (like a Chevy Silverado, Toyota Tacoma, or Ford F-150), the power flow follows a strict mechanical chain:
- The Transmission: Converts engine RPM into usable torque.
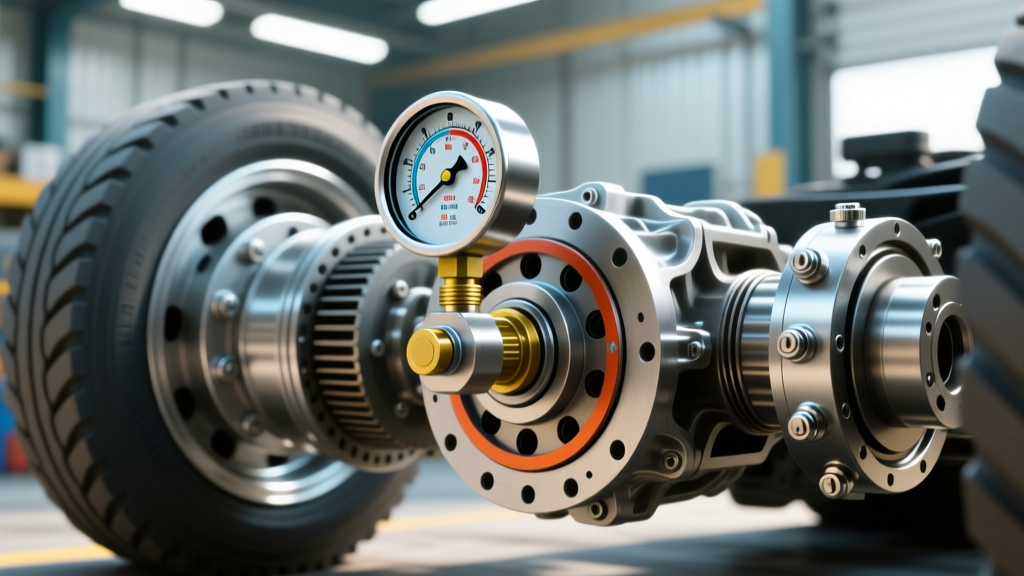
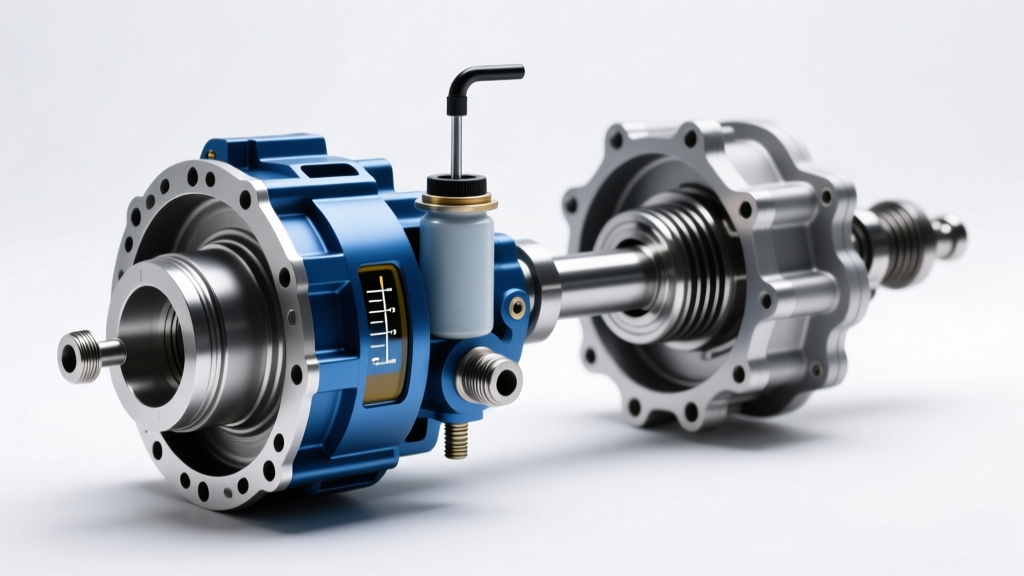
- The Transfer Case: Bolted directly to the back of the transmission, this heavy gearbox acts as a power splitter. It takes the rotational force and directs it either entirely to the rear driveshaft (in 2WD mode) or splits it 50/50 to both the front and rear driveshafts (in 4WD mode).
- The Driveshafts: Long, spinning tubes that carry the torque to the axles.
- The Differentials (Front and Rear): These housings contain ring and pinion gears that turn the rotational power 90 degrees to spin the axles and wheels. They also allow the left and right wheels to spin at different speeds when turning.
The 'Shared Fluid' Myth
The most critical concept for a beginner to grasp is that the transfer case and the rear differential do not share fluid. They are entirely sealed, separate sumps. The transfer case sits high up on the chassis, bolted to the transmission crossmember, while the rear differential hangs low on the rear axle assembly. Because they operate under vastly different pressures, temperatures, and gear-cut geometries, they require completely different chemical lubricants.
Expert Insight: Never assume that because your transfer case takes Automatic Transmission Fluid (ATF), your rear differential can use the same. Putting ATF in a rear differential will result in catastrophic ring and pinion gear failure within a few hundred miles due to extreme shear and lack of extreme-pressure (EP) additives.
Fluid Chemistry: Transfer Case vs. Rear Differential
Before we get our hands dirty, let us look at the specific fluid requirements for a common 4WD platform: the GM 1500-series truck equipped with an NVG 261XHD transfer case and a GM 9.5-inch rear axle. As of 2026, synthetic formulations have vastly improved, allowing for extended service intervals, but the base chemistry requirements remain strictly divided.
| Component | Fluid Type Required | Viscosity / Spec | Example Part Number | Capacity |
|---|---|---|---|---|
| Rear Differential | Synthetic Gear Oil | 75W-90 (API GL-5) | ACDelco 88862624 / Mobil 1 104361 | ~2.1 Quarts |
| Transfer Case | Automatic Transmission Fluid | DEXRON VI | ACDelco 88865618 | ~2.0 Quarts |
The rear differential relies on GL-5 gear oil, which is packed with sulfur-phosphorus extreme-pressure additives designed to protect the hypoid gears (the ring and pinion) as they slide and mesh under immense load. The transfer case, on the other hand, uses chain-driven sprockets and planetary gearsets that operate more like an automatic transmission, requiring the friction-modifiers and detergents found in DEXRON VI ATF. You can verify exact fluid applications for your specific year, make, and model using the AMSOIL Drivetrain Lube Guide or by pulling OEM schematics from RockAuto.
Step-by-Step: How to Fill Rear Differential Fluid
Now that you understand the mechanical relationship and fluid boundaries, it is time to perform the service. Servicing the rear differential is a rite of passage for driveway mechanics. Here is the professional, foolproof method to drain and fill the rear axle.
Step 1: Preparation and the 'Golden Rule'
Park the truck on a perfectly level surface. If the truck is tilted to one side or nose-high on jack stands, the fluid level inside the differential housing will be skewed, leading to an under-fill or over-fill condition. Jack up the rear axle and support it securely on jack stands placed under the leaf springs or axle tubes.
The Golden Rule of Differentials: ALWAYS remove the FILL plug before you remove the DRAIN plug. If you drain the fluid first and then discover that the fill plug is seized, stripped, or welded shut by rust, your truck is stranded on the jack stands with an empty axle. Use a 3/8-inch or 1/2-inch drive ratchet (depending on the axle) to break the fill plug loose first. Once it is loose, leave it threaded in by hand.
Step 2: Draining the Old Gear Oil
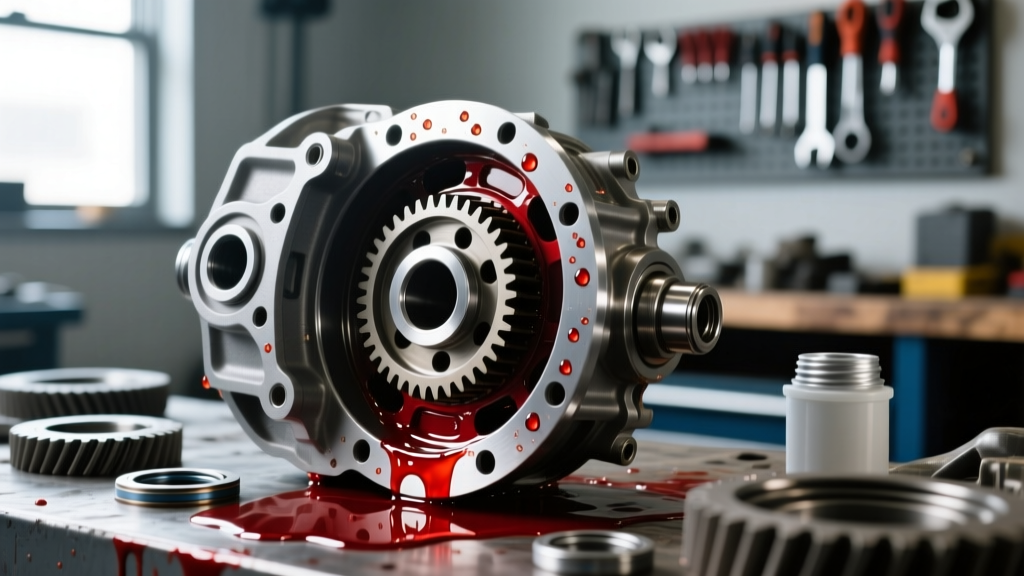
Place a drain pan capable of holding at least 3 quarts under the differential. Remove the drain plug located at the very bottom of the housing. Be prepared: 75W-90 gear oil is thick, viscous, and has a notoriously foul, sulfuric odor. Allow it to drain completely for at least 15 minutes. Inspect the drain plug; most GM and Ford plugs are magnetic. A fine, glittery metallic paste is normal wear. Large metal shards or chunks indicate internal bearing or gear failure.
Step 3: Reinstall and Torque the Drain Plug
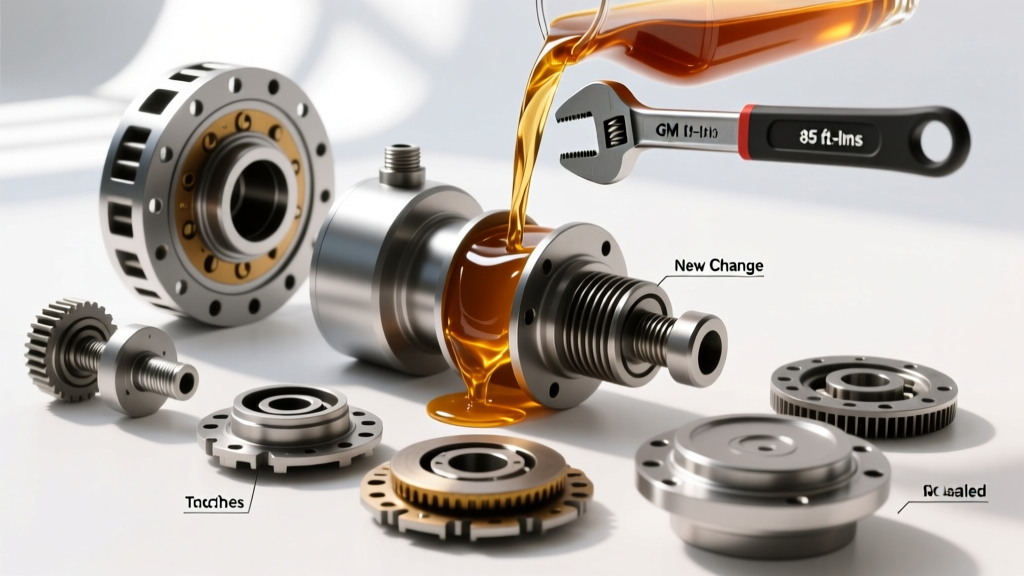
Wipe the magnetic drain plug clean with a lint-free shop towel. Reinstall it into the bottom of the housing. For the GM 9.5-inch axle, the factory torque specification for the drain plug is 25 lb-ft (34 Nm). Do not overtighten, as the housing is cast aluminum or stamped steel and can easily strip.
Step 4: Filling the Differential
Remove the fill plug from the upper portion of the housing. Using a fluid transfer pump (highly recommended over the messy 'squeeze bottle' method), pump the 75W-90 synthetic gear oil into the fill hole. You will need approximately 2.1 quarts. The differential is full when the fluid reaches the exact bottom edge of the fill plug hole and begins to weep out onto your finger. Reinstall the fill plug and torque it to 25 lb-ft.
Bonus: Servicing the Transfer Case While You Are Underneath
Since you are already under the truck with your drain pans and fluid pumps, it is highly efficient to service the transfer case at the same time. The relationship between the two components means they endure similar mileage and environmental exposure.
- Locate the Plugs: The NVG 261XHD transfer case has two plugs on the rear output shaft housing. The upper is the fill plug; the lower is the drain.
- Drain: Remove the lower plug and drain the old ATF. It will flow out much faster and cleaner than the thick gear oil.
- Fill: Reinstall and torque the drain plug to 15 lb-ft (20 Nm). Pump in roughly 2.0 quarts of DEXRON VI ATF until it weeps from the upper fill hole.
- Seal: Reinstall the fill plug and torque to 15 lb-ft.
For deep-dive discussions on fluid shear rates and user-reported wear metals in these specific transfer cases, the drivetrain forums on Bob Is The Oil Guy (BITOG) are an invaluable resource for enthusiast data.
Real-World Costs and Maintenance Intervals
Understanding the financial and temporal investment of this service helps you plan your annual maintenance budget.
- DIY Cost: Approximately $65 to $85 total. (Three quarts of 75W-90 Synthetic at ~$15/qt, plus two quarts of DEXRON VI at ~$10/qt).
- Shop Cost: Expect to pay between $180 and $275 at an independent 4x4 shop for a 'drivetrain flush' that includes the rear diff, front diff, and transfer case.
- Normal Interval: Every 90,000 to 100,000 miles for highway-driven trucks.
- Severe Interval: Every 30,000 to 45,000 miles if you frequently tow heavy trailers, drive in deep mud, or submerge your axles in water during off-road trails. Water intrusion turns gear oil into a milky, chocolate-milk emulsion that destroys bearings.
Troubleshooting: Noises and Leaks
As you learn how to maintain these systems, you must also learn to diagnose them. Because the transfer case and rear differential are linked by the rear driveshaft, a vibration or noise can easily be misdiagnosed by a beginner.
Rear Differential Whine: If you hear a howling or whining noise that changes pitch with vehicle speed (and gets louder on deceleration), your rear pinion bearings are likely worn, or the gear lash is out of spec. This requires a professional rebuild, not just a fluid change.
Transfer Case Clunk: If you feel a metallic 'clunk' when shifting from Reverse to Drive, the issue is often excessive slack in the transfer case chain or worn output shaft splines, rather than the rear differential. Checking the fluid level in the T-case is the first diagnostic step, as low fluid leads to chain stretch.
By understanding the distinct roles, separate fluid requirements, and precise service procedures of both the transfer case and the rear axle, you ensure your 4WD system remains reliable for hundreds of thousands of miles.