Mastering the Symmetrical AWD: A Model-Specific Leak Repair Guide
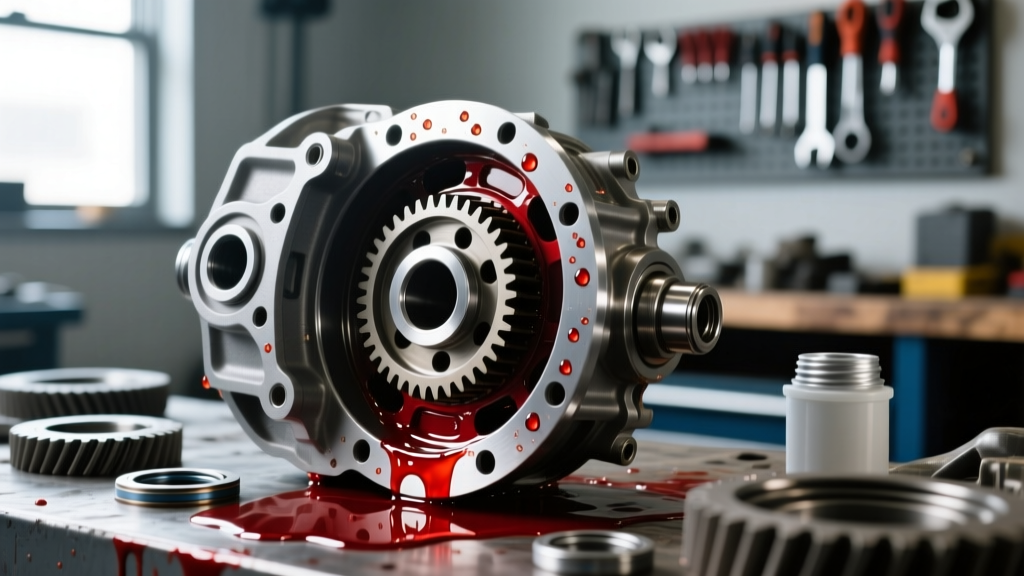
Subaru’s legendary Symmetrical All-Wheel Drive system is a masterpiece of mechanical balance, but it relies heavily on the integrity of its hypoid gearsets. When seals degrade or crush washers fail, gear oil escapes, threatening the ring and pinion with catastrophic starvation. Performing a comprehensive Subaru front and rear differential service goes far beyond simply draining and filling fluid; it requires a meticulous approach to leak detection, precise seal seating, and strict adherence to torque specifications.
As we navigate the 2026 service landscape, modern synthetic gear oils and advanced UV leak detection dyes have revolutionized how we diagnose drivetrain seeps. Whether you are wrenching on a VA-chassis WRX, an SJ-generation Forester, or a current-model Outback, this model-specific repair guide will walk you through identifying, diagnosing, and permanently repairing differential leaks on Subaru’s AWD platforms.
Anatomy of a Subaru Drivetrain Leak
Before grabbing a wrench, it is critical to understand how Subaru packages its differentials, as this dictates your repair strategy.
The Front Differential Nuance
On Subaru models equipped with the Lineartronic CVT (such as the TR580 transmission found in the Outback and Legacy), the front differential is housed within the transmission case but operates in a separate, sealed chamber requiring its own 75W-90 GL-5 gear oil. Conversely, on the TR690 (found in the WRX CVT) and traditional manual transmissions, the front differential often shares the main transmission fluid reservoir. Misidentifying your transmission type is the most common error DIYers make when attempting front differential leak diagnosis. Always verify your specific powertrain architecture via the Subaru Technical Information System before ordering seals.
The Rear Differential (R160 vs. R190)
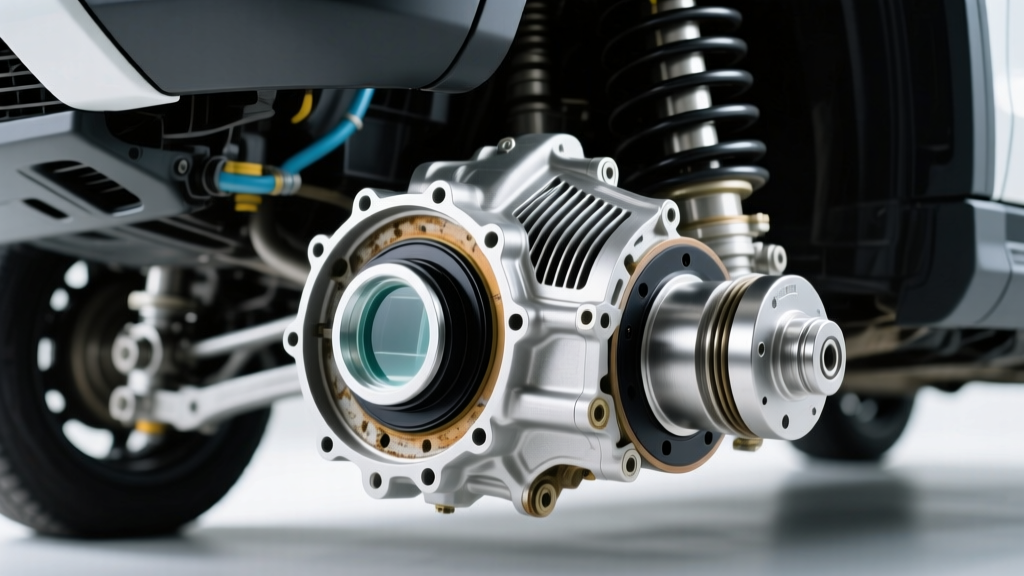
The rear differential is a standalone hypoid unit mounted to the rear subframe. Standard models (Outback, Crosstrek, Forester) typically utilize the smaller R160 rear differential, while performance models (WRX, STI) use the robust R190 or R190.5. The most frequent leak points on the rear unit are the pinion seal (due to road debris impact) and the side axle seals (due to CV joint play and age-related rubber hardening).
Diagnostic Protocol: Pinpointing the Seep
Gear oil is notoriously difficult to trace once it is whipped into a mist by the rotating driveshaft and CV axles. A false diagnosis can lead to unnecessary teardowns. Follow this 2026-standard diagnostic framework:
- Chemical Cleaning: Use a non-chlorinated brake cleaner and a detailing brush to thoroughly degrease the differential housing, CV axle boots, and the lower engine splash pan. Compressed air is highly recommended to blow out sequestered oil from the crossmember crevices.
- UV Dye Injection: If the leak is intermittent, inject a petroleum-compatible UV dye (such as Tracerline Opti-Lite) into the fill plug. Drive the vehicle for 20 miles under varied load conditions.
- Blacklight Inspection: Use a 365nm UV flashlight. A pinion seal leak will show dye radiating from the front yoke of the rear diff. A side seal leak will track outward along the CV axle stub. An extension housing seal leak will pool at the mating surface of the driveshaft flange.
Expert Insight: Never confuse engine oil or CVT fluid with differential gear oil. Subaru’s front diff extension housing seal leaks often drip directly onto the exhaust crossover pipe, creating a distinct, acrid sulfur smoke that mimics a blown head gasket or turbo oil leak. Smell the dipstick; if it smells like rotten eggs (sulfur), you have a GL-5 gear oil leak.
Step-by-Step Repair: Front Differential Axle Seals
Front differential side seals (where the CV axles enter the transmission/diff housing) are high-wear items. The constant articulation of the suspension and steering eventually wears the sealing lip or scores the axle stub.
Extraction and Preparation
After removing the CV axle (which requires popping the axle nut and separating the lower ball joint), inspect the CV stub shaft. If the sealing surface has a deep groove worn into the metal by the old seal lip, the new seal will leak immediately. In 2026, the best practice is to use a stainless-steel speedi-sleeve or replace the axle assembly if pitting is present from rust.
Use a dedicated internal seal puller to extract the old seal. Do not pry against the aluminum transmission case with a screwdriver; galling the aluminum housing will create a permanent bypass leak that no seal can fix.
Seating the New Seal
Lubricate the new seal lip with fresh 75W-90 gear oil. Using a stepped seal driver tool, tap the new seal into the bore. The critical specification here is depth: most Subaru front axle seals must be seated flush with the transmission case, or recessed exactly 1.0mm. Driving the seal too deep will misalign the lip with the CV stub shaft, resulting in an immediate leak upon reassembly.
Step-by-Step Repair: Rear Pinion Seal Replacement
The rear pinion seal sits behind the companion flange where the rear driveshaft connects. Replacing it is a delicate operation because the pinion nut secures the collapsible spacer that sets your ring-and-pinion bearing preload.
The Preload Trap
When removing the pinion nut, you must mark the exact relationship between the nut, the threads, and the flange using a paint pen. Count the exact number of threads exposed on the pinion shaft. When installing the new seal and torquing the new pinion nut, you must stop exactly where your paint marks align. If you over-torque the nut even a fraction of a turn past the original mark, you will further crush the collapsible spacer, over-preloading the bearings and guaranteeing differential failure within 5,000 miles.
Seal Installation
Once the flange is removed using a harmonic balancer puller (never pry it off with a crowbar), tap the new pinion seal in using a seal driver that matches the outer diameter of the seal housing. Apply a thin bead of RTV silicone to the outer metal rim of the seal to prevent fluid from bypassing the outside edge of the seal bore.
Fluid Specifications, Capacities, and OEM Part Data
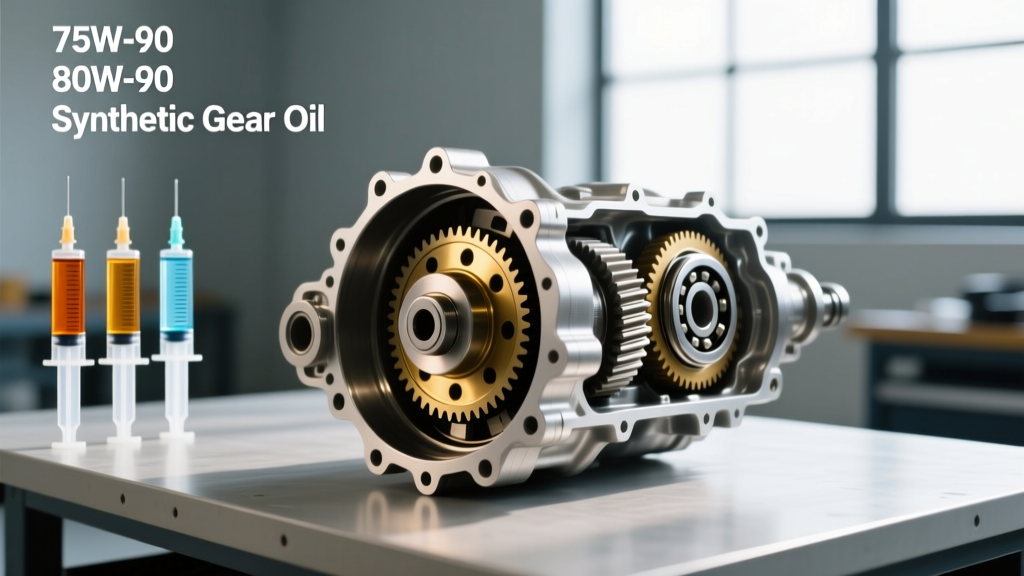
Using the correct fluid and OEM seals is non-negotiable for Subaru’s AWD system. The center and rear differentials require GL-5 rated gear oil with specific friction modifiers to prevent chatter in the clutch-pack equipped models.
| Chassis / Model | Front Diff Type | Front Capacity | Rear Diff Type | Rear Capacity | Recommended Fluid |
|---|---|---|---|---|---|
| Outback / Legacy (CVT) | TR580 Integrated | 1.2 L (1.3 qt) | R160 Standalone | 0.8 L (0.85 qt) | Subaru Extra-HP 75W-90 GL-5 |
| WRX (6-Speed Manual) | Shared w/ Trans | N/A (Shared 3.8L) | R160 / R190 | 0.8 L (0.85 qt) | Motul Gear 300 75W-90 |
| Forester / Crosstrek | TR580 Integrated | 1.2 L (1.3 qt) | R160 Standalone | 0.8 L (0.85 qt) | Amsoil Severe Gear 75W-90 |
| WRX STI (6-Speed) | Shared w/ Trans | N/A (Shared 4.3L) | R190 Standalone | 1.2 L (1.3 qt) | Subaru Extra-HP 75W-90 GL-5 |
Critical OEM Part Numbers & Torque Specs
Always source genuine Subaru seals or high-tier aftermarket equivalents (like Timken or SKF). Cheap white-box seals from unverified vendors often have improper lip tension, leading to repeat leaks. You can verify fitment via Subaru Parts Online using your VIN.
- Front Axle Seal (Standard): 806700210 (Verify with VIN, some use 806700230)
- Rear Pinion Seal (R160): 38390AA030
- Rear Side Axle Seal: 38390AA040
- Drain/Fill Plug Crush Washer: 803926090 (Aluminum, single-use)
- Rear Diff Drain/Fill Plug Torque: 43.3 ft-lb (59 Nm)
- Front Diff Drain/Fill Plug Torque: 33.2 ft-lb (45 Nm)
- CV Axle Nut Torque (Standard): 140 ft-lb (190 Nm) — Must be replaced, single-use staked nut.
2026 Cost Analysis: DIY vs. Dealership
Labor rates at Subaru dealerships have climbed significantly, averaging $160 to $240 per hour in most metropolitan areas in 2026. Understanding the financial breakdown helps justify the investment in proper home-garage tooling.
- Rear Pinion Seal Replacement (Dealer): $450 - $650 (Includes 2 hours labor, seal, fluid, and flange nut).
- Rear Pinion Seal Replacement (DIY): $65 - $90 (Cost of OEM seal, 2 quarts of synthetic GL-5, UV dye, and a crush washer).
- Front Axle Seal Replacement (Dealer): $500 - $800 per side (Due to book-time labor guides that often include unnecessary suspension teardown steps).
- Front Axle Seal Replacement (DIY): $40 - $60 per side (Requires a $25 seal puller/driver kit if you don't own one).
Final Thoughts on Drivetrain Longevity
A successful Subaru front and rear differential service hinges on patience and precision. Never rush the cleaning process, never reuse aluminum crush washers, and never guess on pinion nut torque. By utilizing modern UV diagnostics, respecting the delicate bearing preload of the hypoid gearsets, and filling the casings with high-quality 75W-90 GL-5 synthetic fluid, you will ensure your Symmetrical AWD system remains whisper-quiet and leak-free for hundreds of thousands of miles.