The GM 10-Bolt Axle: 8.5-Inch vs. 8.6-Inch Fundamentals
The GM 10-bolt rear axle is one of the most prolific drivetrain components in North American automotive history. Found under millions of Silverados, Sierras, Tahoes, Suburbans, and older Camaros, this axle platform is renowned for its balance of strength and cost-effectiveness. When discussing the GM 10 bolt differential cover, it is crucial to understand that GM produced two primary variants of this axle: the legendary 8.5-inch ring gear (introduced in the early 1970s) and the slightly larger 8.6-inch ring gear (phased in starting around 1999 and standard on most 2001+ half-ton trucks). Fortunately, both axles share the exact same 10-bolt cover pattern, meaning the removal, sealing, and upgrade procedures are identical.
As of 2026, a vast majority of these trucks are well over a decade old. The original stamped-steel differential covers are prone to warping, rusting, and leaking. Furthermore, the factory gear oil has likely endured years of thermal cycling, moisture intrusion, and mechanical shearing. Performing a comprehensive differential fluid service and upgrading your cover is one of the highest-ROI maintenance tasks you can perform on a GM truck.
Differential Service Intervals: Factory vs. Real-World 2026 Standards
If you consult a vintage GM owner's manual, the factory often recommended inspecting the differential fluid every 100,000 miles and only changing it if the axle was submerged in water. In the real world, this 'lifetime' fluid philosophy leads to premature bearing wear and degraded positraction clutches.
- Standard Commuter Driving: Change every 60,000 to 80,000 miles.
- Towing, Hauling, or Off-Road: Change every 30,000 to 50,000 miles.
- Water Submersion: Change immediately. Water ingress past the axle seals or the fill plug will emulsify the gear oil, turning it into a milky sludge that destroys ring and pinion gear teeth within miles.
Essential Tools and Parts List
Before crawling under the truck, gather the correct materials. Using the wrong sealant or fluid can lead to catastrophic leaks or differential failure.
| Item | Specification / Part Number | Notes |
|---|---|---|
| Gear Oil | 75W-90 Synthetic GL-5 (e.g., AMSOIL Severe Gear or ACDelco 88862624) | Requires approx. 2.1 to 2.4 quarts |
| Gasket | Lube Locker GM 10-Bolt Reusable Gasket (Part # LL-GM10) | Eliminates messy RTV silicone |
| Cover Upgrade | Finned Cast Aluminum (e.g., PPE or Summit Racing) | Increases fluid capacity and cooling |
| Socket Set | 3/8' Drive, 15mm or 9/16' Socket | Depends on if bolts are metric or SAE |
| Torque Wrench | Inch-pound or low-range Foot-pound | Critical for avoiding stripped threads |
Step 1: Preparation and Breaking Bolts Loose
Safety first: ensure the vehicle is on a level surface, supported by high-quality jack stands placed on the axle tubes or designated frame pads. Never rely solely on a hydraulic jack. Place a large drain pan (minimum 5-quart capacity) directly beneath the differential.
Pro-Tip: Before removing a single bolt, locate the fill plug on the front or upper-rear of the differential housing. Use a 3/8' or 1/2' square drive to break the fill plug loose. Never drain a differential before verifying you can open the fill plug. If the fill plug is seized and you drain the housing, you will be stranded until you can extract the broken plug.
Spray the 10 cover bolts with a high-quality penetrating oil like PB Blaster or Kroil. Allow it to soak for 15 minutes. Using your 15mm or 9/16' socket (GM used both metric and SAE hardware depending on the assembly plant and year), break all 10 bolts loose by a half-turn. Do not remove them yet.
Step 2: Removing the GM 10 Bolt Differential Cover
Once all bolts are broken loose, begin removing them. Warning regarding the passenger side: On many GM 10-bolt applications, the rear brake line bracket or the ABS sensor wire bracket is secured by one of the upper cover bolts. Note exactly which bolt holds the bracket so you can reinstall it correctly during reassembly.
Leave the top two bolts loosely threaded in place. Use a flathead screwdriver or a dedicated differential cover pry tool to gently separate the GM 10 bolt differential cover from the housing. Start at the bottom flange. As the seal breaks, the contaminated gear oil will rush into your drain pan. Once drained, remove the final two top bolts and lower the cover.
Step 3: Internal Inspection and Cleaning
With the cover off, you have a direct window into the health of your ring and pinion. Inspect the following:
- The Magnet: Most GM 10-bolt housings have a capture magnet at the bottom. A fine, glitter-like metallic paste is normal wear from the bearings and gears. However, if you find metallic shards, chunks, or 'needles', your pinion bearing or spider gears are failing, and a full differential rebuild is required.
- Ring Gear Teeth: Look for chipping, pitting, or severe wear patterns on the ring gear teeth.
- Positraction Clutches: If equipped with an Eaton Positraction (LSD), check the S-springs and clutch packs for excessive black sludge, which indicates clutch material breakdown.
Spray the inside of the housing and the cover mating surface with aerosol brake cleaner. Use a green Scotch-Brite pad to remove the old, hardened RTV silicone from the housing flange. Critical: Stuff lint-free shop towels into the housing opening while cleaning the flange to prevent abrasive debris or old silicone from falling into the gear set.
Step 4: Upgrading to an Aftermarket Cover
The factory stamped-steel GM 10 bolt differential cover is notoriously thin. It flexes under load, leading to RTV seal failure, and acts as a poor heat sink. Upgrading to a finned cast-aluminum or billet cover from manufacturers like PPE (Pacific Performance Engineering) or ARB offers three distinct advantages:
- Increased Fluid Capacity: Aftermarket covers often hold an extra 0.5 to 1.0 quarts of gear oil, which drastically lowers operating temperatures during heavy towing.
- Superior Heat Dissipation: External cooling fins draw heat away from the gear oil, preventing thermal breakdown.
- Magnetic Drain/Fill Plugs: High-end covers include dual magnetic plugs, making future 50,000-mile fluid swaps a 10-minute job without breaking the gasket seal.
Step 5: Sealing and Reassembly (Torque Sequence)
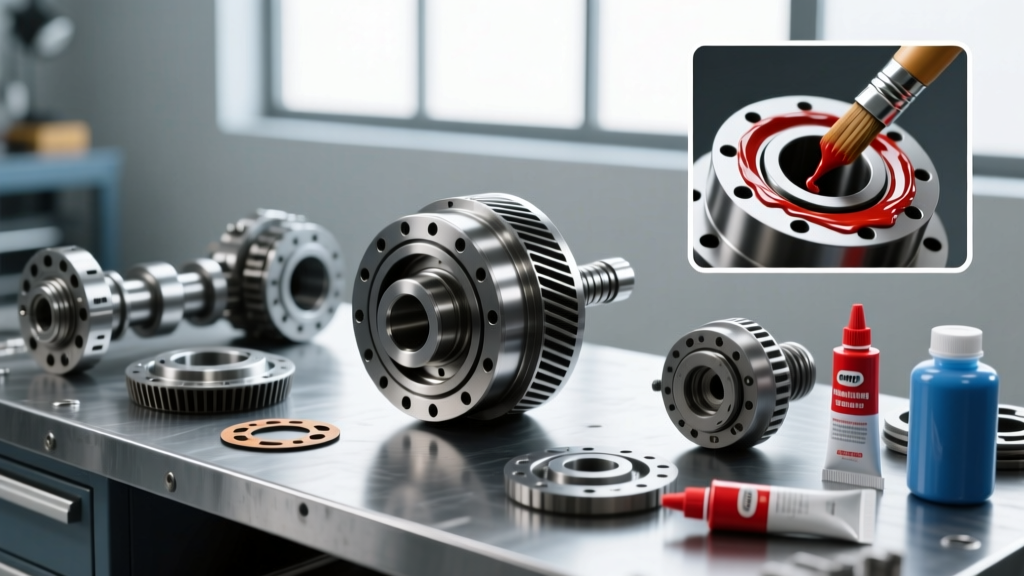
If you opted for a Lube Locker reusable gasket, simply place the stainless-steel cored elastomer gasket over the studs or align it with the cover. No RTV is required. If you are reusing the factory cover or an aftermarket cover that demands RTV, apply a continuous 1/8-inch bead of Permatex Ultra Black or The Right Stuff, ensuring you circle every bolt hole.
Mount the cover and thread all 10 bolts (and the brake line bracket, if applicable) in by hand to prevent cross-threading the soft aluminum or cast-iron housing threads.
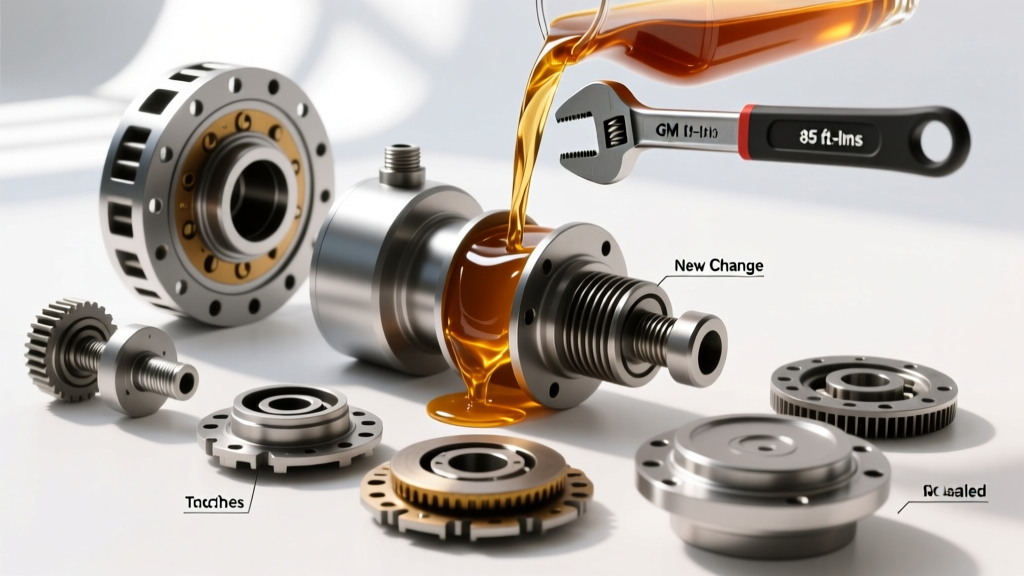
Torque Specification: The standard torque for GM 10-bolt cover bolts (3/8'-16 thread) is 25 lb-ft (300 in-lbs). Over-torquing will warp the stamped steel cover or strip the housing threads, requiring a time-consuming helicoil repair. Tighten the bolts in a crisscross 'star' pattern, working from the center outward, to ensure even clamping force and prevent gasket blowout.
Step 6: Refilling and the G80 Gov-Lok Myth
Reinstall the fill plug and torque it to 25 lb-ft. Using a hand pump, fill the differential with your chosen 75W-90 Synthetic GL-5 gear oil. The correct fluid level is exactly at the bottom edge of the fill plug threads. For a standard 10-bolt, this will take approximately 2.1 to 2.4 quarts. If you installed a deep-sump aftermarket cover, expect to use closer to 3.0 quarts.
The G80 Gov-Lok Friction Modifier Myth:
A pervasive myth in the GM truck community is that the RPO G80 locking differential requires a limited-slip friction modifier. This is entirely false. The Eaton G80 Gov-Lok is a mechanical, flyweight-actuated locking differential, not a clutch-based limited-slip unit. Adding friction modifier to a G80 axle can actually cause the internal locking mechanism to slip, delay engagement, or fail prematurely. Standard 75W-90 GL-5 synthetic gear oil is the only fluid your G80 requires.
Final Verification
Once filled, wipe down the housing and cover with a degreaser. Take the vehicle for a 10-mile test drive to bring the differential up to operating temperature and allow the fluid to circulate into the axle tubes. Park over a clean piece of cardboard and inspect the GM 10 bolt differential cover perimeter for any weeping. If dry, your drivetrain is prepped and protected for the next 50,000 miles of service.