The Ultimate Ram 1500 Rear Differential Fluid Change Guide
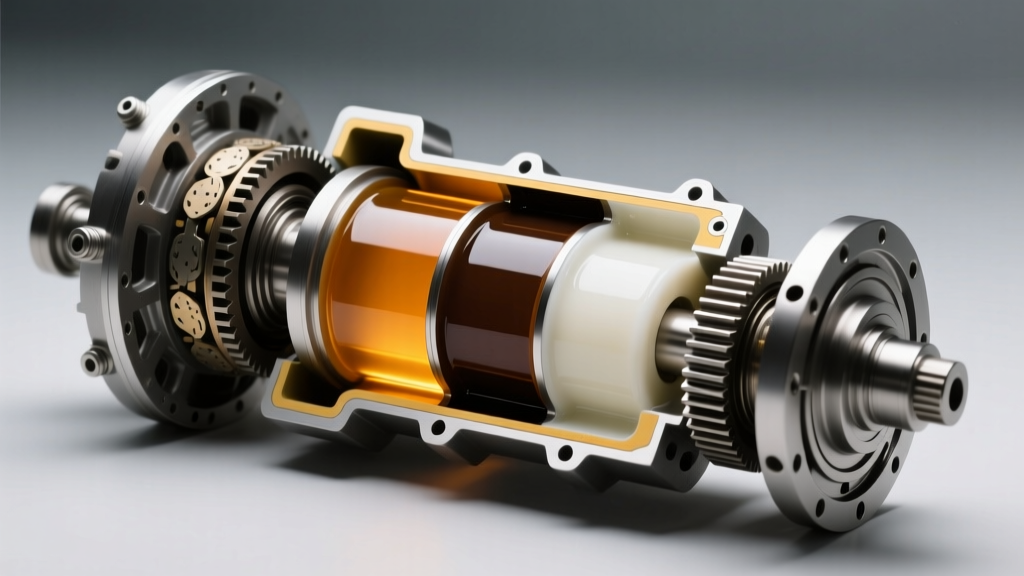
Whether you are daily driving your 2026 Ram 1500 or pushing it to the limit towing a 10,000-pound trailer, the rear differential is subjected to immense mechanical stress. The hypoid gear sets inside your axle generate extreme heat and shear forces, breaking down gear oil over time. While modern synthetic lubricants are incredibly resilient, neglecting a Ram 1500 rear differential fluid change will inevitably lead to premature bearing wear, gear whine, and catastrophic axle failure.
This comprehensive, step-by-step guide covers the exact procedures, torque specifications, and fluid capacities for the most common rear axles found under the Ram 1500, including the heavy-duty AAM 11.5-inch and the newer ZF axles used on the DT-generation trucks.
Identifying Your Ram 1500 Rear Axle
Before ordering parts, you must identify which rear axle your truck has. Ram has utilized several different axle assemblies over the last decade, each with unique cover bolt patterns, fluid capacities, and torque specifications.
| Axle Type | Ring Gear Size | Cover Bolt Pattern | Fluid Capacity (Approx) | Cover Bolt Torque |
|---|---|---|---|---|
| AAM 11.5 (Heavy Duty/Towing) | 11.5 inches | 14-Bolt | 3.3 - 3.6 Quarts | 33 lb-ft (45 Nm) |
| Chrysler 9.25 (Standard) | 9.25 inches | 10-Bolt | 2.4 - 2.6 Quarts | 22 lb-ft (30 Nm) |
| ZF Rear Axle (2019+ DT Gen) | 9.25 inches | 10-Bolt (Specific ZF) | 2.2 - 2.5 Quarts | 22 lb-ft (30 Nm) |
Tools and Materials Required
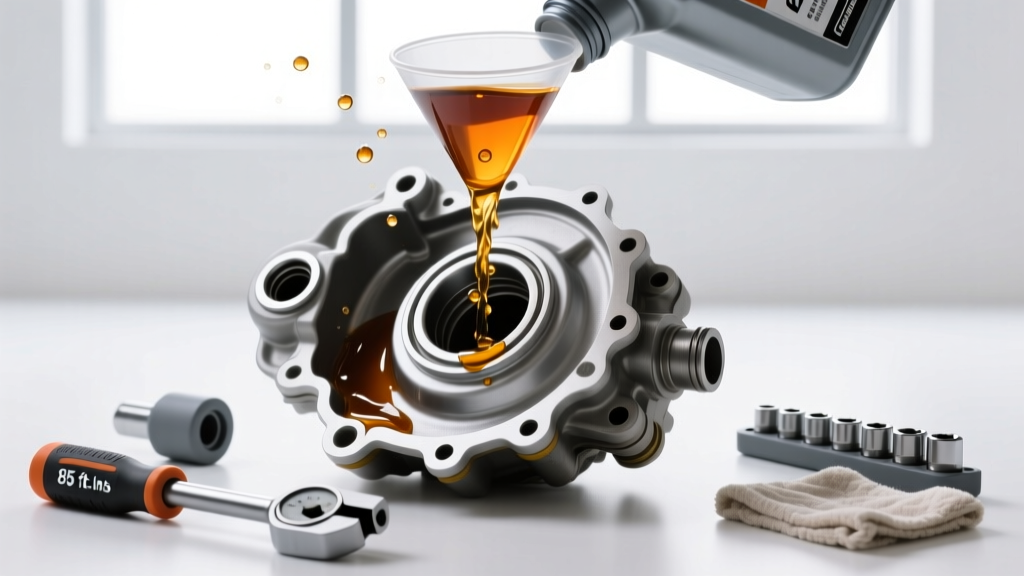
Do not rely on cheap gear oil for a modern Ram axle. The tolerances on hypoid gears require high-quality synthetic fluids with extreme pressure (EP) additives. Below is the professional-grade tool and parts list for this service.
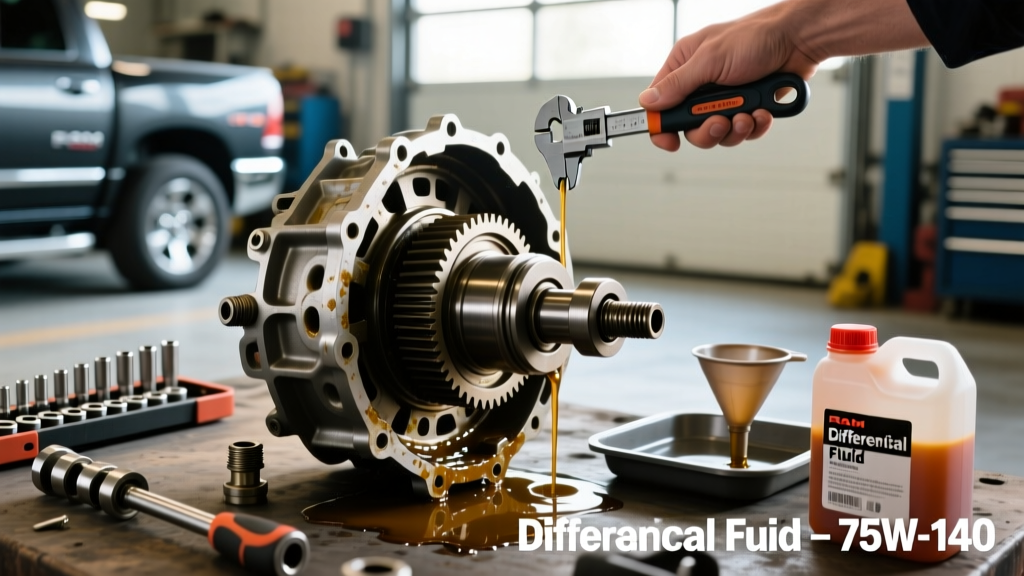
- Gear Oil: Mopar 75W-140 Synthetic Gear Lubricant (Part # 05166269AC) or AMSOIL Severe Gear 75W-140. (Note: 75W-90 is acceptable for light-duty, non-towing applications, but 75W-140 is highly recommended for thermal stability under load).
- Limited-Slip Additive: Mopar Trac-Lok Friction Modifier (Part # 04318060AD) if equipped with a clutch-type LSD.
- Gasket / Sealant: Permatex Ultra Black RTV Silicone (Part # 81173) or a direct-fit Mopar cork/rubber gasket.
- Tools: 3/8-inch drive torque wrench, 10mm/13mm/15mm sockets (depending on axle), 3/8-inch or 1/2-inch square drive breaker bar (for fill plug), gasket scraper, and brake cleaner.
- Consumables: Lint-free shop towels, nitrile gloves, and a high-quality fluid pump.
Preparation and Safety Protocols
Proper preparation is the difference between a messy, inaccurate fluid fill and a professional-grade service.
- Level the Truck: The fluid level is determined by the bottom of the fill hole. If the truck is on an incline, you will either overfill or underfill the differential. Use a hydraulic floor jack and heavy-duty jack stands to lift the rear axle, ensuring the chassis is perfectly level side-to-side and front-to-back.
- Warm the Fluid: Cold 75W-140 gear oil flows like molasses. Drive the truck for 10-15 minutes to warm the differential, which suspends metallic particulates in the oil and allows for a faster, more complete drain.
- Clean the Exterior: Use brake cleaner and a wire brush to remove caked-on mud and road grime from the differential cover and fill plug area to prevent contamination during the service.
Step-by-Step Drain and Fill Procedure
Step 1: Remove the Fill Plug FIRST
This is the golden rule of differential service. Always remove the fill plug before draining the fluid. If the fill plug is seized, stripped, or requires a specialized tool you don't have, you will be left with an empty differential and a truck that cannot be driven. The fill plug is typically located on the upper half of the differential housing and requires a 3/8-inch or 1/2-inch square drive, or a 15mm hex socket on newer ZF axles.
Step 2: Drop the Differential Cover
Place a large drain pan (capable of holding at least 5 quarts) beneath the axle. Loosen the cover bolts in a crisscross pattern. Leave the top two bolts loosely threaded to act as a hinge. Gently pry the bottom edge of the cover with a flathead screwdriver or gasket scraper to break the RTV seal. Allow the fluid to drain completely into the pan.
Step 3: Inspect the Drainage and Magnets
Most AAM and Chrysler axles feature a magnetic drain plug or a magnet inside the differential cover.
Expert Diagnostic Tip: A fine, metallic paste on the magnet is completely normal and represents standard gear wear. However, if you find large metal flakes, chunks of bearing cages, or brass-colored shavings, your differential requires an immediate teardown and rebuild by a drivetrain specialist.
Step 4: Clean the Mating Surfaces
Use a plastic gasket scraper and brake cleaner to remove all old RTV silicone from both the axle housing and the differential cover. The surfaces must be surgically clean and completely dry. Any leftover silicone can break off and clog the gear oil pickup or score the axle bearings.
Step 5: Apply RTV and Reinstall Cover
If using RTV instead of a pre-cut gasket, apply a continuous 1/4-inch bead of Permatex Ultra Black to the differential cover, ensuring you circle all bolt holes. Wait 10 minutes for the silicone to become tacky (skin over). Carefully mate the cover to the housing. Thread all bolts in by hand to prevent cross-threading, then torque them in a star pattern to the specifications listed in the table above (e.g., 33 lb-ft for the AAM 11.5).
Step 6: Fill the Differential
Using a high-quality fluid transfer pump, inject your chosen 75W-140 synthetic gear oil into the fill hole. Continue pumping until the fluid begins to weep out of the bottom edge of the fill hole. This indicates the axle is filled to the exact factory specification.
Step 7: Reinstall the Fill Plug
Wipe the threads of the fill plug, apply a small amount of thread sealant if it does not have an integrated O-ring, and torque it to 25-35 lb-ft. Wipe down the entire axle housing to remove any spilled gear oil, which can cause smoking or odors when the exhaust heats up.
Limited-Slip Differentials: Do You Need a Friction Modifier?
If your Ram 1500 is equipped with a clutch-type Limited-Slip Differential (LSD), such as the Mopar Trac-Lok, you must add a friction modifier to prevent clutch chatter during low-speed cornering. Typically, 4 ounces of Mopar Trac-Lok Additive is added before filling the rest of the axle with gear oil. However, if you have the newer ZF rear axle with an advanced helical or electronic locking differential, a friction modifier is generally not required. Always consult your specific VIN build sheet or the official Ram owner's manual to verify your LSD type.
Maintenance Intervals: Busting the 'Lifetime Fluid' Myth
Many modern owner's manuals label differential fluid as 'lifetime' under normal driving conditions, sometimes citing intervals up to 150,000 miles. As a drivetrain expert, I strongly advise against this. 'Lifetime' usually means the lifetime of the warranty, not the truck. For optimal longevity, adhere to these real-world intervals:
- Normal Commuting (Highway/City): Change every 60,000 to 80,000 miles.
- Severe Duty (Towing, Off-Road, Snow Plowing): Change every 15,000 to 30,000 miles. Towing a camper in hot climates easily pushes internal diff temperatures past 250°F, rapidly depleting the oil's extreme-pressure additives.
- Post-Water Submersion: If the axle is submerged in water (e.g., boat launching or deep mud), the breather valve will contract as the hot axle cools, sucking water past the seals. Change the fluid immediately to prevent emulsification and bearing rust.
Final Thoughts on Axle Longevity
Performing a Ram 1500 rear differential fluid change is a straightforward DIY task that yields massive dividends in drivetrain reliability. By utilizing high-quality 75W-140 synthetic lubricants, strictly adhering to torque specifications, and maintaining a severe-duty service schedule, your rear axle will easily survive the lifespan of the truck, regardless of the torque output from your HEMI or EcoDiesel powertrain.