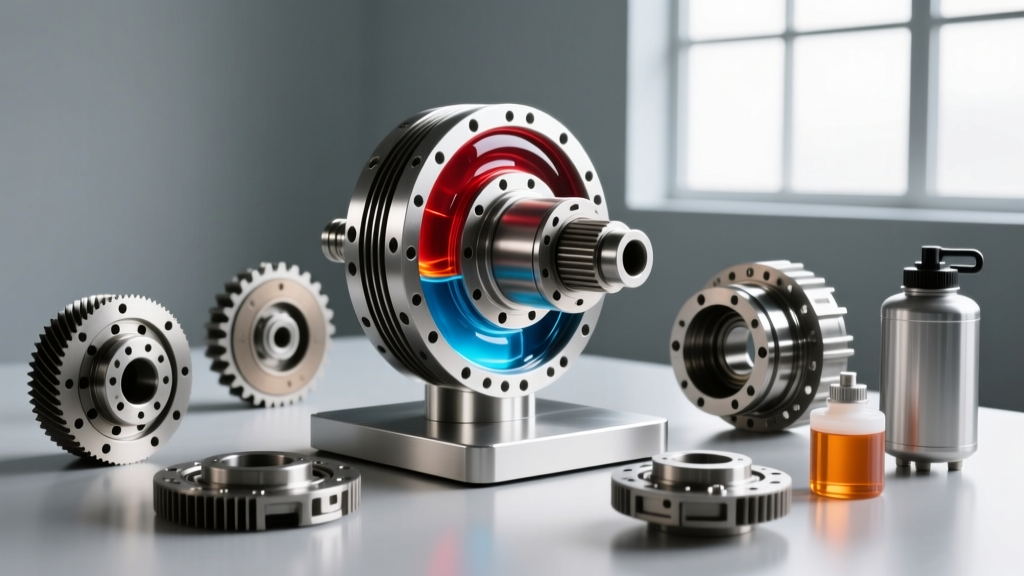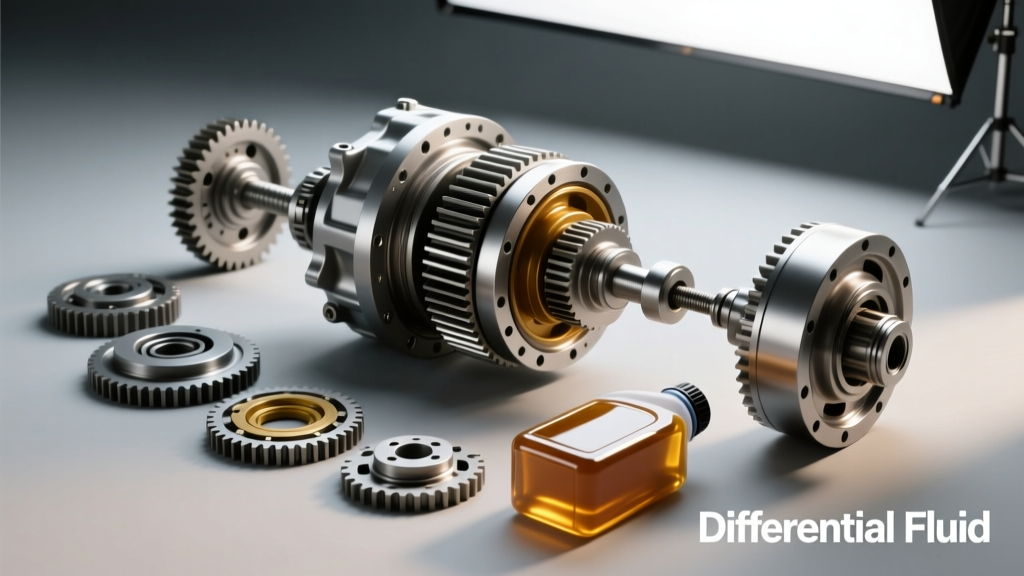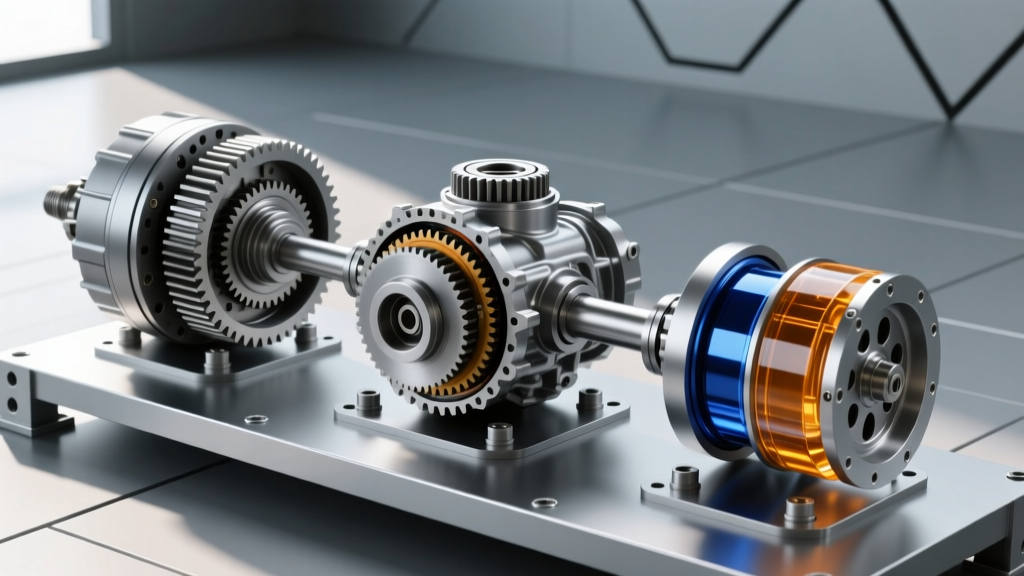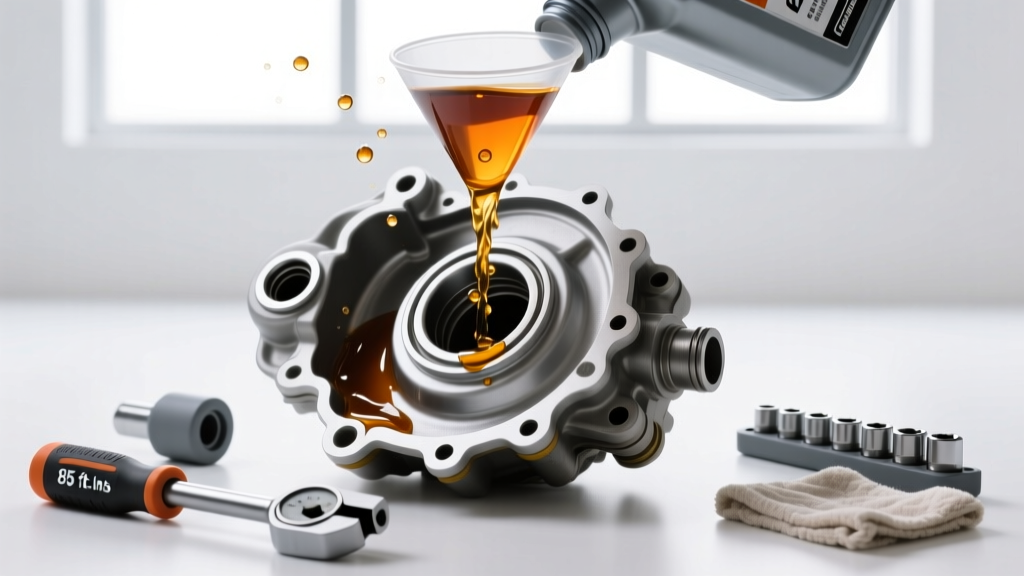
The differential is one of the most abused yet neglected components in your vehicle's drivetrain. Whether you are daily driving a modern SUV or towing heavy loads with a 3/4-ton truck, the hypoid ring and pinion gears generate immense sliding friction and extreme localized heat. To protect these precision-machined components, manufacturers specify high-quality 75w90 differential fluid. Over time, the extreme pressure (EP) additives in this gear oil deplete, leading to accelerated gear wear, whining noises, and eventual catastrophic failure.
In this comprehensive 2026 guide, we will walk you through the exact step-by-step procedure to drain, inspect, and refill your differential with 75W-90 gear oil. We will cover specific torque specifications, limited-slip additive requirements, and the critical differences between normal and severe duty service intervals.
The Chemistry of 75W-90 API GL-5 Gear Oil
Before turning a single wrench, it is vital to understand why 75W-90 is the industry standard for modern axles. The '75W' rating indicates the fluid's winter (cold-weather) viscosity, ensuring it flows quickly to lubricate bearings upon startup. The '90' represents its operating temperature viscosity, maintaining a protective hydrodynamic film under extreme shear forces.
Furthermore, almost all modern differentials require an API GL-5 specification. GL-5 gear oils contain high levels of sulfur-phosphorus EP additives. Under the extreme sliding pressures of hypoid gears, these additives react with the metal surfaces to form a sacrificial solid-film layer, preventing metal-on-metal welding. Never substitute GL-5 with GL-4 in a standard hypoid differential, as the lower additive concentration will result in rapid gear pitting.
Differential Fluid Change Intervals: When to Service
Many manufacturer owner's manuals label differential fluid as a 'lifetime' fill. In the real world of automotive repair, 'lifetime' simply means the lifetime of the warranty. For optimal longevity, follow these realistic service intervals based on your driving profile:
| Driving Profile | Service Interval (Miles) | Time Interval | Examples |
|---|---|---|---|
| Normal Duty | 50,000 - 60,000 | 4 - 5 Years | Highway commuting, light cargo, mild climates. |
| Severe Duty | 25,000 - 30,000 | 2 - 3 Years | Frequent stop-and-go, mountainous terrain, short trips. |
| Heavy Towing / Off-Road | 15,000 - 20,000 | 1 - 2 Years | Trailer towing, water fording, rock crawling, snow plowing. |
Expert Tip: If your differential breather tube is routed poorly and the axle is submerged in water during off-roading or flooding, the fluid will instantly emulsify (turn into a milky, chocolate-milk-like sludge). The differential must be serviced immediately, regardless of mileage, to prevent bearing corrosion.
Tools and Materials Checklist
Preparation is half the battle. Gather the following tools and materials before starting. Prices reflect average 2026 retail costs.
- Gear Oil: Mobil 1 Synthetic Gear Lube 75W-90 (Part # 104361) or Valvoline SynPower. (~$16/quart)
- RTV Silicone: Permatex Ultra Black Maximum Oil Resistance (Part # 81878). (~$9/tube)
- Friction Modifier: Motorcraft XL-3 (Part # C6AZ-19B546-A) if equipped with a clutch-type LSD. (~$12/bottle)
- Fluid Transfer Pump: Lisle 13250 or equivalent quart-sized hand pump. (~$14)
- Hand Tools: 3/8-inch and 1/2-inch breaker bars, socket set (typically 13mm, 15mm, or 3/8-inch square drive for drain plugs), gasket scraper, wire brush.
- Cleaning Solvent: Brake cleaner and shop towels.
- Torque Wrench: Calibrated in lb-ft (critical for preventing warped housing covers).
Step-by-Step 75W90 Differential Fluid Replacement
Step 1: Vehicle Preparation and Safety
Park the vehicle on a flat, level surface. A level surface is non-negotiable; if the axle is tilted, you will either under-fill or over-fill the differential, both of which cause severe operational issues. Lift the rear (or front) of the vehicle using a hydraulic floor jack and securely support it on heavy-duty jack stands. Never work under a vehicle supported only by a hydraulic jack. Chock the opposite wheels and place the transmission in Park (or in gear for manual transmissions).
Step 2: Draining and Inspection
Place a large drain pan (minimum 5-quart capacity) beneath the differential. There are two common axle designs: those with a removable stamped-steel cover, and those with a solid 'drop-out' third member (like the Ford 9-inch or Toyota 8-inch) that rely on drain and fill plugs.
For Removable Cover Axles (e.g., Ford 8.8, GM 8.5, Dana 44):
- Locate the fill plug on the front or side of the differential housing. Always remove the fill plug first. If you drain the fluid but cannot remove a seized fill plug, you will strand your vehicle.
- Using a socket or 3/8-inch breaker bar, loosen the bottom-most cover bolts first. This allows gravity to pull the cover away and direct the flow into your catch pan.
- Work your way around the cover, leaving the top two bolts loosely threaded to act as a hinge.
- Pry the bottom of the cover gently with a flathead screwdriver to break the RTV seal. Let the 75W-90 fluid drain completely.
Inspection: Once drained, inspect the old fluid and the magnetic drain plug (if equipped). Fine, metallic 'glitter' paste is normal wear from the ring and pinion breaking in. However, large metal chunks, needle bearing fragments, or brass-colored shavings indicate catastrophic internal failure requiring a full rebuild.
Step 3: Surface Prep and RTV Application
Use a plastic gasket scraper and a brass wire brush to remove all old RTV material from both the axle housing flange and the stamped steel cover. Wipe both surfaces down with brake cleaner until completely dry and oil-free. Any residual oil will cause the new RTV to fail, resulting in leaks.
Apply a continuous, 1/8-inch bead of Permatex Ultra Black RTV to the differential cover. Ensure you circle all bolt holes completely to prevent oil from weeping through the threads. Allow the RTV to skin over for 10-15 minutes before mating the surfaces.
Step 4: Torque Sequence and Specifications
Press the cover into place and thread all bolts in by hand to avoid cross-threading. Snug them down in a crisscross 'star' pattern to ensure even clamping force. Once all bolts are snug, use a calibrated torque wrench to tighten them to the manufacturer's specification, again using the star pattern. Over-torquing will warp thin stamped-steel covers and squeeze out the RTV, causing immediate leaks.
| Axle Model | Cover Bolt Count | Torque Specification | Fluid Capacity (Approx.) |
|---|---|---|---|
| Ford 8.8-inch (Super 8.8) | 10 or 12 | 28 - 38 lb-ft | 2.5 - 3.0 Quarts |
| Dana 44 (Jeep/Truck) | 10 | 30 - 35 lb-ft | 2.0 - 2.5 Quarts |
| GM 9.5-inch 14-Bolt | 14 | 25 lb-ft | 3.5 - 4.0 Quarts |
| Dana 60 (Front/Rear) | 10 or 12 | 30 - 40 lb-ft | 3.0 - 3.5 Quarts |
Step 5: Refilling and the LSD Additive Rule
Attach your fluid transfer pump to the quart of 75w90 differential fluid. Thread the pump hose into the fill hole and begin pumping. If your vehicle has a clutch-type Limited Slip Differential (LSD), you must add the required friction modifier (e.g., 4 oz of Motorcraft XL-3) before pumping in the final half-quart of gear oil. This ensures the additive mixes thoroughly with the 75W-90 base fluid.
Continue pumping until the fluid begins to weep out of the bottom edge of the fill hole. This indicates the differential is perfectly level and full. Wipe away the excess, reinstall the fill plug, and torque it to spec (usually 20-25 lb-ft). Clean the exterior of the axle housing with brake cleaner to make future leak inspections easier.
The Limited-Slip Differential (LSD) Friction Modifier Warning
Ignoring the friction modifier requirement in a clutch-pack LSD (such as Ford's Traction-Lok or GM's G80) will result in immediate and annoying drivability issues. Without the modifier, the clutch packs will bind and release erratically during low-speed, tight-radius turns. This phenomenon, known as 'clutch chatter,' feels like the rear end is hopping or skipping across the pavement.
While clutch chatter will not instantly destroy the differential, it causes premature wear to the friction discs and spider gears. If you experience chatter after a fluid change, the fluid must be drained, the correct modifier added, and the axle driven in tight figure-eights in an empty parking lot to work the additive into the clutch packs.
2026 Cost Analysis: DIY vs. Professional Service
As of 2026, dealership and independent shop labor rates for drivetrain service have climbed significantly, averaging $130 to $185 per hour. A professional rear differential fluid service typically takes 1.0 to 1.5 hours of billable labor, plus shop markup on fluids and shop supplies.
- Professional Shop Cost: $180 - $325 (depending on regional labor rates and synthetic fluid upcharges).
- DIY Cost: $55 - $75 (for 3 quarts of premium synthetic 75W-90, RTV, and friction modifier).
By performing this service in your driveway, you save upwards of $200 while gaining the peace of mind that comes from personally inspecting your ring and pinion gears for abnormal wear. For more technical data on heavy-duty axle assemblies, refer to the Dana Spicer technical support resources for specific break-in procedures and torque charts.
Conclusion
Changing your 75w90 differential fluid is a straightforward, high-reward maintenance task. By adhering to proper cleaning protocols, utilizing high-quality API GL-5 synthetic lubricants, and strictly following torque specifications, you ensure your axle assembly operates quietly and reliably for hundreds of thousands of miles. Do not rely on 'lifetime' fluid claims; proactive drivetrain maintenance is the cheapest insurance policy your truck or SUV will ever have.