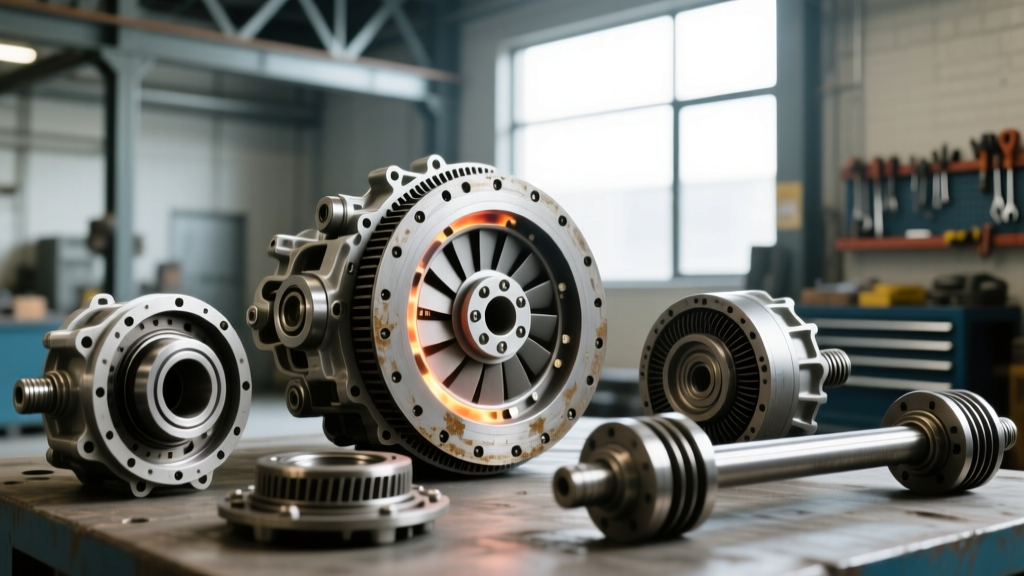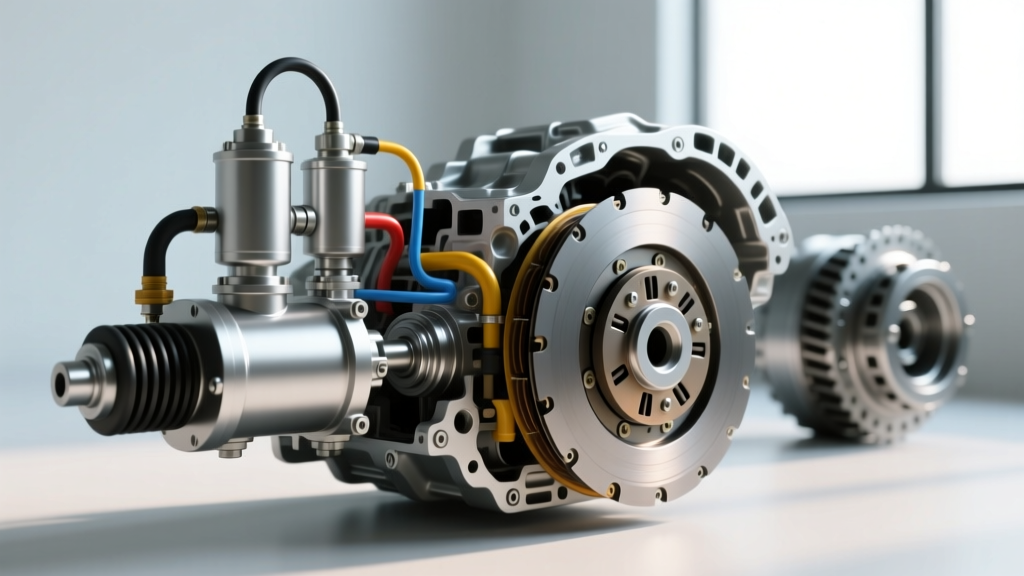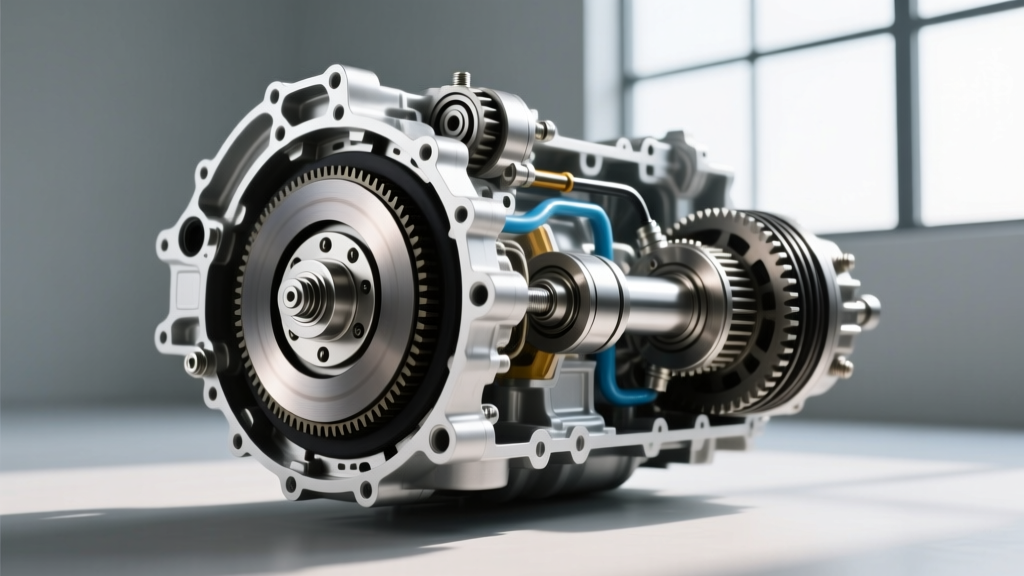
The Financial Impact of Post-Replacement PTO Failures
There are few things more frustrating for a fleet manager or heavy-duty owner-operator than paying for a complete Power Take-Off (PTO) system overhaul, only to find the PTO clutch not engaging when you put it to work. In 2026, with the rising cost of commercial vehicle downtime and specialized labor, a botched PTO clutch replacement is not just a mechanical headache—it is a severe financial liability. When a newly installed PTO clutch fails to engage, the issue rarely stems from a defective factory unit. Instead, it almost always points to installation errors, misdiagnosed secondary electrical faults, or improper calibration during the repair process.
Understanding the cost analysis of diagnosing and rectifying post-repair PTO clutch problems requires a deep dive into heavy-duty drivetrain diagnostics. Whether you are running a Chelsea 248X, a Muncie FR66, or an Eaton M20 electromagnetic clutch system, the financial footprint of a secondary repair can quickly eclipse the original invoice if the root cause is not accurately identified. Below, we break down the exact costs, technical failure points, and pricing structures associated with PTO clutch problems after a recent replacement.
Diagnostic Cost Breakdown: Dealer vs. Independent Heavy-Duty Shops
When your PTO clutch is not engaging immediately after a repair, the first step is a secondary diagnostic phase. Because the unit is new, technicians must determine if the failure is mechanical, electrical, or hydraulic. Shop rates for heavy-duty diesel and transmission specialists vary wildly, directly impacting your out-of-pocket expenses before a single wrench is turned.
| Diagnostic Service | Dealership / OEM Center (2026 Rates) | Independent Heavy-Duty Shop | Estimated Time Required |
|---|---|---|---|
| Initial Electrical & Solenoid Scan | $225 - $275 | $150 - $185 | 0.5 - 1.0 Hours |
| Mechanical Air-Gap & Spline Inspection | $350 - $450 | $250 - $325 | 1.5 - 2.0 Hours |
| Hydraulic Shift Pressure Testing | $275 - $350 | $195 - $250 | 1.0 - 1.5 Hours |
| Total Worst-Case Diagnostic Bill | $850 - $1,075 | $595 - $760 | 3.0 - 4.5 Hours |
Note: If the original installer is an independent shop, their labor warranty should theoretically cover the diagnostic time. However, if the root cause is traced back to a pre-existing wiring harness issue that was not included in the original scope of work, you will be billed for the diagnostic time at the rates listed above.
4 Technical Reasons Your New PTO Clutch Is Not Engaging
To understand where your money is going during a re-repair, you must understand the exact mechanical and electrical parameters required for a PTO clutch to engage. According to the Muncie Power Products Tech Library, over 85% of post-installation PTO failures are attributed to improper setup rather than manufacturing defects.
1. Incorrect Electromagnetic Air Gap (The 0.018" Rule)
For electromagnetic PTO clutches (such as those found on Eaton and Muncie models), the air gap between the armature and the rotor is critical. If the installer failed to set the air gap using a feeler gauge, or if they set it too wide, the magnetic field will be insufficient to pull the armature into engagement. The factory specification for most heavy-duty electromagnetic PTO clutches is 0.018" ± 0.002". If the gap exceeds 0.025", the clutch will not engage. If it is set below 0.012", the clutch will drag, overheat, and burn out the friction disc within 50 hours of operation. Correcting this requires removing the PTO output shaft, resetting the shims, and re-measuring—a labor-intensive process that typically adds $300 to $450 in labor costs to your repair bill.
2. Spline Bind and Output Shaft Misalignment
PTO units mate directly to the transmission's PTO aperture, typically utilizing an SAE 6-bolt or 8-bolt pattern. If the installer forced the PTO into place without properly supporting its weight (some units weigh over 85 lbs), the internal splines can bind. Furthermore, failing to apply the correct molybdenum-based spline lubricant causes galling. When the output shaft is under a mechanical bind, the internal clutch pack cannot slide laterally to engage the drive gear. Diagnosing spline bind requires dropping the PTO, inspecting the transmission aperture splines for metal shavings, and reinstalling the unit using a specialized alignment jig. Mounting bolts must be torqued in a star pattern to exactly 35-45 lb-ft (for 3/8"-16 hardware) to prevent housing distortion.
3. Solenoid Voltage Drop and Grounding Failures
When a PTO clutch is not engaging, many mechanics immediately blame the new solenoid. However, a 12V or 24V PTO solenoid requires a pristine electrical circuit. If the original repair did not include cleaning the chassis ground points or replacing degraded wiring, voltage drop will prevent engagement. A heavy-duty PTO solenoid requires a minimum of 11.4V (on a 12V system) under load to actuate. If a multimeter reveals a voltage drop greater than 0.5V across the circuit, the issue is the wiring, not the new clutch. Rewiring a PTO circuit with 10-gauge marine-grade tinned copper wire and a dedicated 30-amp relay costs roughly $180 in parts and labor, but is frequently missed by generalist mechanics.
4. Hydraulic Shift Pressure Deficits (Chelsea/Muncie Models)
For hydraulic shift PTOs, engagement relies on transmission fluid pressure routed through a shift valve. If the installer reused an old, clogged O-ring on the transmission side of the PTO aperture, or if the internal shift piston seal was nicked during installation, the PTO will not receive the required 250-300 PSI to engage the clutch pack. The Parker Chelsea Division explicitly warns that operating a hydraulic PTO with pressures below 200 PSI will result in severe clutch pack glazing and immediate engagement failure. Fixing this requires a hydraulic pressure test, PTO removal, and a $45 seal kit replacement.
Component Replacement Costs & Common Part Numbers
If the secondary diagnosis reveals that a specific sub-component was damaged during the initial botched installation (or was misdiagnosed and replaced unnecessarily), here is what you can expect to pay for OEM replacement parts in 2026.
- Electromagnetic Clutch Coil Assembly (Eaton M20 Series): Part # 442-1024. Cost: $385 - $450. Frequently burned out if the installer wired it without a diode suppression relay, causing voltage spikes.
- Hydraulic Solenoid Valve (Chelsea/Muncie 12V): Part # SOL-12V-HD. Cost: $95 - $140. Often fails if debris from the transmission fluid enters the valve body during an unclean installation.
- PTO Friction Disc & Steel Plate Kit: Cost: $220 - $350. Required if the air gap was set too tight, causing the new clutch to slip and glaze during the first day of use.
- Heavy-Duty PTO Wiring Harness & Relay Kit: Cost: $125 - $160. Essential for resolving persistent voltage drop issues that prevent the new clutch from receiving adequate amperage.
Hidden Costs: Commercial Fleet Downtime and Secondary Damage
The cost of the physical repair is only one side of the ledger. For commercial operations utilizing PTOs for dump trucks, wreckers, or vacuum pumps, a non-engaging PTO means a truck is off the revenue grid. In 2026, the average cost of heavy-duty truck downtime is estimated at $850 to $1,200 per day. If a shop takes three days to diagnose a post-repair PTO clutch failure due to a lack of specialized drivetrain knowledge, the hidden cost of downtime can easily exceed $3,000.
Furthermore, attempting to force a PTO into engagement by repeatedly cycling a faulty solenoid or over-pressurizing a hydraulic shift system can blow the transmission's internal PTO aperture seal. If transmission fluid begins leaking into the PTO housing, it will contaminate the clutch friction material, turning a $300 PTO fix into a $2,500 transmission teardown. As noted in the Eaton PTO Catalog, cross-contamination of hydraulic fluid and clutch friction surfaces is a primary cause of catastrophic PTO failure post-installation.
Pro-Tip for Fleet Managers: Always mandate that your repair facility performs a documented 'bench test' of the PTO clutch coil and solenoid before installation, followed by a live-load amperage draw test and hydraulic pressure verification post-installation. This 20-minute procedure eliminates 90% of post-repair engagement disputes.
Navigating Warranty Claims for Botched Installations
When your PTO clutch is not engaging after a recent replacement, the warranty conversation can become contentious. Parts manufacturers like Eaton, Muncie, and Parker will not cover a clutch pack burned up by an incorrect air gap or a coil fried by improper wiring. These are classified as 'installation errors.'
To protect your capital, ensure your repair invoice explicitly includes a labor warranty (typically 90 days to 1 year) alongside the parts warranty. If the failure is traced to an improperly torqued mounting flange or a missed spline alignment, the shop's labor warranty must cover the 3 to 4 hours of R&R (Remove and Replace) time required to fix their mistake. However, if the diagnostic reveals that your truck's PTO control module (PCM/BCM) was already failing and sending erratic voltage signals to the new clutch, you will be responsible for the secondary diagnostic and repair costs. Demand a printed multimeter voltage drop test and a hydraulic pressure gauge readout before authorizing any secondary PTO repairs to ensure you are only paying for the exact fault that caused the failure.