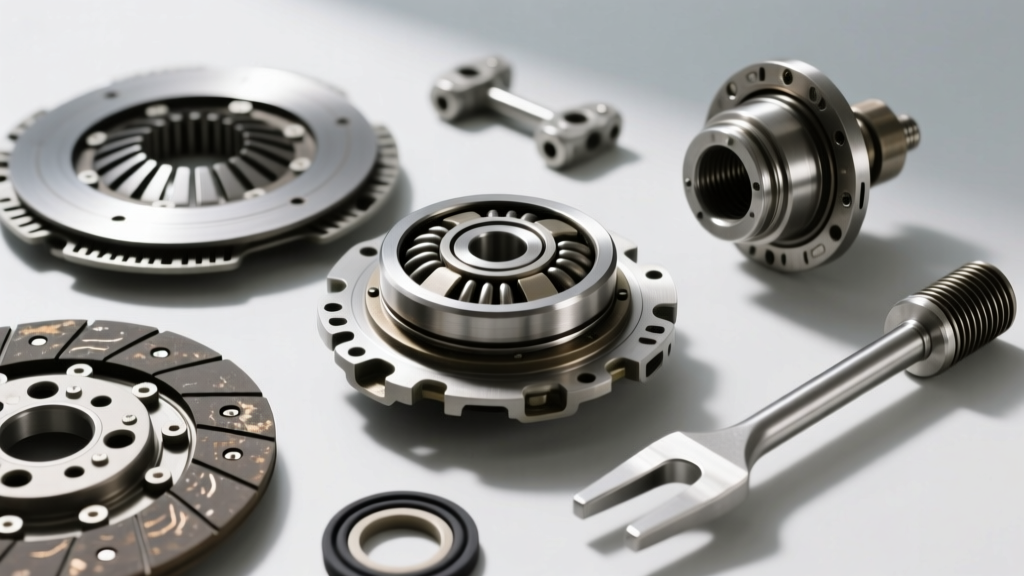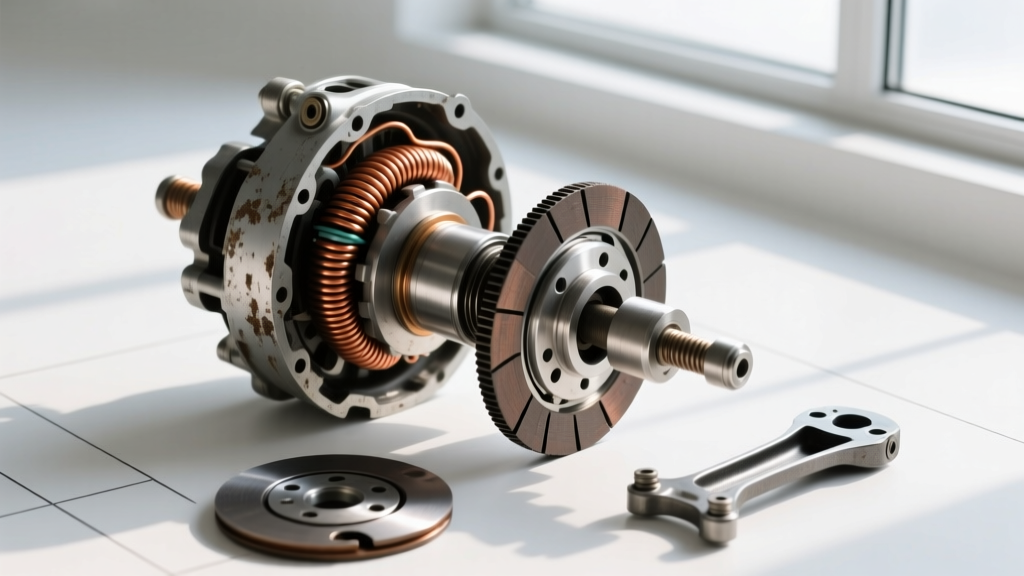
What is a PTO Clutch Assembly?
If you have ever operated a commercial zero-turn mower, a tow truck winch, an agricultural tractor, or a specialized off-road vehicle with auxiliary hydraulics, you have relied on a Power Take-Off (PTO) system. At the heart of this system is the PTO clutch assembly. In beginner terms, the PTO clutch is the mechanical bridge that connects your engine or transmission's rotational power to an auxiliary attachment. When you flip a switch or pull a lever in the cabin, the clutch engages, transferring torque to spin mower blades, run hydraulic pumps, or operate a winch drum.
While manual and automatic transmission clutches are designed primarily for vehicle propulsion, a PTO clutch assembly is engineered for stationary or auxiliary power transfer. Because these components operate in harsh environments—exposed to dust, moisture, extreme heat, and high-torque shock loads—they are highly susceptible to specific engagement and disengagement failures. Understanding how to diagnose these symptoms is critical for minimizing equipment downtime and avoiding catastrophic drivetrain damage.
The Physics of Engagement: How Electromagnetic PTO Clutches Work
Most modern light-to-medium duty PTO systems utilize an electromagnetic clutch design. When you activate the PTO switch, a 12-volt DC current is sent to a stationary electromagnetic coil housed inside the rotor assembly. This current generates a powerful magnetic field that pulls a steel armature plate across a small empty space—known as the air gap—until it slams against the friction face of the rotor. The resulting friction locks the assembly together, transferring engine torque to the output shaft.
When you turn the switch off, the electrical current ceases, the magnetic field collapses, and a series of heavy-duty return springs pull the armature plate away from the rotor, disengaging the power flow. While this sounds simple, the physics governing the air gap and electrical resistance leave very little room for error. According to engineering data from Warner Electric (Altra Industrial Motion), the magnetic holding force of a PTO clutch drops exponentially as the air gap widens. An air gap that exceeds factory specifications by just a few thousandths of an inch can result in a 60% loss of torque capacity, leading to severe slipping and rapid thermal degradation.
Diagnosing PTO Clutch Engagement Failures (Won't Engage)
When your auxiliary equipment refuses to spin, or the clutch slips under load (often accompanied by a loud squealing noise and a burning smell), the issue almost always falls into one of two categories: electrical starvation or mechanical air gap wear.
1. Electrical Voltage Drop and Coil Failure
Beginners often assume a dead clutch means a burned-out coil. However, voltage drop across corroded wiring harnesses or failing relays is far more common. To diagnose this, you need a digital multimeter.
- Static Resistance Test: Disconnect the clutch wiring harness. Set your multimeter to Ohms (Ω) and probe the two clutch terminals. A healthy 12V DC Warner Electric or Ogura coil typically reads between 2.4 and 3.2 ohms at room temperature (68°F/20°C). If your multimeter reads infinite (OL), the internal copper windings are broken, and the coil must be replaced.
- Dynamic Voltage Test: Reconnect the harness and set the multimeter to DC Volts. Back-probe the connector while an assistant turns the PTO switch to the ON position. You must see at least 11.5 volts under load. If you only read 9 or 10 volts, the magnetic field will be too weak to pull the armature across the gap. Trace the wiring back to the PTO relay and check for corroded ground straps.
2. Mechanical Air Gap Wear
Every time the clutch engages, the friction surfaces wear down microscopically. Over hundreds of hours, this wear increases the physical distance between the armature and the rotor. Eventually, the gap becomes too wide for the magnetic field to bridge, resulting in a clutch that clicks but never fully locks.
The Fix: You must manually adjust the air gap. Locate the three adjustment nuts on the perimeter of the armature plate. Using a flat feeler gauge inserted through the inspection slots, measure the gap. Most commercial PTO clutches require an air gap between 0.012 and 0.018 inches. Loosen the outer lock nuts, adjust the center nuts until the 0.015-inch gauge slides through with a slight drag, and retighten the lock nuts to 12 lb-ft of torque. If the adjustment nuts are maxed out and the gap is still too wide, the friction surfaces are worn beyond their service limit, requiring a full assembly replacement.
Diagnosing PTO Clutch Disengagement Failures (Won't Disengage)
A PTO clutch that refuses to disengage is incredibly dangerous. It means your mower blades, winch, or hydraulic pump continues to spin even when the system is turned off, posing a severe safety hazard and risking transmission wind-up.
Residual Magnetism and Flyback Diode Failure
Steel components can retain a slight magnetic charge even after the electrical current is removed. In 12V electromagnetic systems, a flyback diode is often integrated into the wiring harness to suppress voltage spikes when the circuit is broken. If this diode fails in a shorted state, it can create a secondary ground loop that maintains a low-voltage trickle to the coil. This residual current is enough to keep the armature lightly attracted to the rotor, causing severe disengagement dragging. Replacing the wiring harness diode pack (usually a $15 to $30 part) often cures this issue instantly.
Physical Binding and Warped Armatures
If the electrical system checks out, the issue is mechanical binding. Operating a PTO clutch in wet, muddy, or highly corrosive environments can cause rust to form on the armature splines. When the power is cut, the return springs lack the physical force to pull the rusted armature back to its resting position. Additionally, if the clutch has been subjected to extreme slipping (often caused by the air gap issues mentioned above), the intense heat can warp the steel armature plate. A warped plate will physically drag against the rotor face even when the springs attempt to pull it away. In both scenarios, the clutch assembly must be removed, disassembled, and either cleaned with emery cloth or replaced entirely.
Reference Chart: Common PTO Clutch Specifications
Having the correct baseline specifications is vital for accurate diagnostics. Below is a reference table for some of the most common PTO clutch assemblies found in commercial and industrial applications.
| Brand / Series | Common Application | Nominal Air Gap | Coil Resistance (Ohms) | Torque Rating (lb-ft) |
|---|---|---|---|---|
| Warner Electric 5218-17 | Commercial Zero-Turn Mowers | 0.012 - 0.018 in. | 2.8 Ω | 100 lb-ft |
| Ogura STC2.5 | Mobile Hydraulic Pump Drives | 0.015 - 0.025 in. | 3.2 Ω | 150 lb-ft |
| Muncie Power CD Series | Heavy-Duty Truck Transmission PTO | Mechanical Shift | N/A (Pneumatic/Hyd) | 450+ lb-ft |
For heavy-duty commercial truck applications, the Muncie Power Products PTO Guide emphasizes that mechanical and pneumatic shift clutches require entirely different diagnostic approaches, focusing on air pressure thresholds and shift fork clearances rather than electromagnetic air gaps.
Repair vs. Replace: Cost Analysis and Torque Specifications
When faced with a failed PTO clutch assembly, technicians must decide between rebuilding the coil and replacing the entire unit. A replacement electromagnetic coil typically costs between $80 and $140. However, if the friction faces are scored, the armature is warped, or the bearings are seized, a complete assembly replacement is mandatory. A brand-new Warner Electric or Ogura complete assembly generally ranges from $250 to $450, depending on the torque rating and application.
Crucial Installation Note: When reinstalling the PTO clutch assembly to the engine crankshaft or transmission output shaft, proper torque is non-negotiable. Always apply a medium-strength threadlocker (such as Loctite 242) to the center mounting bolt threads. For small engine crankshafts, torque the center bolt to 55 to 75 lb-ft. For heavy-duty hydraulic pump drives utilizing a keyed shaft, torque specifications often exceed 120 lb-ft. Failure to achieve proper clamping force will result in the clutch fretting against the shaft, destroying the crankshaft keyway and requiring an engine-out repair.
By understanding the delicate balance between electrical voltage, magnetic force, and mechanical clearances, you can accurately diagnose PTO clutch engagement and disengagement issues before they escalate into major equipment failures. Keep your multimeter and feeler gauges handy, and always refer to the manufacturer's specific air gap tolerances for your exact model.