The Hidden Bottleneck in High-Torque Drivetrains
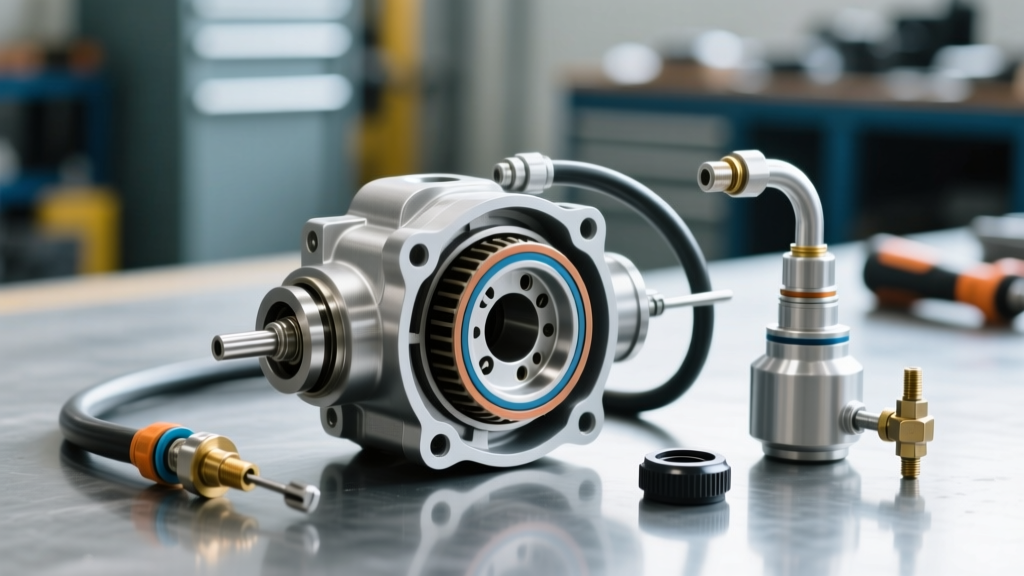
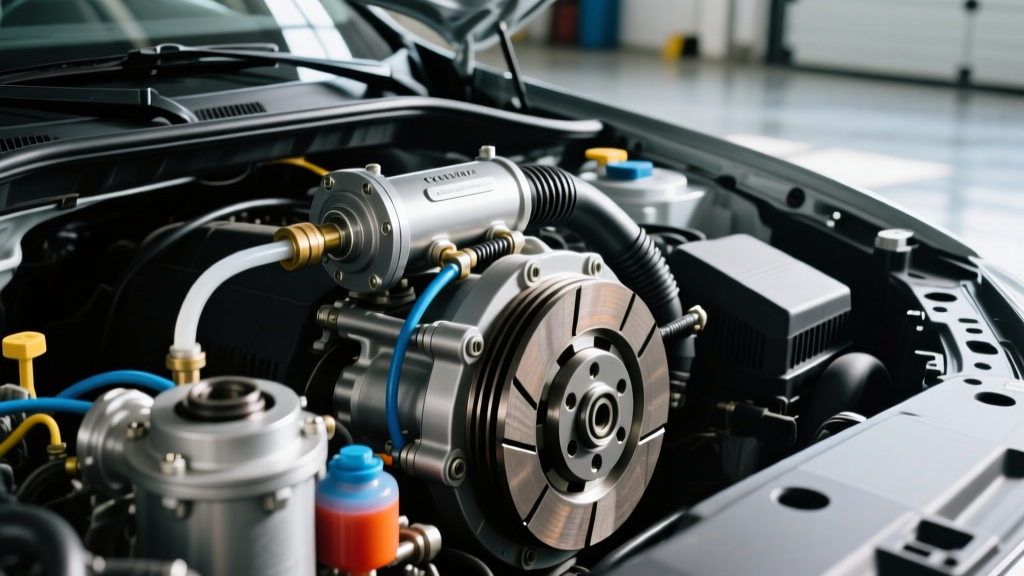
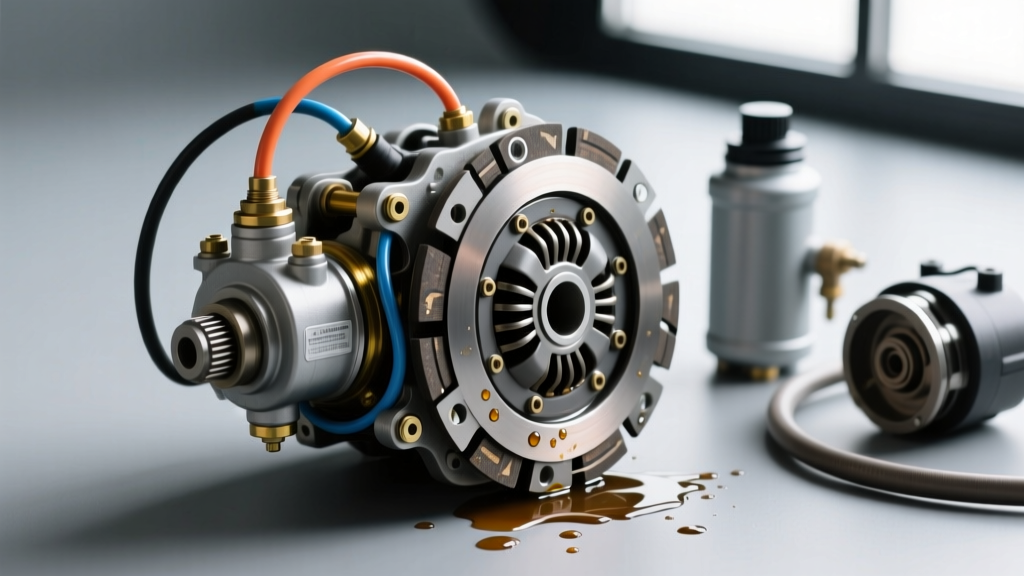
When pushing 500+ wheel horsepower through a manual transmission, the clutch hydraulic system is the unsung hero of your drivetrain. While enthusiasts obsess over twin-disc cerametallic clutches and lightweight flywheels, the hydraulic actuation circuit is often left entirely stock. This is a critical mistake. Diagnosing hydraulic clutch issues in a performance context is not just about finding leaks; it is about optimizing fluid displacement, managing thermal expansion, and eliminating system compliance. At the heart of this system lies a frequently overlooked component: the clutch master cylinder bleeder. In high-performance applications, the inability to properly evacuate air from the master cylinder itself leads to recurring spongy pedals, missed shifts, and catastrophic clutch drag at high RPMs.
Symptom Matrix: Diagnosing Hydraulic Failure Modes
Before tearing into the firewall or upgrading to braided lines, you must accurately diagnose the root cause of your hydraulic failure. The following matrix maps common performance-driving symptoms to their underlying hydraulic faults and the corresponding upgrade path.
| Symptom | Diagnostic Root Cause | Performance Upgrade Solution |
|---|---|---|
| Spongy pedal that returns slowly | Micro-cavitation and trapped air at the master cylinder reservoir | Install an integrated clutch master cylinder bleeder or AN3 remote bleeder kit |
| Pedal dropping to floor under sustained load | Internal cup seal bypass due to excessive line pressure or thermal degradation | Upgrade to a high-temp fluid (e.g., Motul RBF 660) and a 7/8-inch bore master |
| Hard pedal with poor disengagement | Blocked compensation port or collapsed OEM rubber flex line | Replace with -3 AN stainless steel braided lines and verify reservoir venting |
| Clutch drag at 7,000+ RPM | Insufficient fluid displacement volume for high-ratio slave cylinders | Step up to a 1.0-inch bore master cylinder and adjust pedal ratio |
The Role of the Clutch Master Cylinder Bleeder in Air Evacuation
Why is the clutch master cylinder bleeder so critical in performance builds? Most OEM master cylinders—such as the ubiquitous GM 19208850 or Ford BR3Z-7A543-A—are designed with cost and assembly-line speed in mind. They typically lack an integrated bleeder screw at the master cylinder body, relying entirely on a plastic push-connect fitting and forcing technicians to bleed the system solely from the slave cylinder located down in the bell housing.
In a track environment, heat soak from the exhaust and transmission tunnel causes the hydraulic fluid to expand and contract, pulling micro-bubbles out of suspension. These bubbles migrate to the highest point in the system: the master cylinder. Without a dedicated clutch master cylinder bleeder at the firewall, this air becomes trapped, creating a compressible gas pocket that ruins pedal feel. Upgrading to a performance master cylinder with an integrated bleeder, or retrofitting a remote bleeder valve, is mandatory for maintaining a rock-solid pedal during 20-minute track sessions.
OEM vs. Performance Bleeder Valve Architectures
Understanding the mechanical differences between factory and aftermarket bleeder setups is crucial for effective diagnosis and repair.
- OEM Plastic Push-Connect Fittings: These rely on an internal O-ring and a plastic retaining tang. Under high line pressure (common with stiff aftermarket pressure plates), the plastic housing can micro-flex, allowing air ingress past the O-ring. They also feature restrictive internal orifices that impede rapid fluid flow during bleeding.
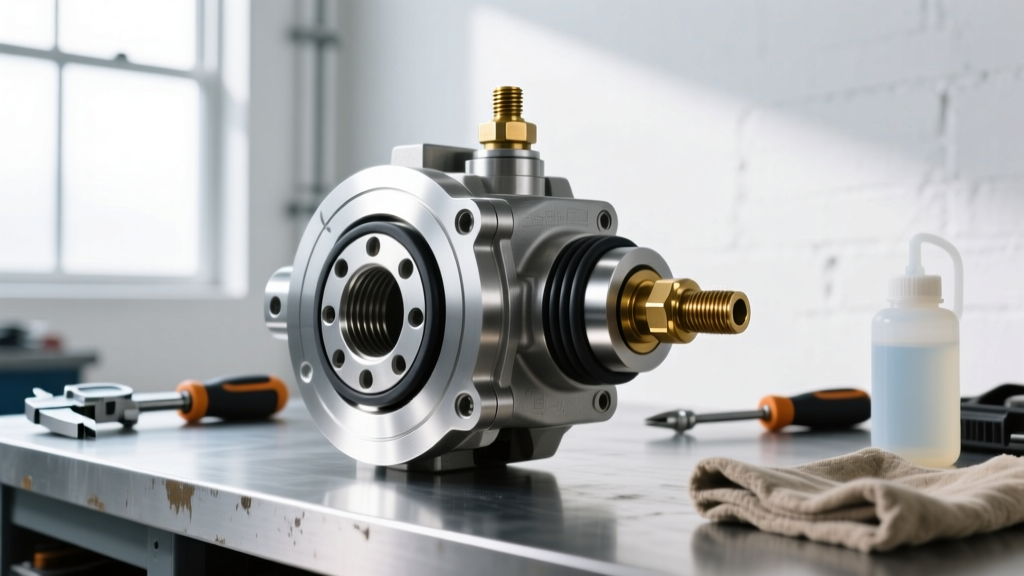
- AN3 Stainless Steel Speed Bleeders: Performance setups utilize a threaded AN3 (3/16-inch) flare or O-ring boss port. By threading in a stainless steel speed bleeder (such as the Russell P/N 639110), you create a metal-to-metal or Viton O-ring seal that withstands over 3,000 PSI of burst pressure. The internal check valve in a speed bleeder also allows for one-man pressure bleeding without drawing air back into the system during the pedal return stroke.
Upgrading to Inverted Master Cylinders with Remote Bleeders
For dedicated track cars and tube-chassis builds, the pedal box is often mounted to the floor or firewall using an inverted master cylinder configuration (reservoir pointing downward or horizontally). In these setups, gravity works against you, and air will permanently trap itself in the outlet port. Companies like Tilton Engineering and Wilwood Engineering solve this by machining a secondary port specifically for a remote clutch master cylinder bleeder. This allows you to run a short length of -3 AN hose to a bleeder valve mounted at the highest point of the firewall, ensuring 100% air evacuation regardless of the master cylinder's physical orientation.
Fluid Dynamics: Bore Sizing and Line Pressure
Diagnosing a hydraulic system also requires matching the master cylinder bore size to your clutch's pressure plate index. The bore size dictates the volume of fluid displaced per inch of pedal travel, which directly impacts line pressure and pedal effort.
- 3/4-Inch Bore: Displaces less fluid but generates higher line pressure with less pedal effort. Ideal for heavy-duty twin-disc clutches with high static pressure, but requires more pedal travel (which may bottom out on the firewall).
- 7/8-Inch Bore (Industry Standard):strong> The sweet spot for most performance street and track cars. Wilwood P/N 260-9439 is a benchmark here, offering excellent displacement volume for standard T56 Magnum or Tremec TR-6060 slave cylinders.
- 1.0-Inch Bore: Displaces maximum fluid for rapid clutch disengagement, but requires significantly higher pedal effort. Usually reserved for sequential transmissions or pneumatic-assisted systems.
Step-by-Step High-Pressure Bleeding Protocol
Once you have diagnosed the issue and installed an upgraded clutch master cylinder bleeder, follow this high-pressure protocol using a high-temperature fluid like Motul RBF 660 (Dry boiling point 617°F / 325°C).
- Preparation: Bench-bleed the new master cylinder before installation. Clamp it in a vise, fill with RBF 660, and stroke the pushrod until no bubbles emerge from the outlet port.
- Installation & Torque: Mount the master cylinder to the firewall or pedal box. For standard M8x1.25 mounting studs, torque the nuts to exactly 16 ft-lbs. Over-torquing can warp the cast aluminum body, causing internal seal drag.
- Line Connection: Connect your -3 AN braided line to the master cylinder. Torque the AN3 fitting to 10-12 ft-lbs. Do not exceed this, or you will gall the aluminum threads.
- Master Bleeding: Open the newly installed clutch master cylinder bleeder. Have an assistant slowly depress the pedal. Close the bleeder before the pedal returns. Repeat until the fluid is crystal clear.
- Slave Bleeding: Move to the transmission bell housing. Open the slave bleeder (typically 5-7 ft-lbs to break loose—do not strip the soft brass). Use a motive power pressure bleeder set to 15 PSI to push fluid through the system without aerating it.
Expert Insight: If your pedal feels 'mushy' after a hot lap, you are likely experiencing fluid vapor lock, not just air ingress. Upgrading to a high-temp fluid and an AN3 speed bleeder reduces system compliance and allows for rapid track-side fluid swaps without the need for a second person in the driver's seat.
Cost Breakdown and Sourcing Guide
Budgeting for a complete hydraulic overhaul requires understanding the true cost of OE vs. aftermarket components. Below is a realistic pricing matrix for a high-performance clutch hydraulic upgrade.
| Component | OEM Replacement (Average) | Performance Upgrade (Average) |
|---|---|---|
| Master Cylinder (7/8-inch bore) | $80 - $140 | $220 - $350 (Wilwood / Tilton) |
| Clutch Master Cylinder Bleeder Kit | N/A (Integrated in slave) | $45 - $85 (AN3 Remote Kit) |
| Hydraulic Line (Firewall to Slave) | $60 (Rubber/Plastic) | $120 - $180 (-3 AN Braided) |
| High-Temp Fluid (500ml) | $12 (DOT 3) | $35 - $45 (Motul RBF 660 / Castrol SRF) |
Final Torque and Safety Checks
After bleeding the system, perform a static pressure test. Pump the pedal 20 times rapidly to build maximum line pressure, then hold the pedal to the floor for 60 seconds. If the pedal creeps upward, your slave cylinder piston seal is bypassing. If the pedal slowly sinks to the floor, your master cylinder internal cup seal has failed or the clutch master cylinder bleeder valve is weeping. Finally, verify that the master cylinder pushrod has a minimum of 0.030 inches of free-play at rest. Without this free-play, the master cylinder piston will cover the compensation port, trapping pressure in the line and causing the clutch to slip under heavy throttle. Proper diagnosis and strategic upgrades to your hydraulic architecture will ensure that your drivetrain shifts as sharply on lap 20 as it did on lap 1.