Step 1: Identify Your 4WD Architecture
Before you can properly operate, maintain, or repair a four-wheel-drive vehicle, you must identify whether it utilizes a part-time or full-time system. Misidentifying your system is the leading cause of catastrophic drivetrain binding, transfer case chain stretch, and shattered axle components. Modern 4WD systems have evolved significantly, but the fundamental mechanical split remains between part-time locking setups and full-time planetary systems.
| Feature | Part-Time 4WD | Full-Time 4WD |
|---|---|---|
| Center Differential | None (Locked Spool / Dog Clutch) | Yes (Planetary or Bevel Gear) |
| Dry Pavement Use (4H) | No (Causes severe binding) | Yes (Safe for all surfaces) |
| Common Transfer Cases | New Process NP241, BorgWarner BW4406 | New Process NP242, NP249, BW4409 |
| Low Range (4L) | Yes (Typically 2.72:1 ratio) | Yes (Often locks center diff in 4L) |
| Primary Shifting Mechanism | Sliding collar / Synchro ring | Planetary gearset / Viscous coupler |
To identify your system, check your transfer case shift selector. If your options are strictly 2H, 4H, N, and 4L, you have a part-time system. If your selector includes a 4-Full-Time or 4-Auto position, your vehicle is equipped with a full-time or active-on-demand transfer case featuring an internal center differential or clutch pack.
Step 2: Understand the Drivetrain Anatomy
When diagnosing drivetrain noise, vibration, or fluid leaks, understanding the fundamental difference between differential and transfer case components is your first step toward an accurate repair. While both are gear-driven housings that route torque, their mechanical objectives are entirely different.
The Differential: Managing Speed Variance
Axle differentials (front and rear) use hypoid ring and pinion gears combined with spider gears to split torque left-to-right. Their primary job is to allow the outside wheel to spin faster than the inside wheel during a turn. A center differential, found inside full-time transfer cases, performs this same speed-variance function, but front-to-rear. It accommodates the fact that the front and rear driveshafts must rotate at slightly different speeds when cornering on high-traction surfaces.
The Transfer Case: Torque Splitting and Reduction
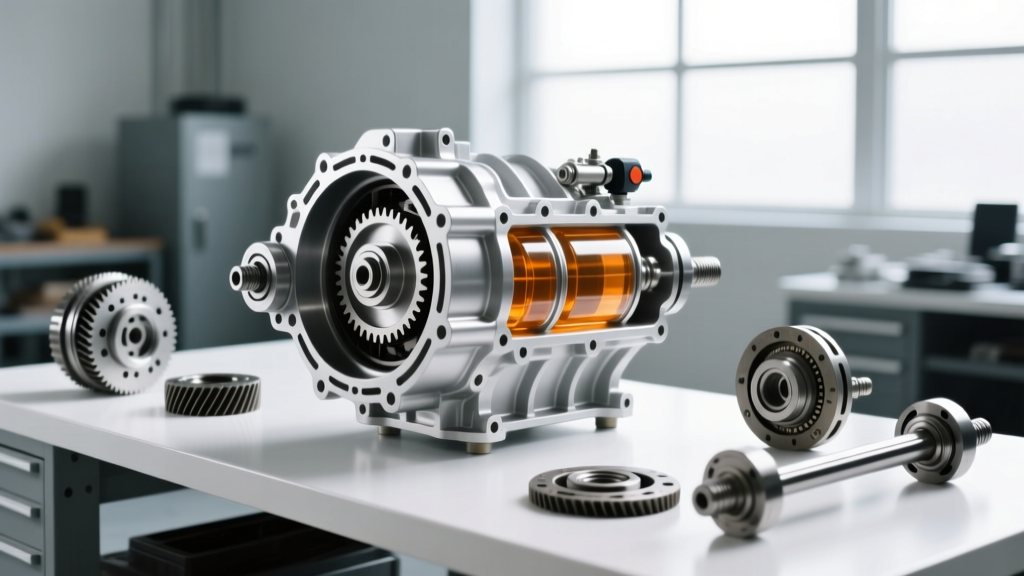
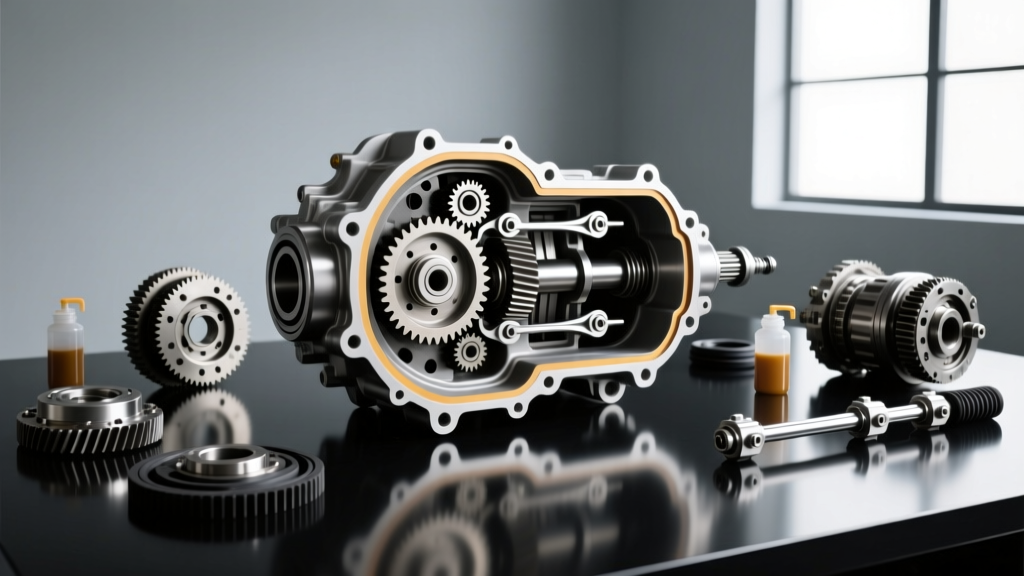
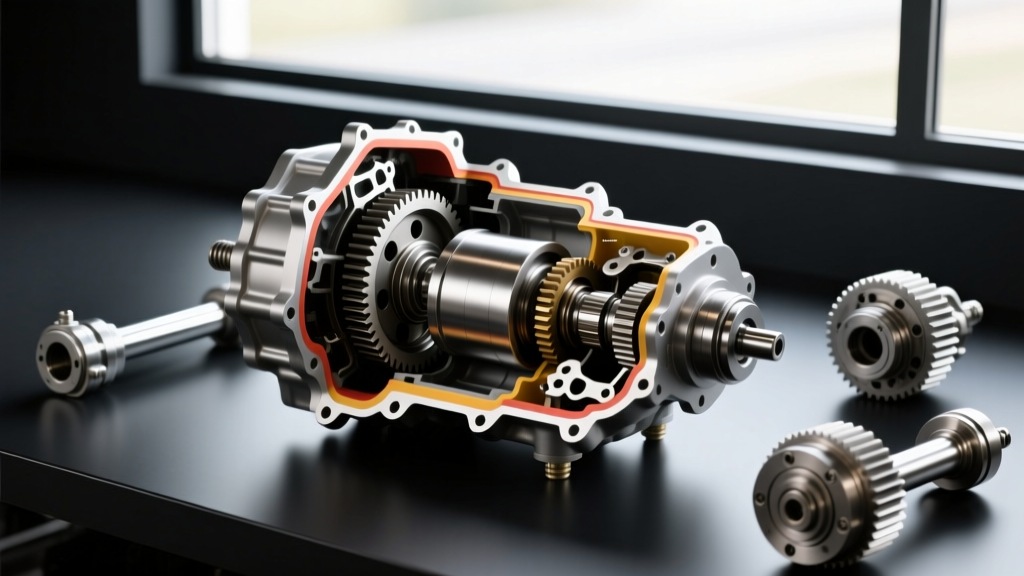
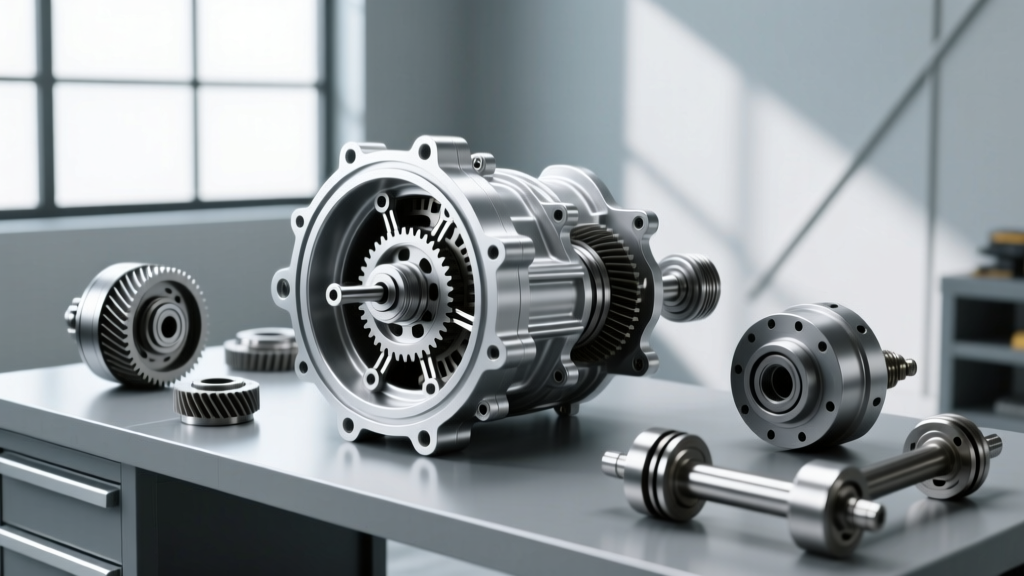
The transfer case bolts directly to the transmission output shaft. Its primary job is to split torque front-to-rear (often at a 50/50 or 40/60 bias) and provide a secondary gear reduction (Low Range) for off-road crawling or heavy towing. According to MotorTrend's transfer case basics guide, modern chain-driven transfer cases use a heavy-duty Morse chain to route power to the front output shaft, whereas gear-driven cases (like the legendary cast-iron NP205) use helical cut steel gears. The transfer case does not manage left-to-right wheel slip; that is strictly the domain of the axle differentials.
Step 3: Proper Shifting Procedures
Shifting protocols vary wildly depending on your architecture. Forcing a shift can strip the shift fork pads or shatter the planetary gears.
How to Shift a Part-Time System (e.g., NP241, BW4406)
- 2H to 4H: Can usually be done on the fly (Shift-On-The-Fly) at speeds up to 55 MPH, provided the front axle is equipped with automatic locking hubs or a vacuum-actuated axle disconnect (CAD). Lift off the throttle slightly during the shift to unload the drivetrain.
- 4H to 4L: You must come to a complete stop (or roll at 1-2 MPH). Shift the automatic transmission into Neutral (or depress the clutch fully on a manual). Move the transfer case lever firmly into 4L. Wait 3-5 seconds for the indicator light to stop flashing before engaging the transmission drive gear.
- Exiting 4L: Stop the vehicle, shift to Neutral, and pull the transfer case lever back to 4H or 2H. If the lever feels stuck, roll the vehicle forward or backward a few inches to relieve driveline wind-up tension.
How to Shift a Full-Time System (e.g., NP242, BW4409)
- 2H to 4-Full-Time: Can be done at any speed. This engages the center differential, allowing safe operation on dry pavement, wet roads, or light snow.
- 4-Full-Time to 4-Part-Time (Locked): Only engage this mode on loose surfaces (dirt, snow, ice). This mechanically locks the center differential, forcing a 50/50 torque split. Using this on dry pavement will cause severe tire chirping and drivetrain binding.
- Engaging 4L: Just like a part-time system, you must stop, shift the transmission to Neutral, and move the selector to 4L. In most full-time cases, shifting into 4L automatically locks the center differential for maximum low-speed traction.
Step 4: Transfer Case Fluid Service & Torque Specs
Transfer case fluid degrades due to extreme shear forces from the Morse chain and heat generated by the viscous coupler or clutch packs. Neglecting this service leads to $2,500+ replacement bills. Here is your step-by-step service guide.
Step 4.1: Select the Correct Fluid
Never assume ATF is universally acceptable. Using the wrong fluid will destroy internal clutch packs or fail to lubricate the chain.
- Standard Chain-Driven Cases (e.g., NP241DLD, BW4406): Typically require standard ATF. Dodge/Ram applications use ATF+4, while GM/Ford applications often use Dexron VI or Motorcraft MERCON V.
- Active / Clutch-Based Cases (e.g., GM Autotrac NV246, NV263): Require specialized friction-modified fluids like GM Auto-Trak II (Part #89021382). Using standard ATF here will cause severe shudder during clutch engagement.
- Ford Super Duty (BW44-17): Requires specific Motorcraft XL-12 Transfer Case Fluid.
Step 4.2: Drain and Fill Procedure
- Level the vehicle on jack stands. Remove the skid plate (if equipped) using an 18mm or 13/16-inch socket.
- Locate the fill plug and drain plug on the rear output housing. Always remove the FILL plug first. If the drain plug is stripped and you cannot remove the fill plug, your vehicle is immobilized.
- Remove the drain plug (typically 3/8-inch or 1/2-inch square drive, or a 15mm hex). Allow the fluid to drain for 15 minutes. Expect 1.5 to 2.5 quarts depending on the model.
- Inspect the magnetic drain plug for metal shavings. Fine grey paste is normal; large chunks or brass-colored flakes indicate synchro ring or chain guide failure.
- Reinstall the drain plug. Torque Spec: 15 to 20 lb-ft. Do not overtighten, as the aluminum housings on modern BorgWarner and New Venture cases strip easily.
- Pump new fluid into the fill hole until it drips out. Reinstall the fill plug and torque to 15-20 lb-ft.
Step 5: Troubleshooting Drivetrain Binding and Actuator Failures
Even with proper maintenance, 4WD systems develop specific failure modes. Use this diagnostic framework to isolate the issue.
Issue 1: Drivetrain Wind-Up and Binding on Pavement
Diagnosis: If your vehicle hops, binds, or chirps tires during tight turns on dry pavement, you are either driving a part-time system in 4H, or the center differential in your full-time system has failed and locked itself. In viscous-coupled full-time cases (like the Jeep NP249), the internal silicone fluid can degrade and permanently lock the clutch pack due to overheating. Fix: Rebuild the transfer case and replace the viscous coupler assembly (Parts cost: $450-$650; Labor: 4-6 hours).
Issue 2: 4WD Will Not Engage (Flashing Indicator Light)
Diagnosis: On modern Shift-On-The-Fly systems, the transfer case relies on an external electric encoder motor to rotate the internal shift shaft. If the transfer case fluid hasn't been changed, moisture buildup corrodes the internal shift fork pads, causing the encoder motor to overwork and fail. Furthermore, the front axle disconnect actuator (often vacuum or electrically operated on the passenger side of the front diff) is a common failure point. As noted in Car and Driver's breakdown of 4WD systems, electronic actuators are highly susceptible to weather and corrosion. Fix: Scan the BCM/TCM for actuator position codes. Replace the encoder motor (Parts cost: $120-$250) and apply dielectric grease to the wiring pigtail.
Issue 3: Grinding Noise in 4WD
Diagnosis: A rhythmic grinding or whirring noise that only occurs in 4H or 4L usually points to a stretched transfer case chain or worn sprocket teeth. When the Morse chain stretches, it skips teeth on the drive sprocket under heavy load. Fix: Drop the transfer case, split the magnesium or aluminum housing, and install a heavy-duty replacement chain and sprocket kit (Parts cost: $150-$300). Ensure the transmission output shaft seal is replaced during reassembly to prevent ATF from cross-contaminating the transfer case.
Pro-Tip for 2026 EV and Hybrid Trucks: Modern electric 4WD systems (like those in the Rivian R1T or GMC Hummer EV) eliminate the mechanical transfer case entirely, using dual or tri-motor setups with software-based torque vectoring. However, for the millions of legacy internal combustion 4WD vehicles on the road, mastering the mechanical differences between part-time and full-time architectures remains an essential skill for any drivetrain technician or off-road enthusiast.