The Short Answer: Can a Bad Transfer Case Cause Transmission Problems?
When enthusiasts and daily drivers alike ask, "can a bad transfer case cause transmission problems," the answer is a resounding yes. While the transfer case and the transmission are technically two separate bolted-together assemblies, they share a direct mechanical and hydraulic lineage. A failing transfer case doesn't just strand you in 4WD; it can send catastrophic shockwaves backward into your transmission's tail housing, leading to thousands of dollars in secondary damage.
The root cause of this cascading failure is almost always neglected transfer case fluid service. By understanding how these components interact and how to properly service your transfer case fluid, you can protect your entire drivetrain from premature destruction. In this beginner-friendly explainer, we will break down the mechanical linkage, the vital role of specialized fluids, and provide a step-by-step service guide with real-world torque specs and pricing for 2026.
The Mechanical Link: How Transfer Case Neglect Cascades
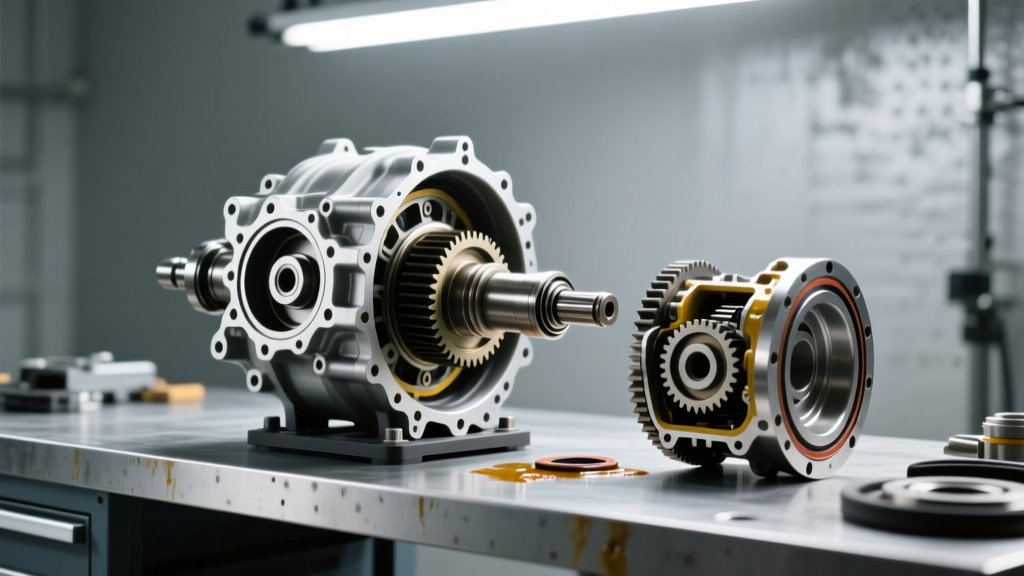
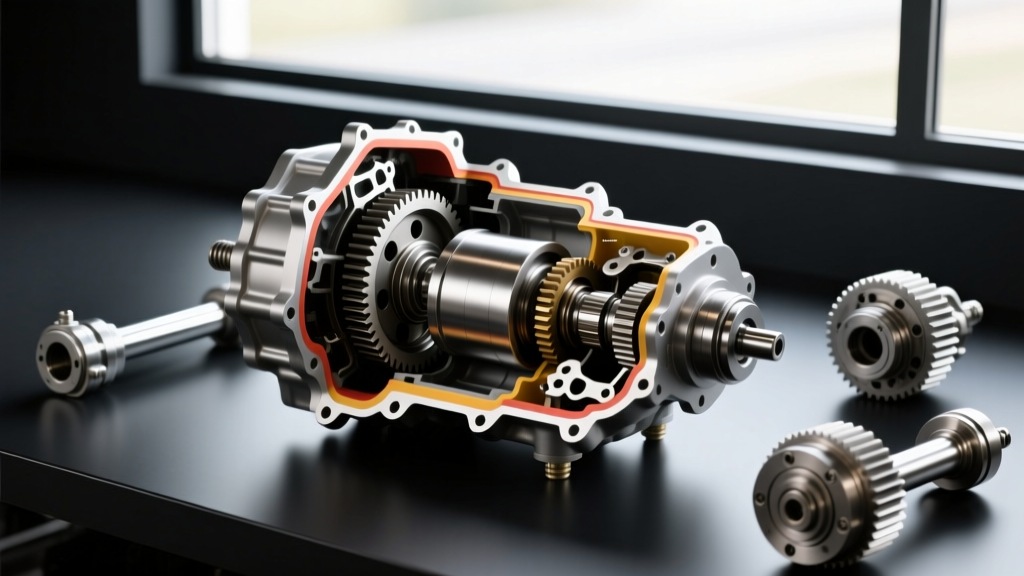
To understand how a bad transfer case ruins a transmission, you have to look at where they meet. The transmission's output shaft extends through the rear extension housing (or tail housing) and slides directly into the transfer case's input gear or chain-driven sprocket.
When transfer case fluid is low, burnt, or contaminated, the internal bearings—specifically the input shaft bearing—begin to starve for lubrication. As the bearing degrades, it develops radial play (wobble). This wobble forces the transfer case input gear to oscillate, which in turn violently shakes the transmission's output shaft.
The 4L60E and 6L80 Extension Housing Disaster
In popular GM transmissions like the 4L60E, 6L80, and even the newer 10L80, this oscillation rapidly destroys the soft bronze extension housing bushing. Once that bushing is obliterated, the output shaft seal begins to leak transmission fluid onto the exhaust. The transmission then runs low on its own fluid, leading to slipping clutches, burnt bands, and total transmission failure. What started as a $50 transfer case fluid service just evolved into a $3,500 transmission rebuild.
Expert Insight: Harmonic vibrations from a stretched Morse chain inside a starved transfer case can also travel backward through the driveline, causing premature wear to the transmission's rear output bearing and the vehicle's carrier bearings.
The Role of Transfer Case Fluid in Drivetrain Health
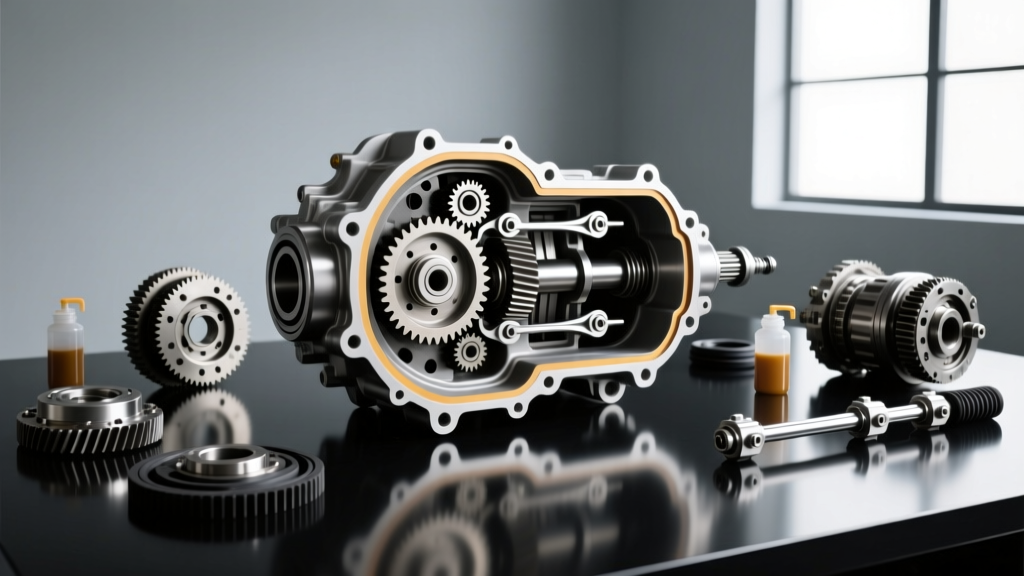
Transfer case fluid is not just a lubricant; in modern active 4WD and AWD systems, it is a vital hydraulic and friction-management medium. According to AA1Car's Transfer Case Diagnostics Library, using the incorrect fluid or running fluid past its service interval is the leading cause of clutch pack failure in electronic shift-on-the-fly (ESOF) systems.
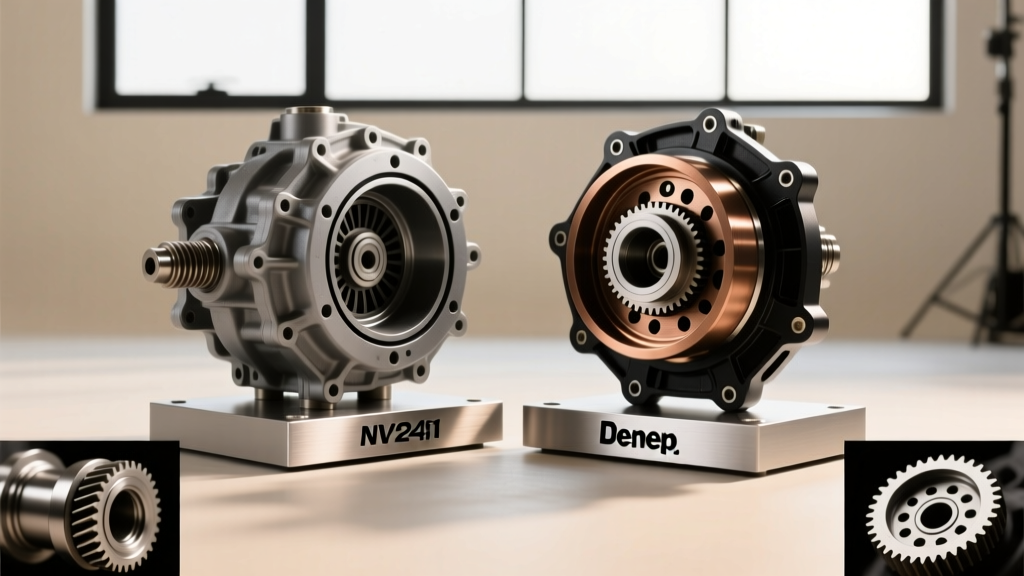
- Friction Modifiers: Active transfer cases (like the GM NV246 or Ford BW4406) contain internal clutch packs that lock the front and rear driveshafts together. These clutches require specialized fluids with exact friction modifiers (e.g., GM Auto-Trak II or Ford Motorcraft XL-12) to engage smoothly.
- Shear Stability: Standard automatic transmission fluid (ATF) will shear down and lose its protective film strength under the extreme gear-loading of a transfer case, leading to metal-on-metal contact and chain stretch.
- Thermal Management: Transfer cases lack the external cooling lines that transmissions have. The fluid must absorb and dissipate immense heat on its own. Burnt fluid loses its thermal capacity, accelerating wear on the planetary gearsets.
Transfer Case Fluid Service: Capacities and Torque Specs
Performing a transfer case fluid service requires precision. Over-tightening the aluminum drain and fill plugs is a common beginner mistake that can crack the transfer case housing, resulting in a total unit replacement. Below is a reference table for common light-duty truck and SUV transfer cases.
| Vehicle / Transfer Case | Fluid Capacity | Required Fluid Type | Plug Torque Spec |
|---|---|---|---|
| GM BW4406 (Silverado/Sierra 1500) | 2.7 Quarts | GM Auto-Trak II | 15 - 20 ft-lbs |
| GM NV246 (Tahoe/Suburban 1500) | 2.0 Quarts | GM Auto-Trak II | 15 - 20 ft-lbs |
| Ford BW1356 (F-150 / Bronco) | 3.8 Quarts | MERCON V / XL-12 | 12 - 15 ft-lbs |
| Jeep NV241 (Wrangler JK/JL) | 2.7 Quarts | Mopar ATF+4 | 15 - 20 ft-lbs |
| Ram BW44-41 (Ram 1500) | 2.0 Quarts | Mopar ATF+4 | 15 - 20 ft-lbs |
Step-by-Step Beginner’s Guide to Fluid Service
Changing your transfer case fluid is a highly accessible DIY job that requires minimal tools but strict adherence to procedure. As outlined in Car and Driver's comprehensive 4WD maintenance guides, regular drivetrain fluid swaps are the cheapest insurance policy for your truck.
Tools Required
- 3/8-inch drive hex bit or socket (specific to your plug size, commonly 8mm, 10mm, or 3/8")
- Torque wrench (capable of measuring 12-20 ft-lbs)
- Manual fluid transfer pump (e.g., Plews 55-001 or similar 10oz pump)
- Drain pan and shop rags
- Jack and jack stands (or vehicle ramps)
The Service Procedure
- Level the Vehicle: Park on a perfectly flat surface. Transfer cases rely on a specific fluid level; if the vehicle is tilted, you will under-fill or over-fill the case.
- The Golden Rule - Remove the FILL Plug First: Never remove the drain plug before verifying you can remove the fill plug. If the fill plug is seized and you drain the case, your vehicle is stuck on the lift until the plug is extracted.
- Drain the Old Fluid: Place your pan under the lower drain plug. Remove it and let the fluid drain completely. Inspect the plug; most feature a magnet. A fine, silvery paste is normal wear. Large, jagged metal shards indicate internal bearing or chain failure.
- Reinstall and Torque the Drain Plug: Clean the threads, apply a drop of blue Loctite if recommended by the OEM, and torque to the manufacturer's specification (e.g., 15 ft-lbs for most GM/Jeep applications). Do not use an impact wrench on aluminum housings.
- Pump in the New Fluid: Insert the transfer pump tube into the new fluid bottle and the output hose into the fill hole. Pump fluid until it begins to weep out of the bottom lip of the fill hole. This indicates the case is perfectly full.
- Reinstall the Fill Plug: Wipe away the excess weeping fluid, reinstall the top fill plug, and torque to spec.
- Test the System: Start the vehicle, shift through 2WD, 4HI, and 4LO (while stationary or moving under 3mph, depending on your owner's manual) to circulate the new fluid and purge air pockets from the clutch packs.
Cost Breakdown: DIY Service vs. Dealership Pricing
Dealerships and quick-lube shops often overlook the transfer case, or they charge a premium for a 10-minute job. Here is what you can expect to pay in 2026:
- DIY Fluid Cost: Specialty fluids like GM Auto-Trak II or Ford Motorcraft XL-12 typically cost between $18 and $28 per quart at the dealership parts counter. A basic manual transfer pump costs about $12.
- Total DIY Investment: $50 to $85, depending on your case's capacity.
- Dealership Pricing: Expect to pay between $180 and $275 for a transfer case fluid flush and fill at a franchise dealer, largely due to shop minimums and high hourly labor rates.
Warning Signs Your Transfer Case is Already Damaged
While a fluid service is preventative, it cannot reverse physical damage. If you are performing this service to troubleshoot an existing issue, watch for these red flags that indicate your transfer case is already compromising your transmission:
- Whining or Growling in 2WD: Indicates a starved or pitted input shaft bearing. This bearing wobble is actively damaging your transmission's rear bushing.
- Binding on Dry Pavement in 4WD Auto: If your active transfer case (like the NV246) binds or hops during tight turns, the internal clutch pack is likely fused together due to burnt, degraded fluid. This binding sends immense torsional stress back into the transmission output shaft.
- Transmission Fluid Leaks at the Yoke: If you see red fluid dripping from the slip yoke where it enters the transfer case, the transmission's rear seal has already failed due to transfer case-induced runout.
Final Thoughts on Drivetrain Preservation
So, can a bad transfer case cause transmission problems? Absolutely. The physical connection between the two components means that a failure in one rarely stays isolated. By adhering to a strict transfer case fluid service interval—typically every 30,000 to 50,000 miles for normal use, or every 15,000 miles for severe off-road and towing duty—you eliminate the root cause of bearing failure, chain stretch, and clutch pack degradation. Grab your torque wrench, order the correct OEM fluid, and protect your drivetrain before a minor maintenance oversight turns into a catastrophic mechanical failure.