The Symptom: Harsh Shift Quality and the 'Park Clunk'
One of the most common complaints brought into transmission shops involves a harsh, metallic 'clunk' when shifting out of Park, particularly when parked on an incline. This violent engagement severely degrades perceived automatic shift quality and can leave drivers wondering if their transmission is on the verge of catastrophic failure. Before tearing into the valve body or suspecting a failing torque converter, a fundamental diagnostic question must be asked: should I use the parking brake on automatic transmission vehicles to preserve shift quality? The short answer is an absolute yes, and the mechanical reasoning ties directly into driveline binding, parking pawl stress, and shift linkage geometry.
As of 2026, with the widespread adoption of electronic shift-by-wire systems and highly sensitive transmission control modules (TCMs), maintaining proper shift cable tension and parking lock geometry is more critical than ever. When the parking brake is not engaged, the entire weight of the vehicle—often exceeding 4,000 lbs in modern SUVs and trucks—rests solely on a small metal pin called the parking pawl. This creates a condition known as driveline wind-up, which directly sabotages automatic shift quality during the Park-to-Reverse or Park-to-Drive transition.
Why It Happens: Driveline Wind-Up and the Parking Pawl
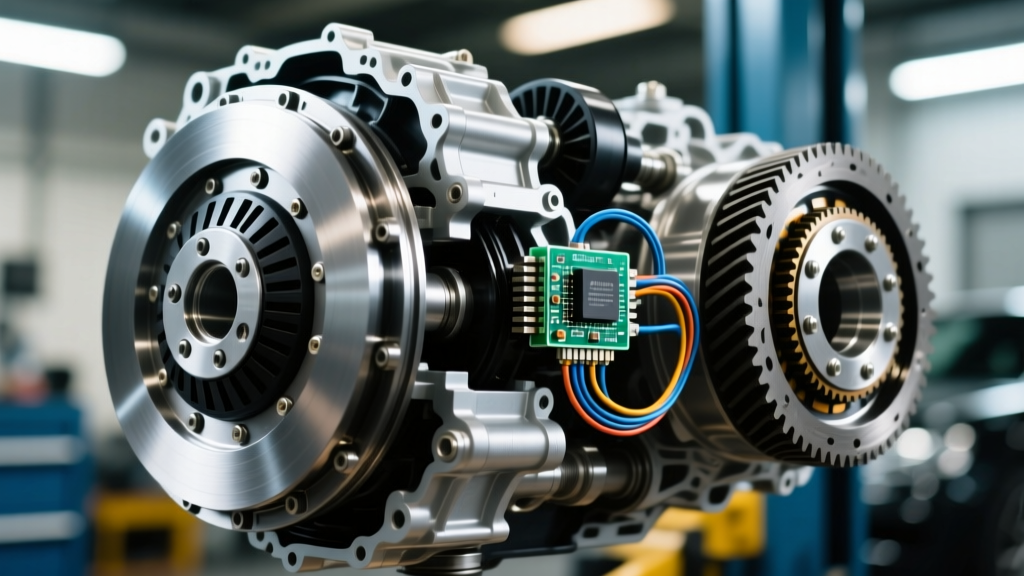
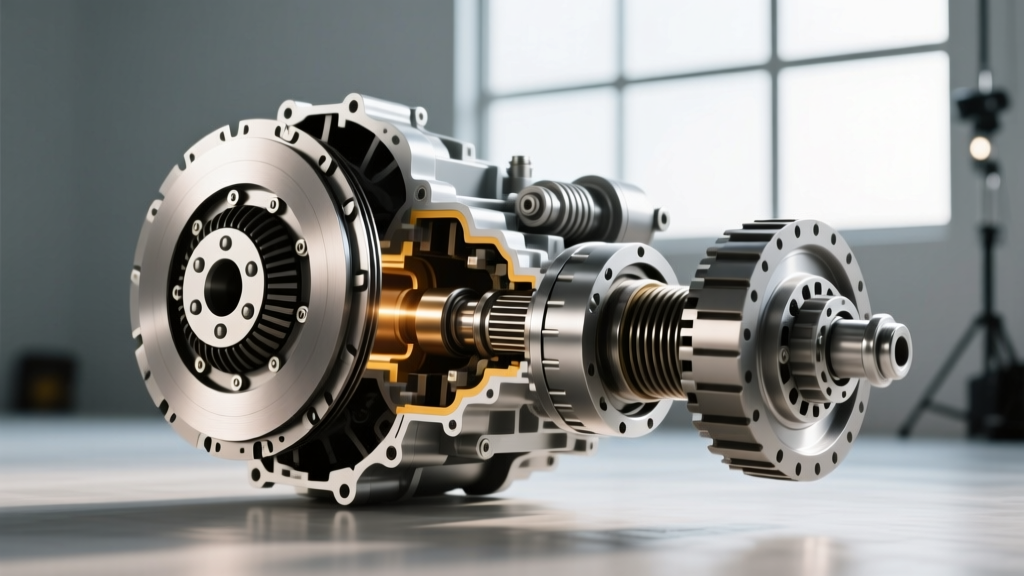
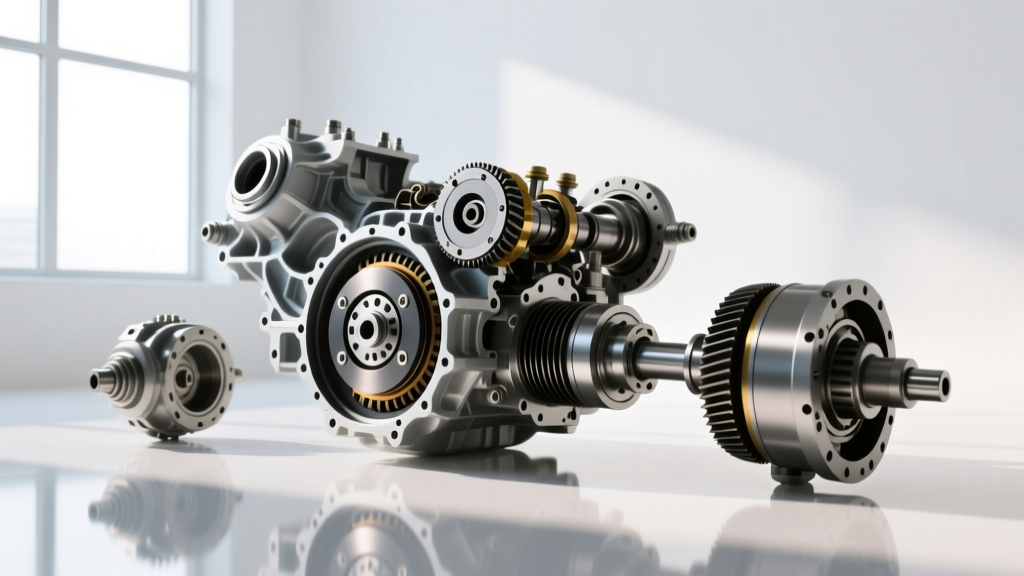
To diagnose poor shift quality originating from the Park position, you must understand the mechanical lock inside the transmission extension housing. In popular units like the GM 6L80/6L90 or the ZF 8HP 8-speed, the parking pawl is a spring-loaded lever that drops into the teeth of a parking gear mounted to the output shaft.
The Mechanics of Binding
When you shift into Park without setting the parking brake, the vehicle rolls slightly until the pawl jams against the side of the parking gear tooth. The rotational force of the driveline is now entirely supported by this single engagement point. When you subsequently pull the shift lever to engage Drive or Reverse, the shift cable (or electronic actuator) must pull the pawl actuator rod with enough force to overcome the friction of the vehicle's weight. This results in a delayed, harsh release. The driveline violently snaps back to its neutral resting position, creating a massive shockwave through the motor mounts and U-joints. Over time, this binding stretches the shift cable, marring the precise automatic shift quality engineered by the manufacturer.
Expert Insight: According to the Automatic Transmission Rebuilders Association (ATRA), repeated parking pawl binding is a leading cause of premature wear on the shift interlock assembly and actuator rods, often mimicking internal hydraulic failures during initial road tests.
Diagnostic Matrix: Isolating Shift Quality Issues
When troubleshooting harsh Park engagements, use this diagnostic matrix to isolate the root cause. Not every 'clunk' is caused by the parking pawl; worn mounts and stretched cables are frequent culprits that also ruin automatic shift quality.
| Symptom | Potential Cause | Diagnostic Step | Estimated Fix Cost |
|---|---|---|---|
| Harsh clunk on inclines only | Parking pawl binding (Driveline wind-up) | Test shift quality on flat ground vs. incline | $0 (Use parking brake) |
| Clunk on flat ground; engine shifts visibly | Worn engine or transmission mount | Pry bar deflection test on mount rubber | $150 - $450 |
| Delayed Park engagement; lever feels loose | Stretched shift cable or worn bushing | Check cable tension and locking tab at lever | $120 - $280 |
| Shift interlock stuck; cannot move lever | Brake Light Switch (BLS) or Solenoid failure | Scan for BLS circuit codes; check brake lights | $40 - $180 |
| Harsh engagement in all gears (not just Park) | Degraded fluid or valve body wear | Check fluid level, color, and TCM adaptation data | $200 - $800+ |
Step-by-Step Troubleshooting & Mechanical Inspection
If you have confirmed that the parking brake is being used correctly, but automatic shift quality out of Park remains poor, proceed with these mechanical inspections.
1. Shift Cable and Linkage Inspection
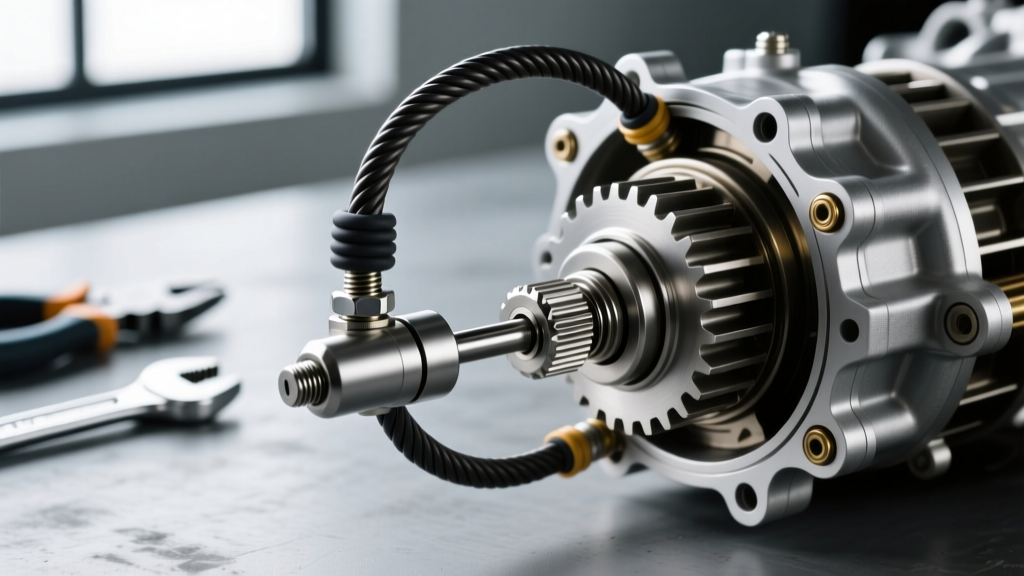
A stretched shift cable prevents the parking pawl from fully seating or fully releasing. On vehicles utilizing a mechanical cable (such as older Ford 6R80 or GM 4L60E applications), inspect the cable end at the transmission shift lever. The locking tab mechanism (often requiring a 10mm adjustment tool) can slip over time. If the cable is stretched, replace it with an OEM or high-quality aftermarket unit (e.g., Dorman part # 740-114 or GM # 24230298). When reinstalling, torque the shift cable bracket nuts to the manufacturer's specification—typically 25 Nm (18 lb-ft) on most GM and Ford applications. Improper torque can warp the bracket, causing persistent binding and poor automatic shift quality.
2. Engine and Transmission Mount Deflection
When the driveline is bound up, releasing the parking pawl transfers kinetic energy into the chassis. If the motor mounts are collapsed, this energy manifests as a violent cabin shake and a loud clunk. Use a pry bar to inspect the motor mounts. For GM LS/LT V8 applications, the motor mount to frame bolts require a torque spec of 50 Nm plus an additional 90-degree turn. Replacing collapsed mounts with OEM hydraulic or active mounts is essential to restoring factory-level automatic shift quality and isolating the cabin from driveline shock.
3. Shift-by-Wire Actuator Diagnostics
In modern vehicles equipped with the ZF 8HP or GM 10-speed (10R80/10L90) transmissions, the mechanical cable is often replaced by an electronic parking lock actuator. If the vehicle is parked on a hill without the parking brake, the actuator motor must draw excessive amperage to pull the pawl out of the gear. This can trigger a TCM fault code (e.g., P0700 series or specific ZF actuator codes) and force the transmission into a harsh shift adaptation map to protect the mechanism. Always use an advanced bidirectional scan tool to monitor actuator current draw during Park disengagement. If current draw exceeds 15-20 amps on a flat surface, the internal parking lock gear or actuator rod is damaged and requires transmission pan removal and internal inspection.
Fluid Condition & Valve Body Wear Considerations
While the parking pawl is the primary suspect for Park-specific clunks, overall automatic shift quality is heavily dictated by hydraulic health. If the harsh engagement occurs when shifting from Park to Reverse, but also persists during 1-2 or 2-3 upshifts, the issue may be fluid degradation or valve body wear. For example, ZF 8-speed transmissions require specific ZF Lifeguard 8 fluid (part # ZF-1071.298.972). Using incorrect universal fluids alters the friction coefficient of the clutch packs, leading to harsh engagements. Similarly, GM's 10-speed units require ACDelco Dexron ULV (Ultra Low Viscosity) fluid. A standard pan drop and filter change (which typically takes 5 to 6 liters, compared to a dry fill capacity of 8.5 to 10 liters) can often restore hydraulic pressure and resolve shift quality complaints not related to mechanical binding.
The Verdict: Should I Use the Parking Brake on Automatic Transmission?
To preserve the mechanical integrity of the parking lock assembly and maintain pristine automatic shift quality, you must use the parking brake every time you park, regardless of the terrain. Relying solely on the 'Park' position places thousands of pounds of rotational force on a component the size of a thumb, leading to stretched cables, damaged actuator rods, and harsh shift engagements. As noted in safety bulletins by the National Highway Traffic Safety Administration (NHTSA), proper parking brake usage also prevents catastrophic rollaway incidents in the event of a parking pawl shear failure.
The Correct Shifting Sequence for Perfect Shift Quality
To eliminate driveline wind-up and guarantee smooth automatic shift quality every time you start your vehicle, adopt this exact mechanical sequence:
- Step 1: Bring the vehicle to a complete stop using the service brake pedal.
- Step 2: While keeping your foot firmly on the service brake, engage the parking brake (pedal, lever, or electronic switch) until fully set.
- Step 3: Shift the transmission into Park. This allows the parking pawl to drop into the gear without bearing the vehicle's weight.
- Step 4: Release the service brake pedal. You may feel the vehicle settle slightly; this confirms the vehicle's weight is now resting entirely on the parking brake shoes or calipers, not the transmission.
- Step 5: Turn off the engine and exit the vehicle.
By following this sequence, the shift cable and parking pawl remain completely unloaded. When you return to the vehicle, the shift lever will glide effortlessly out of Park, preserving the seamless automatic shift quality your vehicle was designed to deliver. For more insights on maintaining driveline health, consult resources from experts like Car and Driver and your local certified transmission specialist.