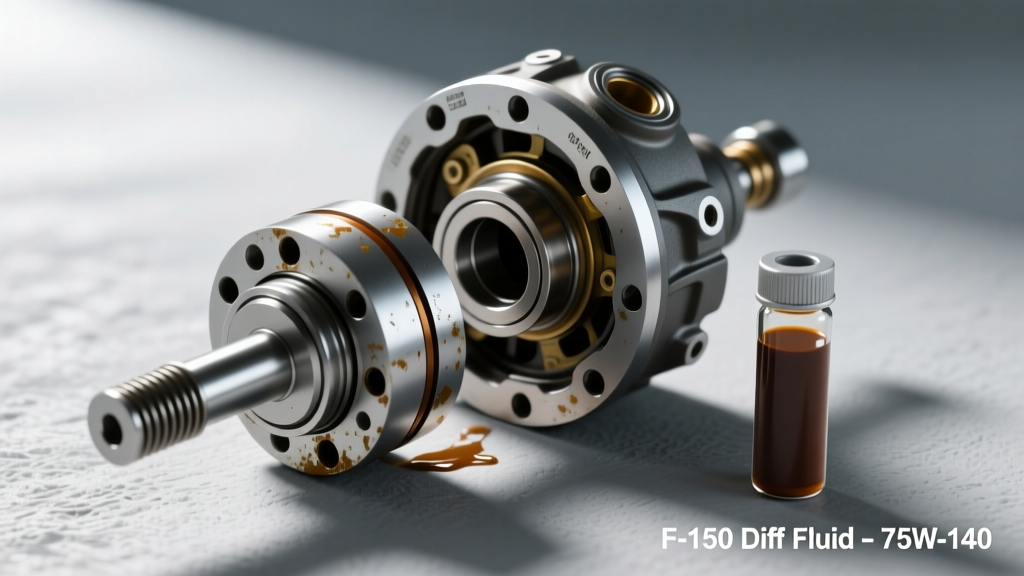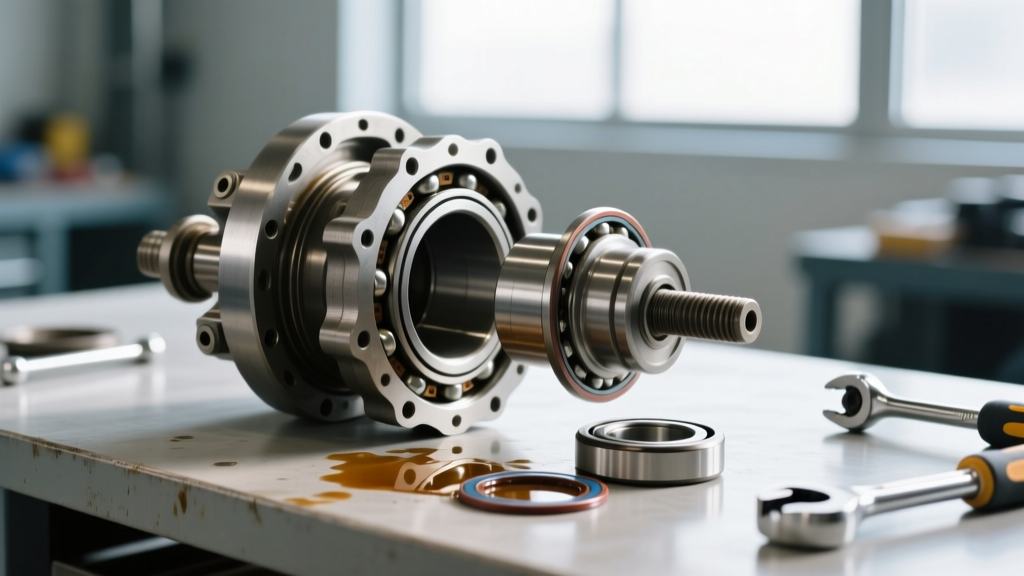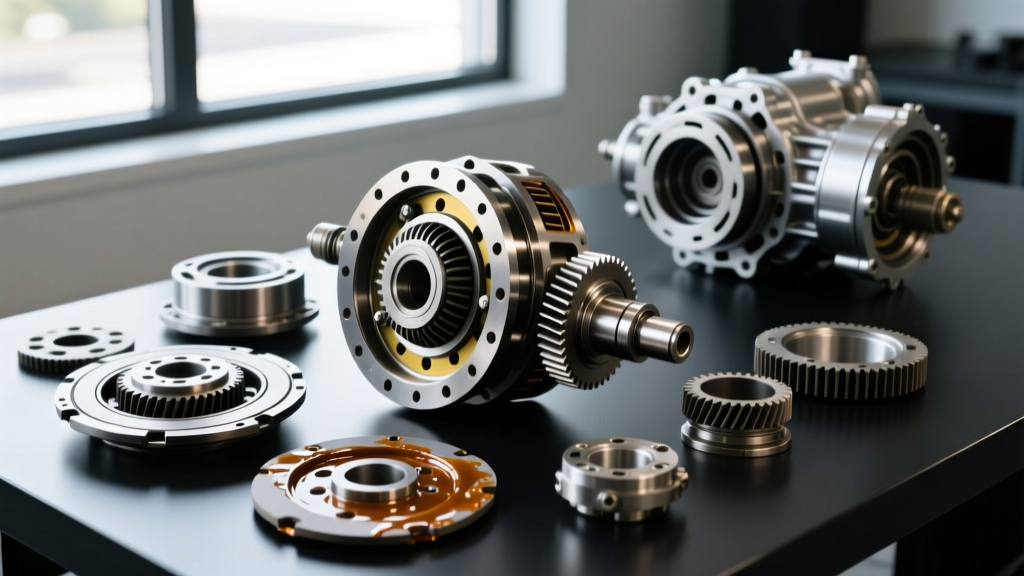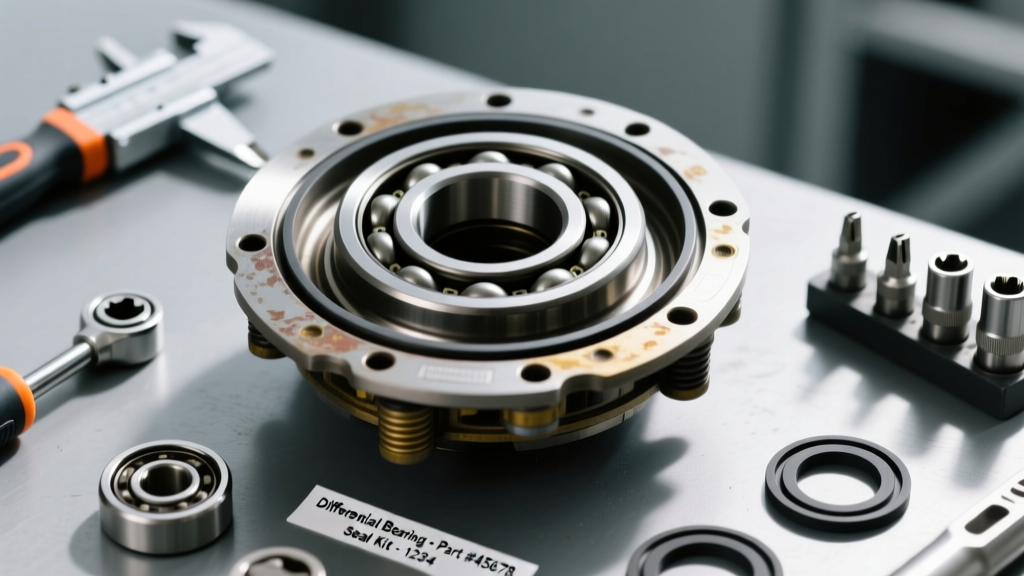
The Reality of the Open Rear Differential: Diagnostics and Triage
While limited-slip and locking differentials often dominate automotive forums, the standard open rear differential remains the undisputed workhorse of daily-driven trucks, fleet vehicles, and classic muscle cars. By design, an open rear differential splits torque evenly while allowing the left and right wheels to rotate at different speeds during cornering. However, its mechanical simplicity does not make it immune to wear. Over tens of thousands of miles, the pinion and axle shaft bearings degrade, and the elastomeric seals harden, leading to catastrophic fluid loss and gear whine if left unaddressed.
Before unbolting a single component, a professional driveline technician must perform a rigorous diagnostic triage. Misdiagnosing a seal leak or bearing failure in an open rear differential often leads to unnecessary teardowns and ruined ring-and-pinion sets.
Seal Leak Identification
- Pinion Seal Failure: Characterized by gear oil slinging directly off the yoke and coating the driveshaft, exhaust, and undercarriage. The fluid pools at the front of the differential housing.
- Axle Shaft Seal Failure: Fluid migrates outward along the axle tube, pooling near the backing plate and brake drums/rotors. This is highly dangerous as gear oil will contaminate brake friction surfaces, leading to severe braking imbalances.
Bearing Whine vs. Gear Whine
A failing pinion bearing typically produces a continuous whine or howl that changes pitch with vehicle speed, regardless of whether the vehicle is under load (accelerating) or coasting. Conversely, ring and pinion gear whine is usually load-dependent. According to Yukon Gear & Axle's installation guidelines, a whine that occurs only on deceleration (coast-side) often points to a worn pinion bearing or incorrect gear backlash, while drive-side noise usually indicates carrier bearing wear or gear tooth pitting.
OEM-Grade Component Selection: Never Compromise
The aftermarket is flooded with cheap, overseas-manufactured seals and bearings that fail within 10,000 miles due to poor lip tension and inferior metallurgy. When servicing an open rear differential, you must rely on Tier-1 suppliers like Timken, SKF, and National. Below is a reference table for the two most common light-truck and passenger car platforms: the Ford 8.8-inch and the GM 8.5-inch 10-bolt.
| Platform | Pinion Seal | Pinion Bearing (Cone/Cup) | Axle Shaft Bearing & Seal Kit |
|---|---|---|---|
| Ford 8.8" (Semi-Floating) | SKF 22393 / National 710944 | Timken HM88649 / HM88610 | Timken SET10 (Bearing) + SKF 11800 (Seal) |
| GM 8.5" 10-Bolt | National 710944 / SKF 18718 | Timken HM89443 / HM89410 | Timken SET34 (Bearing) + National 8660S (Seal) |
Expert Note: Always replace the pinion crush sleeve and pinion nut when performing a pinion seal replacement. Reusing a fatigued crush sleeve will result in an inability to set proper bearing preload, guaranteeing premature pinion bearing failure.
The Pinion Seal and Bearing Service Procedure
Replacing the pinion seal on an open rear differential is not a simple "unbolt and swap" job. It requires a deep understanding of rotational preload and crush sleeve physics.
Step 1: Baseline Preload Measurement
Before removing the pinion nut, you must measure the existing rotational preload. Using a dial-type or digital inch-pound torque wrench on the pinion nut, rotate the yoke through several full revolutions to seat the bearings. Record the peak rotational torque. For a used, broken-in open rear differential, this should read between 8 and 14 inch-pounds. If it reads near zero, your pinion bearings are already severely worn and require a full replacement, not just a seal swap.
Step 2: Yoke Removal and Seal Extraction
Mark the pinion shaft and yoke with a paint pen to ensure exact realignment upon reassembly. Use a high-torque impact or a dedicated yoke holder to remove the pinion nut. Slide the yoke off using a gear puller—never pry against the aluminum or cast-iron housing, as scoring the sealing surface will guarantee future leaks. Use a seal puller to extract the old pinion seal, taking extreme care not to gouge the bore.
Step 3: The Crush Sleeve Dilemma
If you are only replacing the seal and the bearings are in perfect condition, you can theoretically reuse the crush sleeve by tightening the new pinion nut to your previously recorded inch-pound baseline. However, Ring & Pinion's technical archives strongly advise against this for high-mileage units. The safest professional protocol is to drop the differential carrier, remove the pinion gear, replace the crush sleeve, and re-set the preload from scratch.
Step 4: Setting Pinion Bearing Preload
When installing a new crush sleeve and new Timken pinion bearings, the target rotational preload is significantly higher—typically 15 to 25 inch-pounds. This requires immense torque to crush the steel sleeve (often 180 to 250 lb-ft). Never use an impact wrench to crush the sleeve. You must use a long breaker bar and a high-capacity torque wrench, checking the rotational preload with your inch-pound wrench every half-turn of the pinion nut. Over-crushing the sleeve requires pulling the pinion and starting over with a brand-new sleeve.
Axle Shaft Bearing and Seal Replacement Best Practices
Most open rear differentials in light trucks and SUVs utilize a semi-floating, C-clip retained axle shaft design. Replacing the axle shaft bearings and seals requires removing the differential cover, draining the fluid, and extracting the cross-pin to access the C-clips.
Extracting the Shaft and Pressing Bearings
Once the C-clips are removed, slide the axle shafts out. If the bearing has spun on the shaft or seized in the housing, a slide hammer with an axle-puller attachment is required. When pressing the new Timken axle bearings onto the shaft, you must support the inner race. Pressing against the outer race will brinnell the rollers, creating microscopic dents that will cause a whining noise within 500 miles.
Seal Installation Depth
The axle shaft seal must be driven into the axle tube housing to the exact factory depth. Driving it in too far will block the fluid return hole, causing the seal to blow out under thermal expansion. Driving it too shallow will allow the axle shaft to ride on the seal lip improperly, causing an immediate leak. Use a specialized stepped seal driver that bottoms out against the housing shoulder to guarantee perfect depth every time.
Fluid Chemistry and the Open Differential Advantage
One of the greatest maintenance advantages of an open rear differential is its fluid requirements. Unlike clutch-type limited-slip differentials (such as Ford's Trac-Loc or GM's Positraction), an open differential contains no friction discs or cones. Therefore, it does not require a friction modifier additive.
Using a fluid loaded with friction modifiers in an open differential can actually reduce the film strength of the gear oil under extreme shear. For optimal protection, fill the housing with a high-quality, full-synthetic API GL-5 75W-90 gear oil. As noted by Timken's automotive engineering division, GL-5 fluids contain the high levels of sulfur-phosphorus extreme pressure (EP) additives necessary to protect the hypoid gear sliding action and the high-load roller bearings.
Break-In Protocol
After reassembly and filling with 75W-90 GL-5, the differential must undergo a thermal break-in cycle. Drive the vehicle for 15 to 20 miles at highway speeds, then allow the housing to cool completely. Check the fluid level again, as the oil will have expanded and purged trapped air pockets from the bearing cages. Top off to the bottom of the fill hole, and your open rear differential will be sealed, quiet, and ready for another 150,000 miles of service.
2026 Cost Analysis: DIY vs. Professional Driveline Shops
Understanding the financial landscape of differential service helps owners make informed decisions. Here is a breakdown of what to expect when addressing bearing and seal failures on standard open rear differentials in 2026:
- DIY Seal & Fluid Service: $85 - $140 (Includes OEM seals, crush sleeve, pinion nut, and 3 quarts of synthetic 75W-90).
- DIY Full Bearing Overhaul: $220 - $350 (Includes full Timken master bearing kit, seals, and specialized pullers/drivers).
- Professional Shop Seal Replacement: $350 - $550 (Labor intensive due to guaranteed preload verification and liability).
- Professional Complete Rebuild: $800 - $1,400 (Includes labor, master kit, and machine shop verification of housing squareness).
By mastering the diagnostic and installation procedures outlined above, enthusiasts and fleet managers can maintain the legendary reliability of the open rear differential while avoiding the catastrophic costs of neglected driveline maintenance.