Diagnosing Rear Differential Bearing Failure
Rear differential bearing failure is rarely a sudden, catastrophic event; rather, it is a cascade of heat, friction, and inadequate lubrication that announces itself long before metal shreds into the gear oil. As an automotive drivetrain specialist, I frequently see misdiagnosed axle noises leading to unnecessary teardowns. Before you order a master rebuild kit or schedule shop time, you must accurately isolate the failing component. A worn rear differential bearing typically presents in one of two ways, depending on its location within the housing.
Pinion Bearing Noise: The pinion bearings support the driveshaft yoke and the pinion gear. When the inner or outer pinion bearing races develop micro-pitting, you will hear a continuous, high-pitched whine that correlates directly with vehicle speed. This whine often changes pitch or intensity during throttle lift (coast) versus acceleration (drive). If the pinion seal has begun to leak, allowing gear oil to drop below the inner pinion bearing, lubrication starvation accelerates this wear exponentially.
Carrier Bearing Noise: The carrier bearings support the ring gear and the differential case. Failure here usually manifests as a low-frequency howl or rumble that peaks during deceleration or steady-state cruising. To definitively diagnose the source without dropping the differential cover, use a mechanic's stethoscope with a long probe. With the vehicle on a lift and the rear wheels spinning under load (exercise extreme caution), place the probe on the pinion snout and then on the axle tubes near the carrier bearing caps. The failing bearing will transmit a distinct, gritty vibration through the chassis.
Essential Tooling for Precision Axle Service
Replacing a rear differential bearing and seal is not a job for standard hand tools alone. Tapered roller bearings require precise preload settings measured in inch-pounds, not foot-pounds. Attempting this job with inadequate tooling will result in rapid bearing failure or pinion nut backing off on the highway.
- Beam-Style Inch-Pound Torque Wrench: A clicker-style torque wrench is entirely useless for measuring rotating bearing preload. You need a 0-50 in-lb beam-style dial wrench to measure the exact rotational drag of the pinion gear.
- Bearing Puller and Separator Set: Never use a hammer and chisel to remove a stubborn inner pinion bearing. Use a clamshell bearing separator and a blind-hole puller to extract the bearing without damaging the pinion shaft journal.
- Step-Plate Seal Installer: Pinion seals must be driven in perfectly square. A generic socket can easily cock the seal, tearing the inner lip upon reassembly. Use an OTC or similar step-plate adapter specific to your axle seal diameter.
- Shop Press and Bearing Splitter Plates: Pressing a new Timken or SKF bearing onto the pinion gear or carrier requires a minimum 12-ton shop press and the correct diameter press plates to apply force only to the inner bearing race.
The Crush Sleeve Dilemma: Why You Must Upgrade
When servicing the rear pinion seal, many DIYers attempt to simply mark the pinion nut, remove it, swap the seal, and torque the nut back to the exact same mark. This is a critical error. Factory axles utilize a crush sleeve—a thin, collapsible steel spacer positioned between the inner and outer pinion bearings. The pinion nut is tightened to immense torque (often 250-350 ft-lbs) specifically to crush this sleeve, creating the correct bearing preload.
Once a crush sleeve has been deformed, it loses its structural memory and spring rate. If you loosen the nut to remove the yoke and attempt to re-torque it, the sleeve will collapse further, over-preloading the bearings and generating enough heat to seize the pinion within 500 miles. If you must remove the pinion nut, the crush sleeve must be replaced.
Expert Tip: As of 2026, the industry standard best practice is to discard the factory crush sleeve entirely and install a Solid Spacer Conversion Kit (such as the Ratech Manufacturing 4118 for the Ford 8.8 or 4119 for the GM 8.5). Solid spacers use a stack of precision shims to set preload. They allow you to safely remove and reinstall the pinion yoke for seal swaps without ever altering the bearing preload, effectively bulletproofing the pinion assembly for heavy towing and off-road use.
Step-by-Step Best Practices for Pinion Depth and Preload
If you are replacing the actual pinion bearings (not just the seal), you must verify the pinion depth shim. The depth shim sits between the inner pinion bearing cone and the pinion gear head. It dictates how deeply the pinion gear meshes into the ring gear.
- Measure Original Shim Thickness: Before pressing off the old inner bearing, use a micrometer to measure the existing pinion depth shim. If the original gear set is being reused and the pattern was good, reuse a shim of the exact same thickness.
- Pressing the New Bearing: Heat the new inner bearing cone (Timken SET 10 or equivalent) in an induction heater or oil bath to 225°F (107°C). This allows it to slide onto the pinion shaft effortlessly without requiring excessive press force that could damage the roller cage.
- Setting Preload: Install the outer bearing, new seal, yoke, and pinion nut. Tighten the nut in small increments while frequently checking the rotating torque with your inch-pound beam wrench. You are looking for the total rotating drag of the pinion.
Rear Differential Bearing Torque and Preload Specifications
Setting the correct preload is non-negotiable. Too loose, and the pinion gear will deflect under load, destroying the ring and pinion teeth. Too tight, and the bearing rollers will skid, generating catastrophic heat. Below are the baseline specifications for the most common light-truck and SUV axles.
| Axle Model | Pinion Preload (New Bearings) | Pinion Preload (Used Bearings) | Pinion Nut Torque (Approx. to Crush) |
|---|---|---|---|
| Ford 8.8 (Super 8.8) | 16 - 29 in-lbs | 8 - 14 in-lbs | 250 - 300 ft-lbs |
| GM 8.5 / 8.6 (10-Bolt) | 15 - 25 in-lbs | 10 - 15 in-lbs | 220 - 280 ft-lbs |
| Dana 44 (Jeep/Truck) | 14 - 26 in-lbs | 10 - 18 in-lbs | 200 - 250 ft-lbs |
| Toyota 8.0 / 8.4 | 12 - 22 in-lbs | 8 - 14 in-lbs | 180 - 230 ft-lbs |
Note: Always add the measured drag of the carrier bearings and ring gear to the pinion preload spec if measuring total assembly drag with the axle shafts installed. For comprehensive installation tolerances, consult technical bulletins directly from Timken or differential specialists like Ring & Pinion.
Carrier Bearing and Seal Service Considerations
While pinion seal leaks are more common, carrier bearing seals (located at the ends of the axle tubes) also require attention. Replacing carrier bearings is significantly more involved than pinion bearings. It requires removing the axle shafts, unbolting the carrier bearing caps, and extracting the differential case.
The Spreader Tool Requirement: On Dana 44 and Dana 60 axles, the carrier bearing preload is set by the tight machining tolerances of the housing. You must use a differential case spreader to slightly expand the axle housing (no more than 0.015 inches) to remove and install the carrier. Prying the carrier out with a crowbar will permanently distort the bearing caps, ruining the housing. GM and Ford axles typically use a shim-tapping method, where brass drift punches are used to carefully tap the shims and carrier out of the housing.
When replacing carrier bearings, always replace the races (cups) in the differential housing. Use a brass drift to drive the new races in squarely. If a race is installed crookedly, it will crush the bearing rollers when the caps are torqued to spec (usually 70-90 ft-lbs for most half-ton truck bearing caps).
Fluid Selection, Friction Modifiers, and Break-In
A fresh rear differential bearing rebuild demands pristine, high-quality lubrication. The extreme pressures generated at the ring and pinion contact patch require gear oils with high film strength and robust extreme pressure (EP) additives, typically zinc and phosphorus compounds.
For most modern SUVs and light trucks, a full synthetic 75W-90 gear oil (such as Amsoil Severe Gear or Motul Gear 300) provides the best balance of cold-weather flow and high-temperature protection. If the vehicle is subjected to heavy towing, constant off-road crawling, or has been upgraded with larger, heavier tires, stepping up to a 75W-140 is highly recommended to maintain oil film thickness under severe shear loads.
The Limited-Slip Additive Rule: If your axle is equipped with a clutch-type Limited Slip Differential (LSD) such as the Ford Traction-Lok or Eaton Positraction, you must add the manufacturer-specified friction modifier (e.g., Ford XL-3 or GM EOS). Without it, the clutch packs will chatter violently during low-speed turns, transferring shockloads back through the carrier bearings you just spent hours perfecting. Note that many modern synthetic gear oils come pre-blended with friction modifiers; always read the bottle label to avoid double-dosing, which can cause the clutches to slip entirely.
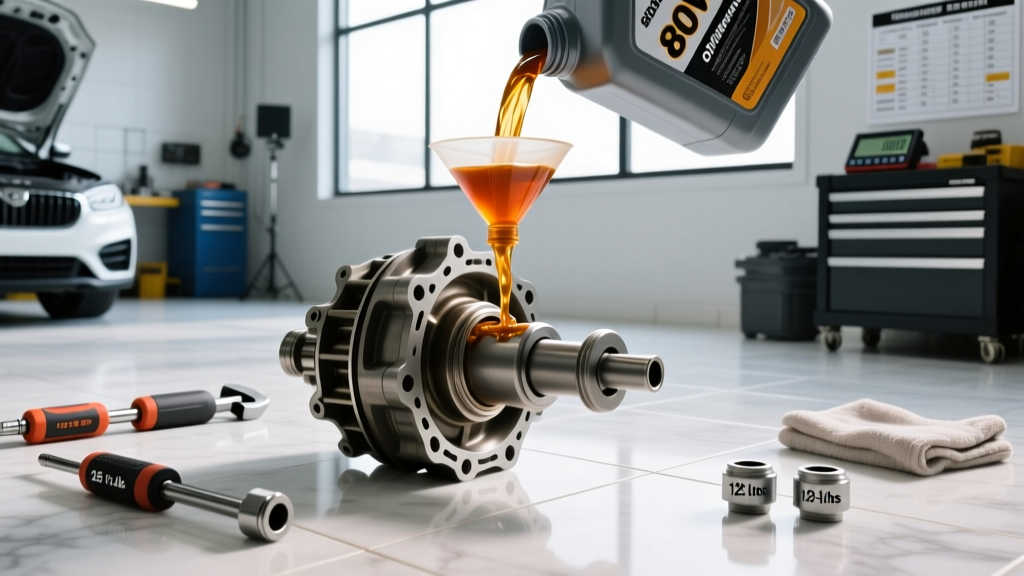
Break-In Procedure: New bearings and seals require a break-in period. Fill the differential to the bottom of the fill hole (typically 2.5 to 3.5 quarts, costing roughly $45-$80 in premium fluid). Drive the vehicle conservatively for the first 500 miles, avoiding sustained highway speeds over 65 mph and heavy towing. This allows the tapered roller bearings to polish their mating surfaces and the new seals to wear into the yoke grooves. After 500 miles, drain and refill the fluid to flush out any microscopic assembly particulates, ensuring your rear differential bearing service lasts for the life of the vehicle.