Diagnosing Open Differential Gear Bearing and Seal Failures
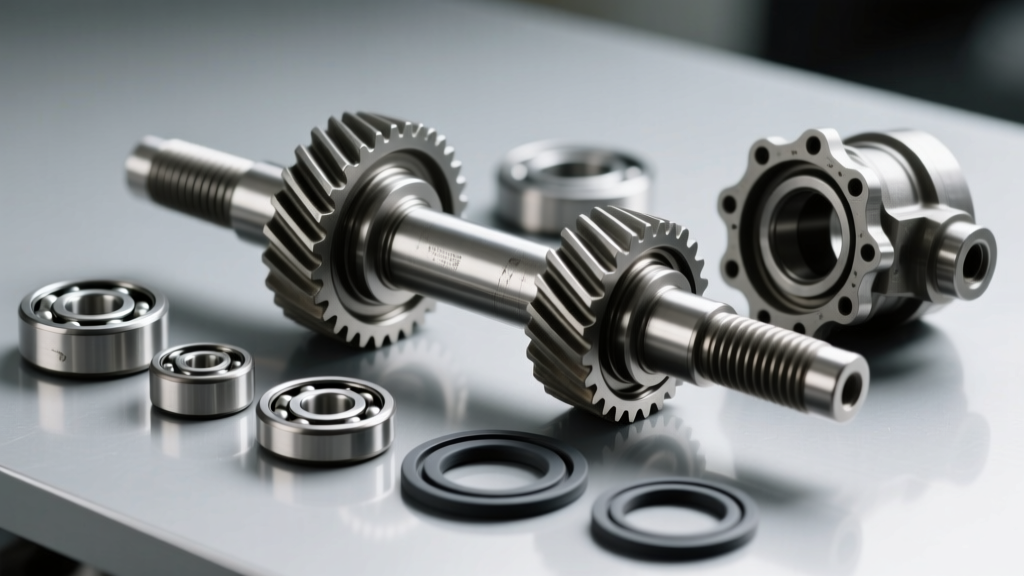
The longevity of any axle assembly relies entirely on the precise mesh of the ring and pinion, a relationship maintained by high-tolerance tapered roller bearings. When seals fail and fluid levels drop, or when bearings naturally fatigue, the resulting misalignment can quickly destroy an otherwise robust open differential gear setup. In 2026, with vehicles accumulating higher mileage and towing heavier loads, proactive differential bearing and seal replacement is a critical maintenance skill for drivetrain specialists and hardcore DIYers alike.
Diagnosis begins with auditory and visual cues. A failing pinion bearing typically manifests as a high-pitched howl on deceleration, as the load shifts to the coast side of the open differential gear teeth. Conversely, a worn carrier bearing will produce a low-frequency rumble or hum that changes pitch during cornering, as the side gears and spider gears transfer torque unevenly. Visually, inspect the axle tube ends and the pinion yoke. A weeping pinion seal will sling 75W-90 gear oil onto the exhaust or undercarriage, while a failed axle shaft seal will pool fluid inside the brake drum or coat the inside of the rotor, leading to catastrophic brake fade.
Essential Tools for Precision Rebuilds
Replacing seals is a straightforward mechanical task, but replacing bearings and resetting the gear mesh requires precision instrumentation. Do not attempt an open differential gear overhaul without the following:
- Dial Indicator with Magnetic Base: For measuring ring gear backlash to the ten-thousandth of an inch.
- Inch-Pound Torque Wrench: Crucial for measuring pinion bearing rotational preload.
- Bearing Puller and Press: A 20-ton hydraulic press or dedicated clamshell puller is mandatory for removing carrier bearings without damaging the open differential gear casing.
- Seal Driver Set: To ensure seals are seated perfectly square in the bore.
- Torque Multiplier or 1/2-Inch Impact: Required for staking the pinion nut and crushing the sleeve to achieve proper preload.
Application-Specific Torque Specs and Part Numbers
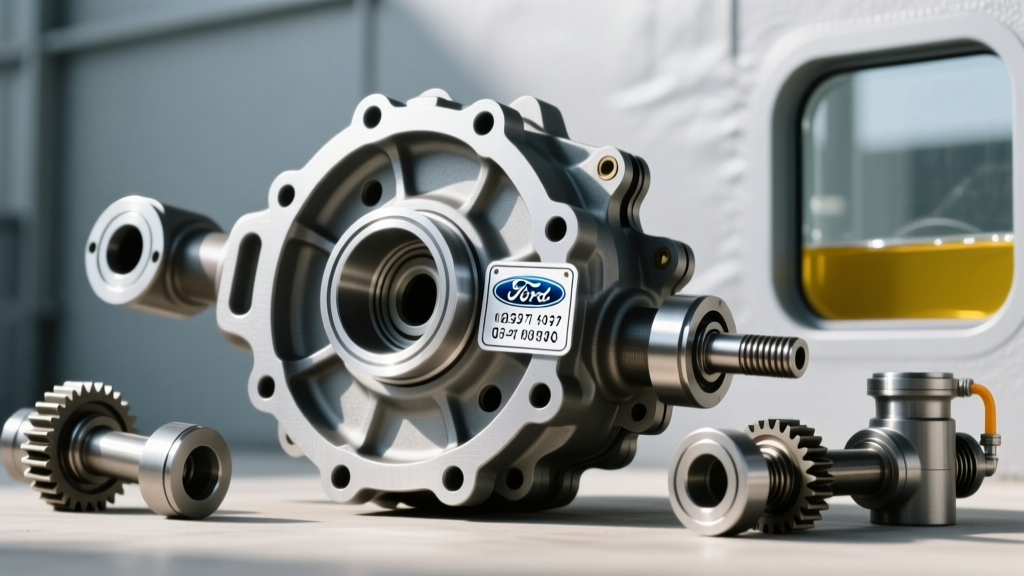
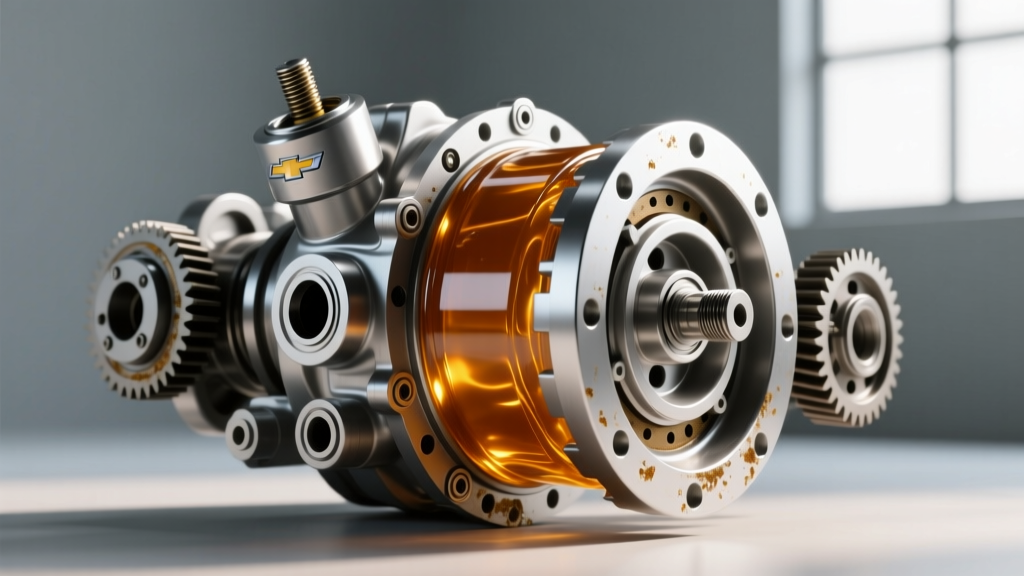
Below is a reference table for two of the most common solid axle platforms found in light trucks and SUVs: the GM 8.5/8.6-inch 10-bolt and the Ford 8.8-inch. Both frequently utilize an open differential gear configuration from the factory.
| Specification | GM 8.5/8.6-Inch 10-Bolt | Ford 8.8-Inch |
|---|---|---|
| Pinion Nut Torque (Crush Sleeve) | 200 - 250 ft-lbs | 200 - 250 ft-lbs |
| Carrier Bearing Cap Bolt Torque | 45 - 60 ft-lbs | 70 - 85 ft-lbs |
| Target Pinion Preload (Used Bearing) | 10 - 15 in-lbs | 8 - 14 in-lbs |
| Target Backlash | 0.006" - 0.010" | 0.008" - 0.012" |
| Pinion Seal Part # (SKF/National) | SKF 20433 | SKF 23256 |
| Master Bearing Kit Part # (Timken) | SET10 / DRK-10GM | DRK-8.8 |
Note: Always verify specifications against the factory service manual for your specific model year, as thread pitches and yoke designs can vary.
Step-by-Step: Pinion Seal and Bearing Replacement
The pinion seal is the most common failure point. However, simply swapping the seal without checking the pinion bearing and crush sleeve is a novice mistake that leads to rapid repeat failures.
- Mark the Yoke and Nut: Use a paint pen to mark the pinion yoke relative to the nut. This is a baseline reference if you are only replacing the seal and reusing the existing crush sleeve (not recommended, but common for quick fixes).
- Remove the Pinion Nut and Yoke: Use a holding tool to prevent the flange from spinning. Extract the yoke with a dedicated puller—never beat it off with a hammer, as this will shatter the pinion bearing races.
- Extract and Inspect: Pry out the old seal. Pull the outer pinion bearing and inspect the race for spalling or brinelling. If the open differential gear set is howling, the bearing is likely pitted and must be replaced.
- The Crush Sleeve Eliminator Upgrade: As noted by the experts at Randy's Ring & Pinion Technical Help, reusing a crush sleeve is risky. Over-torquing by even a fraction of a turn requires a new sleeve. Best practice in 2026 is to install a solid spacer and shim kit (crush sleeve eliminator). This allows you to dial in the exact inch-pound rotational preload using shims, making future seal replacements a simple nut-and-yoke swap without altering bearing preload.
- Seal Installation: Apply a thin film of RTV silicone to the outer edge of the new seal to prevent housing leaks. Drive it in square using a seal driver. Grease the inner lip with the same 75W-90 gear oil you will use to fill the differential.
Expert Warning: Never apply gasket maker to the inner rubber lip of the pinion seal. This will cause the rubber to bind on the yoke, tearing the seal within the first 100 miles and resulting in immediate fluid loss and open differential gear starvation.
Carrier Bearing Setup and Backlash Calibration
If the carrier bearings are being replaced, the entire open differential gear assembly must be removed from the housing. This is where precision is non-negotiable. The carrier bearings are a press-fit onto the differential case. Use a bearing press to install them; hammering them on will dent the races, creating immediate noise and premature failure.
Once the new bearings are pressed on, the carrier is reinstalled into the housing. The critical metric here is backlash—the amount of rotational play between the pinion gear and the ring gear bolted to the open differential gear case. Using a dial indicator mounted to the housing, position the probe perpendicular to the ring gear teeth. Rotate the ring gear back and forth while holding the pinion yoke stationary.
For most standard open differential gear applications, a backlash of 0.008 inches is the sweet spot. If the backlash is too tight (under 0.005 inches), the gears will overheat and bind under load. If it is too loose (over 0.012 inches), you will experience a harsh 'clunk' when shifting from reverse to drive, eventually chipping the gear teeth. Adjust backlash by moving the side adjuster rings (on Chrysler/Dana axles) or by swapping carrier shims (on GM/Ford axles) behind the carrier bearings.
Cost Expectations and Shop Rates in 2026
Understanding the financial landscape of differential service helps enthusiasts and fleet managers budget accurately. A high-quality master overhaul kit (Timken bearings, high-grade Viton seals, and shims) typically ranges from $120 to $180. A solid spacer eliminator kit adds another $45. Premium synthetic 75W-90 gear oil will cost about $40 to $60 for the required volume.
If you opt for professional installation, expect shop labor to range from $500 to $900 for a standard bearing and seal overhaul. If the open differential gear teeth are already damaged due to prolonged fluid starvation, a complete ring and pinion replacement will push the total invoice to between $1,400 and $2,200, factoring in the cost of the gear set and the meticulous labor required to set pinion depth.
The diff-fluid Connection: Selecting and Filling Gear Oil
A flawless bearing and seal replacement is useless if the wrong fluid is poured into the housing. According to the AMSOIL Differential Fluid Maintenance Guide, modern differentials operate under extreme shear forces that break down conventional oils. For an open differential gear setup, a full synthetic 75W-90 API GL-5 gear oil is the gold standard. GL-5 fluids contain high levels of sulfur-phosphorus extreme pressure (EP) additives that bond to the hypoid gear teeth, preventing metal-on-metal contact during the sliding action of the gear mesh.
Crucially, because this is an open differential gear system, you must not add a limited-slip friction modifier. Friction modifiers are designed to allow clutch packs to slip smoothly. In an open differential, which relies entirely on spider and side gears without clutches, adding a modifier can reduce the fluid's overall film strength and lead to accelerated gear wear. Always verify the SKF Automotive Bearing Catalog and your OEM manual to ensure the fluid viscosity matches the bearing clearances, particularly if you operate in sub-zero climates where a 75W-140 might be too viscous for proper cold-start splash lubrication.
Final Break-In Procedure
After filling the axle to the bottom of the fill plug hole, the break-in process is vital. New bearings and gears generate significant friction heat. Drive the vehicle for 15-20 miles at speeds under 50 mph, then allow the axle to cool for 30 minutes. Repeat this cycle three times. This thermal cycling seats the bearings, cures any minor RTV sealant used on the cover, and ensures the open differential gear assembly is perfectly bedded for years of leak-free, whisper-quiet operation.