Bridging Automotive and Motorcycle Drivetrain Engineering
While AutoGearNexus is widely recognized for deep-dive automotive transmission analysis—ranging from the clutch pack dynamics of the GM 6L80 to the intricate mechatronics of the ZF 8HP—the fundamental physics of wet multi-plate clutch systems translate directly to high-performance motorcycles. A modern sportbike’s wet clutch is essentially a manually actuated, oil-bathed automatic transmission clutch pack. When riders push the limits of track days or aggressive canyon carving, OEM paper-based friction plates often succumb to thermal fade and glazing. This is where upgrading to premium performance clutch kits becomes a critical intervention. However, simply bolting in high-end components is not enough; rigorous preventive maintenance, precise measurement, and strict adherence to fluid compatibility protocols are what separate a bulletproof drivetrain from a slipping, basket-notching nightmare.
The Architecture of a Wet Multi-Plate System
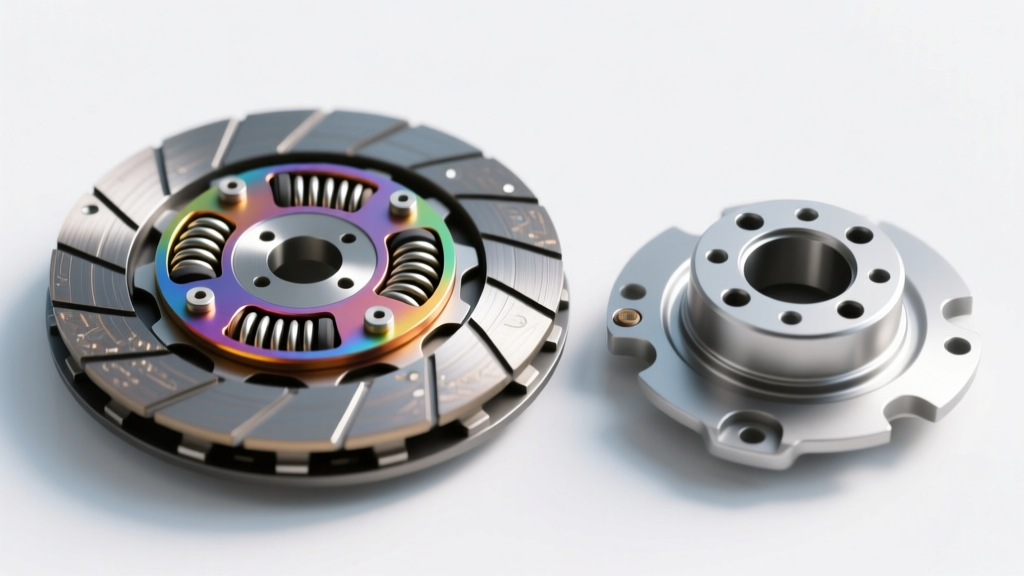
Before diving into maintenance intervals, it is vital to understand the load path. A motorcycle wet clutch consists of a clutch basket (driven by the primary gear), an inner hub (splined to the transmission input shaft), alternating friction and steel separator plates, and a pressure plate actuated by coil springs. When you pull the lever, the release mechanism pushes a spindle into the pressure plate, compressing the springs and creating clearance between the friction and steel plates. Under acceleration, the clamping force of the springs transfers engine torque through the friction material into the transmission. In high-horsepower applications, the sheer clamping force required to prevent slip accelerates wear on both the friction material and the aluminum clutch basket tangs.
Material Science: Selecting the Right Performance Clutch Kits
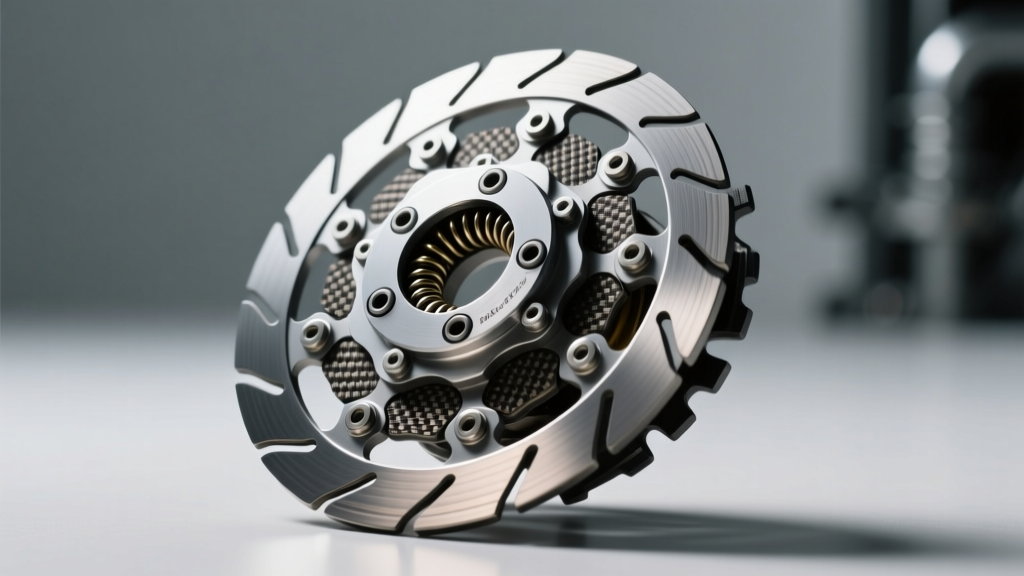
When sourcing performance clutch kits, the friction material dictates the maintenance schedule and operational feel. The aftermarket offers three primary friction compounds for motorcycle applications:
- Kevlar / Aramid Fiber (e.g., Barnett Kevlar): Offers a smooth, progressive engagement ideal for street riding and touring. It is gentle on steel plates but can glaze under extreme track temperatures.
- Carbon Fiber (e.g., Barnett Carbon Fiber): The gold standard for aggressive street and track use. Carbon fiber provides exceptional thermal stability, resisting fade up to 400°F (204°C). It requires slightly more lever effort and demands pristine, un-notched steel plates to function correctly.
- Sintered Iron / Copper (e.g., EBC SRC): Designed for drag racing and extreme horsepower applications. These materials offer immense friction coefficients but are highly abrasive, often requiring simultaneous replacement of steel separator plates and increased spring pressure.
Preventive Maintenance: The Inspection Protocol
Preventive maintenance for motorcycle clutch plates revolves around three critical measurements: friction plate thickness, steel plate warpage, and clutch spring free-length. Ignoring these tolerances is the leading cause of premature failure in performance clutch kits. Below is a reference table for common 1000cc+ supersport platforms, which represent the highest stress environments for wet clutches.
| Motorcycle Platform | Friction Plate (New) | Friction Plate (Service Limit) | Steel Plate Warpage Limit | Spring Free Length Limit |
|---|---|---|---|---|
| Yamaha YZF-R1 (2015-2024) | 3.20 mm | 2.80 mm | 0.10 mm | 42.5 mm (from 45.2mm) |
| Kawasaki ZX-10R (2016-2024) | 3.00 mm | 2.60 mm | 0.20 mm | 43.8 mm (from 46.5mm) |
| Honda CBR1000RR-R (2020-2024) | 3.10 mm | 2.70 mm | 0.10 mm | 40.1 mm (from 43.0mm) |
Step 1: Measuring Friction and Steel Plates
Use a digital micrometer to measure the friction plates at four equidistant points. If any single plate falls below the service limit, the entire pack must be replaced. For steel separator plates, place them on a certified machinist’s surface plate and use a feeler gauge to check for warpage. A warped steel plate will cause localized hot spots, leading to clutch drag and false neutrals. According to Barnett Clutches technical documentation, reusing warped steel plates with new carbon fiber friction plates will ruin the new friction material within 500 miles.
Step 2: Evaluating the Clutch Basket and Hub
Run your fingernail along the inner tangs of the aluminum clutch basket. If you feel deep notches or grooves, the plates cannot disengage cleanly, resulting in clutch drag and difficulty finding neutral at a stop. While light notching can be carefully dressed with a flat file, severe notching requires replacing the basket or upgrading to a billet aluminum unit from manufacturers like Hinson or Wiseco, which typically range from $600 to $950.
Fluid Dynamics: The JASO MA2 Imperative
The most common maintenance error that destroys performance clutch kits is the use of incorrect engine oil. Automotive engine oils (API SN/SP) contain friction modifiers like molybdenum dialkyldithiocarbamate (MoDTC) designed to improve fuel economy. In a shared-sump motorcycle engine, these modifiers coat the clutch plates, causing catastrophic slip under load. You must exclusively use oils certified with the JASO MA or MA2 standard. JASO MA2 guarantees a high dynamic friction coefficient suitable for wet clutches. As detailed in RevZilla’s technical breakdown of JASO standards, using non-MA2 oil will void the warranty of almost every aftermarket clutch manufacturer.
Assembly Best Practices and Torque Specifications
Proper assembly is where preventive maintenance transitions into performance reliability. When installing new friction plates, they must be pre-soaked in the exact engine oil you plan to run for a minimum of 4 hours, though overnight soaking is highly recommended. Dry-starting a carbon fiber or Kevlar clutch pack will instantly scorch the friction material and warp the adjacent steel plates.
Critical Torque Specs and Threadlocking
When reassembling the pressure plate and inner hub, precise torque is non-negotiable. Always reference your specific service manual, but standard baseline specifications for 1000cc sportbikes include:
- Clutch Spring Bolts (M6): 8 to 10 Nm (71 to 88 in-lbs). These must be secured with a medium-strength threadlocker like Loctite 243. Vibration will back these out if left dry.
- Clutch Hub Nut (M18/M20): 75 Nm to 110 Nm depending on the manufacturer. This nut secures the inner hub to the transmission input shaft. It must be secured using either a staking tool (to bend the washer tab into the shaft groove) or high-strength Loctite 271 if the washer is missing.
- Clutch Cover Bolts (M6): 10 Nm (88 in-lbs). Over-torquing these will strip the soft aluminum crankcase threads, requiring costly Heli-Coil repairs.
Troubleshooting Post-Install Failures
Even with premium performance clutch kits from trusted brands like EBC Brakes or Barnett, issues can arise if the maintenance protocol is flawed. If you experience a spongy lever feel immediately after installation, you likely have air trapped in the hydraulic clutch line; perform a reverse bleed using a vacuum bleeder. If the clutch slips under heavy throttle despite new plates and heavy-duty springs, verify your clutch cable or hydraulic pushrod free-play. A lack of free-play keeps the release bearing slightly engaged, preventing the pressure plate from fully clamping the pack. Maintain 2-3mm of free-play at the lever pivot to ensure full engagement and maximize the lifespan of your drivetrain components.