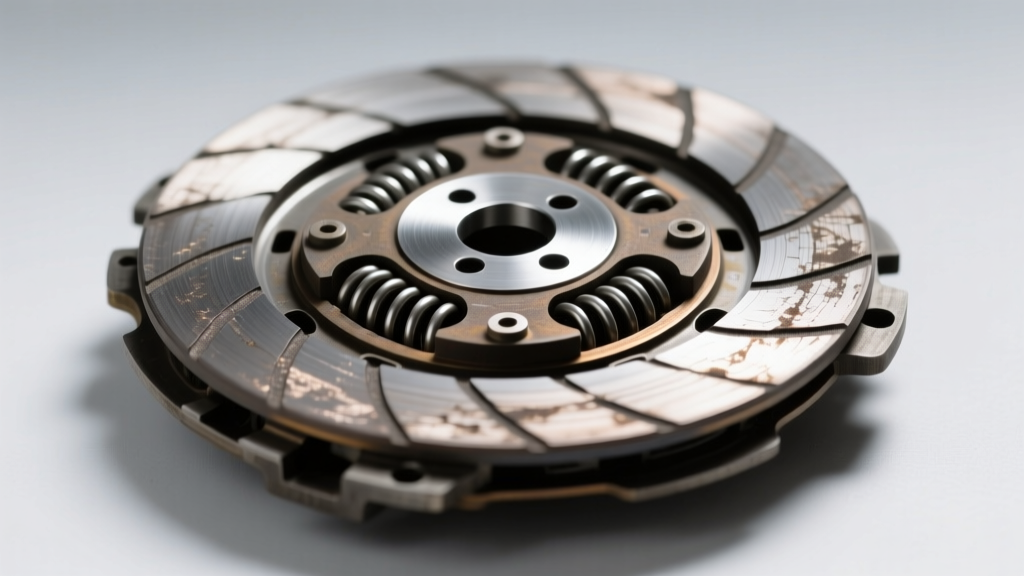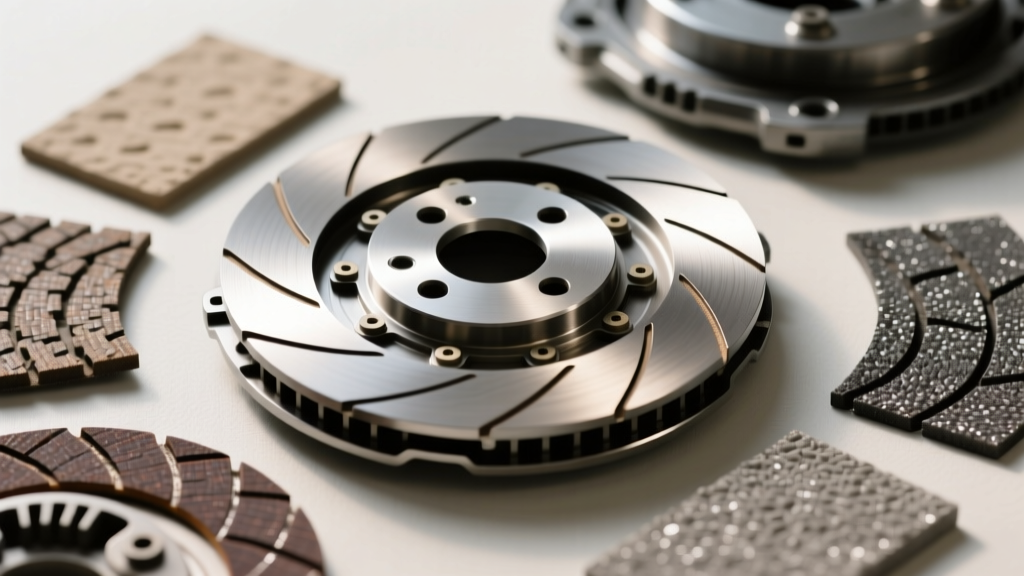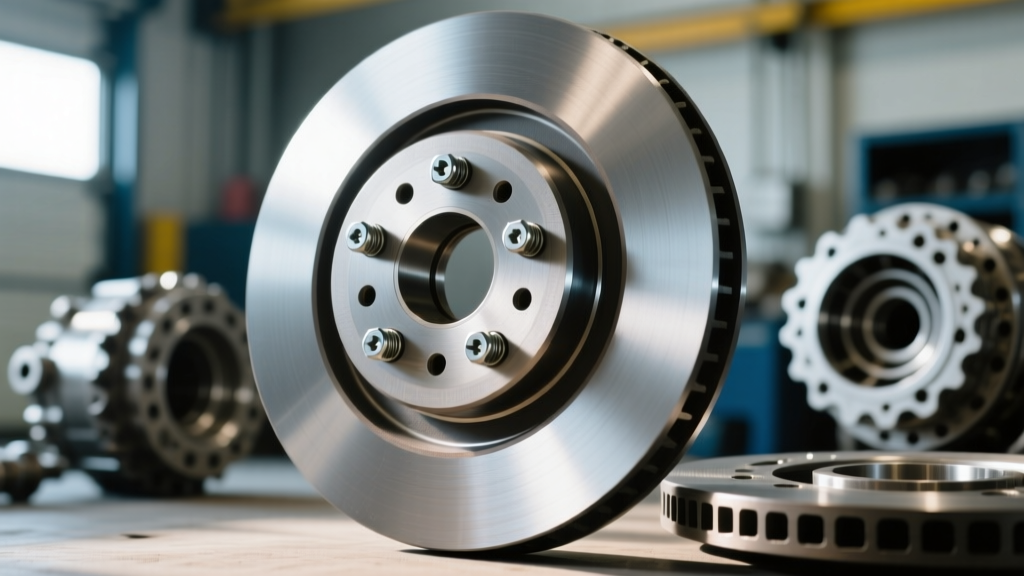
The Hidden Hurdle in Clutch Plate Replacement
For many DIY mechanics and beginner gearheads, a clutch plate replacement is considered a rite of passage. You drop the transmission, unbolt the old assembly, swap in the new friction disc and pressure plate, and button it all back up. However, one of the most common reasons a fresh clutch installation results in severe vibration, premature wear, or catastrophic failure is a fundamental misunderstanding of clutch pressure plate bolt patterns.
While the friction material and pedal feel usually get all the attention, the geometric arrangement of the mounting bolts dictates how harmoniously the engine and transmission interact. In this beginner-friendly explainer, we will decode the engineering behind pressure plate bolt patterns, clarify the differences between crank flanges and flywheel surfaces, and provide the exact torque specifications you need for a flawless installation in 2026 and beyond.
Anatomy of the Connection: Crank Flange vs. Pressure Plate Pattern
The single biggest mistake beginners make during a clutch plate replacement is confusing the crankshaft flange bolt pattern with the pressure plate bolt pattern. These are two entirely different interfaces, and mixing them up will leave you staring at a pile of mismatched parts on your garage floor.
- The Crankshaft Flange Pattern: This is the pattern on the back of the engine block's crankshaft where the flywheel (or flexplate) mounts. For example, a classic Chevy Small Block uses a 6-bolt crank flange, while a modern Ford 5.0L Coyote uses an 8-bolt crank flange.
- The Pressure Plate Pattern: This is the pattern machined into the friction surface of the flywheel itself. It is designed to accept the bolts that secure the pressure plate housing (the cover) over the clutch disc.
When sourcing a flywheel for an engine swap—such as dropping an LS engine into a classic muscle car—you must ensure the flywheel has the correct crank flange pattern for the engine and the correct pressure plate bolt pattern for the clutch kit you intend to use. According to the technical documentation at Perfection Clutch, mismatching the pressure plate pattern to the flywheel can result in improper clamping load distribution, leading to warped pressure plates and shattered friction discs.
Decoding Bolt Circle Diameters (BCD) and Configurations
Pressure plate bolt patterns are defined by their Bolt Circle Diameter (BCD) and the number of fasteners. The BCD is the theoretical circle formed by the centers of the bolt holes. Below is a reference chart for some of the most common manual transmission platforms you will encounter during a clutch plate replacement.
| Platform / Engine Family | Clutch Diameter | Bolt Count | Common BCD / Style | Fastener Thread Pitch |
|---|---|---|---|---|
| GM Gen III/IV/LS (Manual) | 11.0 in. / 12.0 in. | 6-Bolt | Diaphragm (Metric BCD) | M8 x 1.25 |
| Chevy Gen 1 SBC/BBC | 10.5 in. / 11.0 in. | 6-Bolt | Borg & Beck / Long | 3/8 in.-16 |
| Ford 5.0L Coyote (MT-82) | 11.0 in. / 12.0 in. | 6-Bolt | Diaphragm (Metric BCD) | M8 x 1.25 |
| Honda B-Series / H-Series | 8.5 in. / 9.0 in. | 6-Bolt | Diaphragm (Compact BCD) | M8 x 1.25 |
| Subaru EJ20/EJ25 (Turbo) | 9.0 in. / 10.0 in. | 6-Bolt | Diaphragm (Push-type) | M8 x 1.25 |
Diaphragm vs. Multi-Finger (Long/Borg & Beck) Patterns
Older American V8s often utilized multi-finger pressure plates (like the Borg & Beck style), which required specific bolt patterns with staggered or evenly spaced holes designed to handle the high leverage of the fingers. Modern vehicles almost universally use diaphragm-style pressure plates. Diaphragm patterns are generally more compact and rely on a single, large Belleville spring. If you are retrofitting a modern Tremec T56 Magnum transmission onto a classic V8, you will likely need an aftermarket flywheel that adapts the classic crank flange to a modern metric diaphragm pressure plate bolt pattern.
The Engine Swap Trap: Why Patterns Get Mixed Up
Let us look at a real-world scenario. You are performing an LS swap and retaining a Tremec TKO 5-speed transmission from a previous Ford small-block setup. You buy a 12-inch LS clutch kit and an LS-spec flywheel. During the clutch plate replacement, you bolt the flywheel to the LS crankshaft perfectly. However, when you go to mount the pressure plate, you realize your old Ford 11-inch pressure plate will not line up with the new 12-inch LS flywheel's bolt holes.
Furthermore, many aftermarket flywheels feature dual-pattern or multi-pattern drilling. A single flywheel might be drilled for both a 10.5-inch and an 11-inch pressure plate BCD to save inventory costs. While this is convenient, it introduces a risk: if you accidentally start threading a bolt into the wrong, un-used pattern hole, you can cross-thread the flywheel or bottom out the bolt against the crankshaft flange, causing severe engine damage. Always use a marker or paint pen to highlight the correct 6-bolt circle before beginning your installation.
Step-by-Step Alignment and Torque Specifications
Proper torque and sequencing are just as critical as the pattern itself. The pressure plate housing is typically made of stamped steel or cast aluminum. Uneven tightening will warp the housing, altering the clamp load on the clutch disc and causing chatter upon engagement. For deeper insights into fastener yield and clamping forces, the engineering resources at Automotive Racing Products (ARP) provide invaluable data on why torque-to-yield and standard torque specs matter in rotating assemblies.
Essential Torque Specs for Popular Platforms
Always refer to your specific factory service manual, but here are the industry-standard baseline torque specifications for common pressure plate bolts:
- GM LS Series (M8 x 1.25): 26 lb-ft (35 Nm). Do not exceed this, as the threads are tapped directly into the steel flywheel and can strip if over-torqued.
- Chevy Gen 1 Small Block (3/8 in.-16): 35 lb-ft (47 Nm). Use a hardened washer under the bolt head to prevent galling on the pressure plate cover.
- Ford Modular 4.6L / 5.0L Coyote (M8 x 1.25): 25 lb-ft (34 Nm) plus an additional 90-degree turn if using factory Torque-to-Yield (TTY) bolts. If using aftermarket ARP bolts, torque to 25 lb-ft and ignore the TTY angle.
- Subaru EJ Series (M8 x 1.25): 18 lb-ft (25 Nm). Subaru flywheels are relatively thin in the mounting pad area; over-torquing will easily pull the threads out.
The Star Pattern Sequence
Never tighten pressure plate bolts in a circle. You must use a crisscross or "star" pattern, gradually increasing the torque in three separate passes (e.g., 10 lb-ft, then 18 lb-ft, then final spec). This ensures the diaphragm spring compresses evenly and the clutch disc remains perfectly centered on the input shaft pilot.
Hardware Selection: OEM vs. Aftermarket Fasteners
A frequent question during any clutch plate replacement is whether to reuse the old pressure plate bolts. The answer is an absolute no. Pressure plate bolts endure immense shear stress and thermal cycling. OEM bolts are often Torque-to-Yield (TTY), meaning they stretch permanently upon installation. Reusing them risks the bolt head snapping off inside the flywheel during operation.
Upgrading to an aftermarket fastener kit, such as those offered by ARP, is highly recommended. These kits typically feature:
- Material: Chrome-moly steel heat-treated to 190,000 psi tensile strength (compared to standard Grade 8 or Class 10.9 OEM hardware).
- Design: Reduced wrench sizing for better clearance around the bellhousing and starter motor.
- Reusability: Unlike TTY bolts, high-tensile aftermarket bolts can be safely reused if you are doing a transmission R&R for a rear main seal repair down the road.
Troubleshooting Misaligned Patterns and Runout Issues
What happens when you have the right flywheel, the right clutch kit, but the bolts still seem to bind or the clutch chatters after installation? Here are two advanced troubleshooting steps that separate the novices from the experts.
1. Checking Flywheel Runout
If the pressure plate bolt pattern is correct but the flywheel was not machined or seated properly on the crankshaft flange, you will experience axial runout. Mount a dial indicator to the engine block and rest the tip on the friction surface of the flywheel. Rotate the crankshaft by hand. Total Indicated Runout (TIR) should not exceed 0.005 inches. If it does, the pressure plate will wobble, destroying the clutch disc fingers and causing severe driveline vibration. Check for debris between the crank flange and flywheel, or have the flywheel resurfaced.
2. Dowel Pin Alignment
Many heavy-duty and performance pressure plates (such as those from McLeod or Tilton) utilize alignment dowel pins integrated into the bolt pattern. These pins ensure the pressure plate is perfectly concentric with the flywheel. If your flywheel lacks the corresponding dowel holes, you must either have a machine shop drill them using a precision jig, or switch to a pressure plate that relies solely on bolt-hole clearance for alignment. Forcing a dowel pin into a misaligned hole will crack the pressure plate casting.
Final Thoughts on Your Clutch Plate Replacement
A successful clutch plate replacement is about much more than just swapping out worn friction material. It requires a deep respect for the mechanical interfaces that bind the engine to the drivetrain. By understanding the distinction between crank flanges and pressure plate bolt patterns, adhering to strict torque sequences, and investing in high-quality fasteners, you ensure that your vehicle's power is transferred to the pavement smoothly and reliably. Take your time, measure twice, and let the precision of the bolt pattern guide your wrench.