The Great Terminology Trap: Motorcycles vs. Automobiles
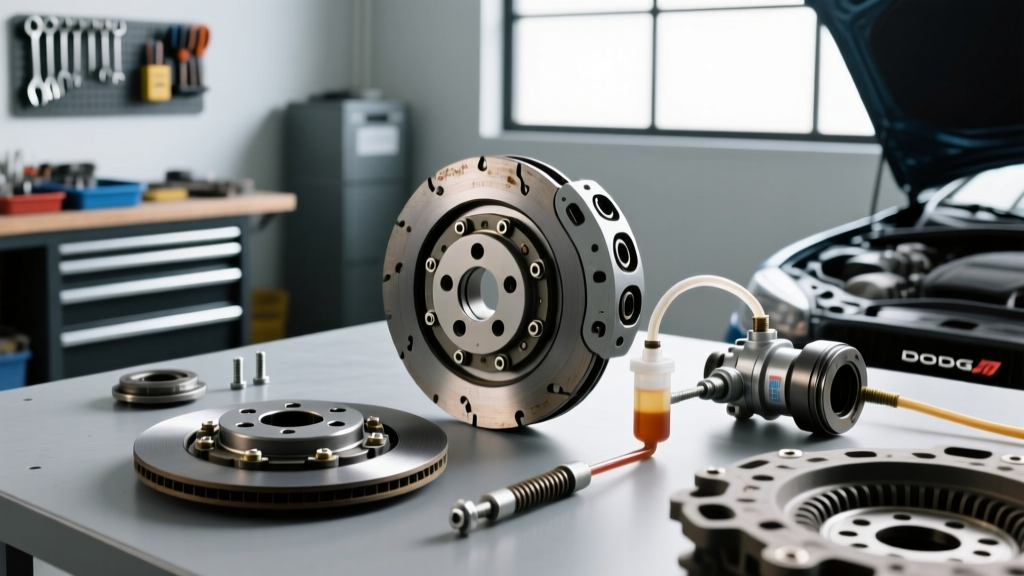
Welcome to the world of motorcycle maintenance. If you are transitioning from car and truck DIY repairs into the two-wheeled garage, you are about to encounter a massive terminology hurdle. When new riders begin researching slipping gears or heavy lever pulls online, they often stumble onto automotive forums and get entirely derailed by discussions about fan clutch replacement cost. Here is the most critical thing a beginner must understand: motorcycles do not have viscous cooling fan clutches.
In the automotive world, a 'fan clutch' is a thermostatic device mounted to the engine's water pump that engages and disengages the mechanical cooling fan. When it fails, your truck overheats at idle. But on a motorcycle, the word 'clutch' almost exclusively refers to the transmission clutch assembly—the mechanical link that engages and disengages engine power from the gearbox. As we navigate the 2026 riding season, it is vital to separate these two completely different systems so you do not buy the wrong parts or misdiagnose your bike.
Cost Comparison: Motorcycle Transmission vs. Automotive Fan Clutch
To clear up the confusion once and for all, let us look at the actual financial damage of both repairs. While an automotive fan clutch replacement cost generally reflects a simple bolt-on cooling component, a motorcycle clutch replacement involves draining fluids, accessing the engine casing, and carefully stacking friction materials.
| Repair Type | System Function | Average Parts Cost | Average Labor Cost | Total Estimated Cost |
|---|---|---|---|---|
| Automotive Fan Clutch (e.g., V8 Truck) | Engine Cooling Fan Engagement | $60 - $150 | $100 - $200 | $160 - $350 |
| Motorcycle Wet Clutch (e.g., 600cc Sport) | Transmission Power Delivery | $90 - $220 | $150 - $300 | $240 - $520 |
| Motorcycle Dry Clutch (e.g., V-Twin Cruiser) | Transmission Power Delivery | $150 - $400+ | $200 - $450 | $350 - $850+ |
Note: Prices reflect 2026 national averages for independent shops. Dealership rates will push labor costs 30-50% higher.
Understanding the Motorcycle Clutch: Wet vs. Dry
Before you order parts from EBC Brakes or Barnett, you must know what lives inside your right-side engine cover.
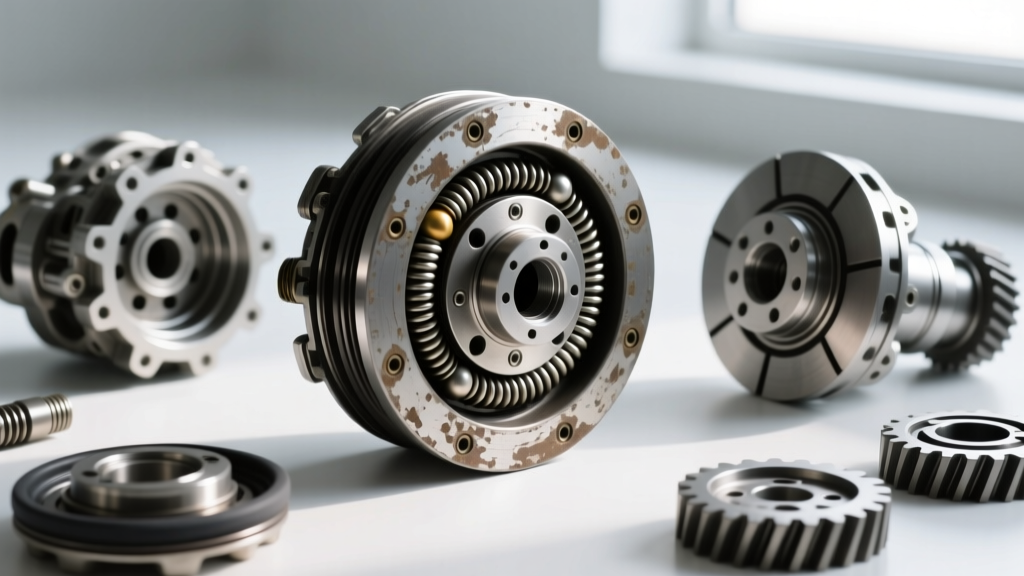
- Wet Multi-Plate Clutches: Found on 90% of Japanese and European motorcycles (Honda, Yamaha, Kawasaki, Suzuki). The clutch basket is submerged in the same engine oil that lubricates your crankshaft and transmission. They rely on alternating layers of steel drive plates and friction plates. Because they are bathed in oil, they run cool and last tens of thousands of miles.
- Dry Single/Multi-Plate Clutches: Found on many Ducati models, Moto Guzzis, and older BMWs. These operate outside the engine oil bath, similar to a manual car clutch. They offer a more direct, aggressive 'bite' but wear out faster and generate more heat.
Beginner-Friendly Step-by-Step: Replacing a Wet Multi-Plate Clutch
For this guide, we will focus on the most common platform: a wet multi-plate clutch found on modern middleweight bikes like the Yamaha MT-07 or Kawasaki Z650. According to the experts at RevZilla's Common Tread tech garage, this is a highly approachable weekend DIY project if you have a torque wrench and basic hand tools.
Step 1: The Drain and Prep
Because the clutch lives in the engine oil, you must drain the crankcase first. Tip the bike slightly to the left to pool the oil away from the right-side clutch cover. Remove the drain plug and let it empty completely. Crucial 2026 Warning: Never use standard automotive motor oil in a wet-clutch motorcycle. Car oils contain friction modifiers that will cause your new clutch plates to slip immediately. You must use a JASO MA or MA2 certified 10W-40 or 10W-50 motorcycle-specific oil.
Step 2: Accessing the Basket
Remove the right-side engine cover bolts. Keep them organized in a cardboard template, as they are often different lengths. Once the cover is off, you will see the clutch basket. Remove the clutch spring bolts (usually 5 or 6 small Allen or Torx bolts). Do not use an impact gun here. Use a hand ratchet. The torque spec for these small spring bolts is typically very low, around 8 to 10 Nm (6 to 7 lb-ft). Stripping them means drilling and re-tapping the aluminum hub.
Step 3: Plate Removal and Inspection
Lift off the pressure plate and carefully pull out the alternating stack of friction and steel plates. Keep them in order if you plan to measure them, but if you are doing a full replacement, discard the old stack. Before installing the new kit, inspect the aluminum fingers of the clutch basket.
Pro-Tip: Run your fingernail along the basket notches where the friction plates sit. If you feel deep grooves or 'notching' in the aluminum, your new clutch plates will hang up and cause a jerky, chattering engagement. Mild notching can be smoothed with a fine metal file, but severe gouging requires a full billet aluminum basket replacement.
Step 4: Soaking and Stacking
If you bought standard Kevlar or cork-based friction plates, they must be soaked in fresh JASO MA2 engine oil for at least 2 hours before installation. Installing them dry will cause instant glazing and burning upon first startup. (Note: Some modern carbon-fiber Barnett plates do not require pre-soaking; always read the manufacturer's insert). Stack the plates in the exact alternating pattern outlined in your service manual—usually starting and ending with a friction plate.
Step 5: Torque and Staking
Reinstall the pressure plate and springs, torquing the spring bolts to the aforementioned 8-10 Nm in a crisscross pattern. If you had to remove the center clutch hub nut to replace the basket itself, you are dealing with high torque. The MT-07 hub nut requires roughly 72 Nm (53 lb-ft). You will need a universal clutch holding tool to keep the basket from spinning while you torque it. Finally, use a punch to 'stake' the nut into the groove of the crankshaft to prevent it from backing off under heavy acceleration.
Essential Tools and Part Numbers for the DIYer
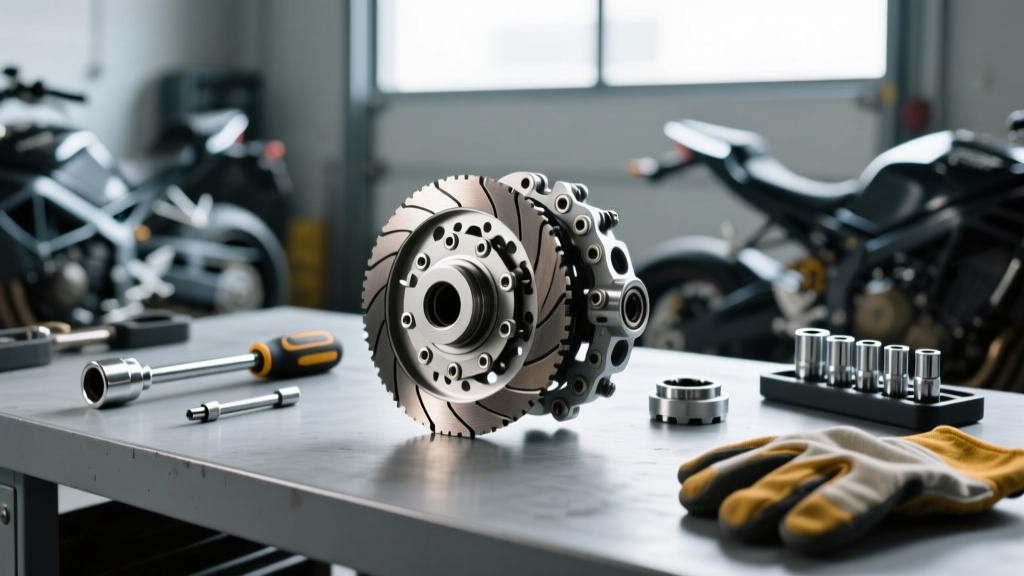
To execute this job properly, you cannot rely on a standard automotive socket set. Here is what you need on your bench:
- Clutch Holding Tool: Motion Pro Clutch Hub Holder (Universal fitment for most Japanese 4-cylinders and twins).
- Torque Wrench: A 1/4-inch drive inch-pound torque wrench for the delicate spring bolts, and a 3/8-inch drive for the cover and hub nuts.
- Feeler Gauges & Calipers: To measure steel plate warpage (discard if warped beyond 0.1mm) and friction plate thickness.
- Gasket: Never reuse the right-side engine cover gasket. Order an OEM replacement (e.g., Yamaha part # 90430-14001-00 for the drain plug crush washer, and the specific cover gasket for your VIN).
When to Skip the DIY and Visit a Shop
While swapping friction plates is a beginner-friendly task, there are edge cases where professional intervention is required. If your clutch lever still feels heavy and jerky after installing fresh plates and new springs, the issue may not be the plates at all. It could be a worn clutch pushrod bearing located deep behind the engine sprocket, or a notched transmission main shaft. Furthermore, if you own a shaft-driven BMW or a dry-clutch Ducati, the alignment procedures and shimming requirements are vastly more complex. As detailed in the Cycle World technical archives, dry clutch systems often require precise measurement of the clutch pack height to ensure the throw-out bearing engages correctly without dragging.
Final Thoughts for the 2026 Season
Do not let internet search algorithms confuse your maintenance schedule. The fan clutch replacement cost is a metric for truck owners worried about summer overheating. As a motorcyclist, your focus is on transmission power delivery, JASO MA2 fluid dynamics, and precise torque specifications. By understanding the anatomy of your wet or dry clutch, investing in the right holding tools, and respecting the torque limits of aluminum engine casings, you can easily add 50,000 miles to your motorcycle's drivetrain with a simple Saturday afternoon wrenching session.