Introduction: Anatomy of a Motorcycle Clutch System
For new riders and seasoned mechanics alike, understanding the spatial layout of a motorcycle's drivetrain is the first step toward effective troubleshooting. When beginners ask, 'what side is the clutch on a motorcycle,' the answer requires a two-part explanation because the actuation mechanism and the physical friction components are located on opposite sides of the machine. In this 2026 preventive maintenance guide, we will bridge the gap between basic motorcycle anatomy and advanced clutch slipping symptoms and diagnosis, ensuring your transmission delivers power efficiently to the rear wheel.
What Side Is the Clutch on a Motorcycle?
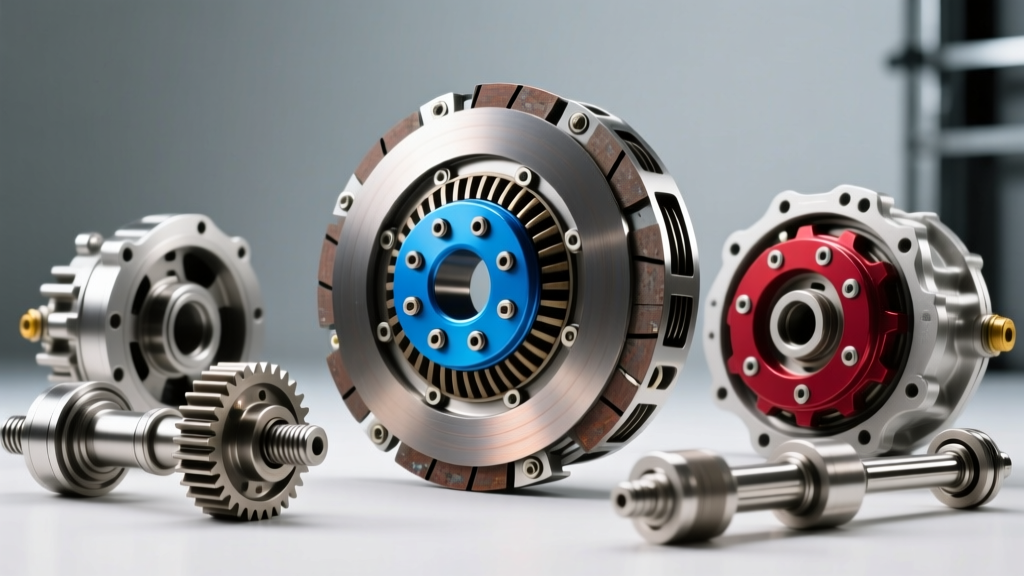
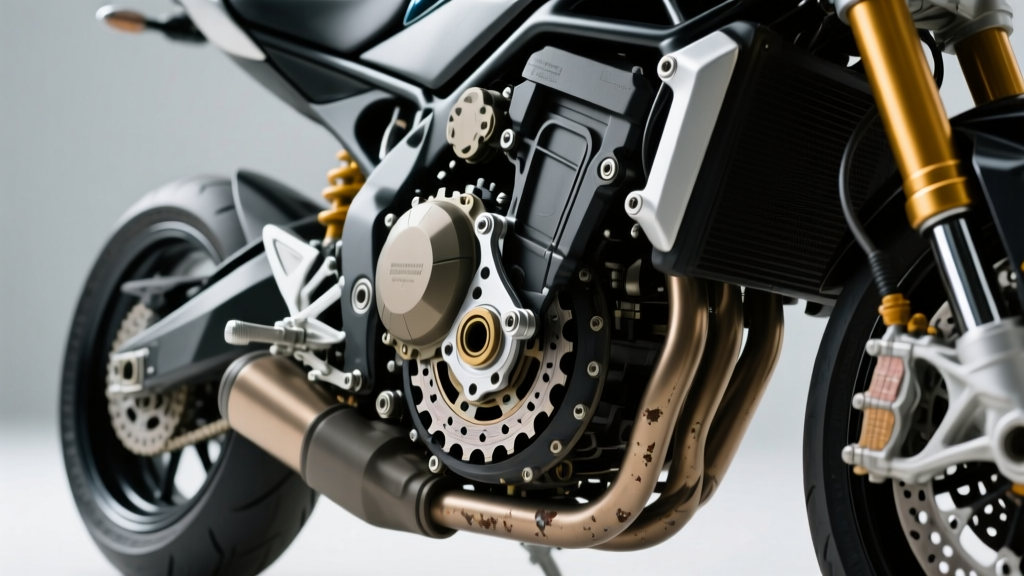
The actuation point (the clutch lever) is universally located on the left side of the handlebars, operated by the rider's left hand. However, the actual clutch assembly—including the clutch basket, friction plates, steel separator plates, and pressure springs—is housed inside the engine casing on the right side of the motorcycle. This right-side placement is standard across 95% of modern transverse inline-four, parallel-twin, and V-twin engines (such as the Yamaha CP2 or Honda CBR series). Because the left-side lever must communicate hydraulic or cable pressure across the frame to the right-side engine cover, any degradation in this pathway can lead to improper clutch disengagement or, more commonly, clutch slipping.
Recognizing Clutch Slipping Symptoms on the Road
Clutch slipping occurs when the friction plates fail to lock completely against the steel plates, allowing the engine's output shaft to spin faster than the transmission input shaft. Before tearing into the right-side engine cover, you must confirm the slip through on-road diagnostics.
- The RPM Surge Test: While cruising in a high gear (4th, 5th, or 6th) at roughly 3,500 RPM, abruptly roll on the throttle. If the tachometer needle jumps rapidly but your road speed does not increase proportionally, the clutch is slipping under load.
- The Stall Test (Static): With the bike in first gear, the front brake lever pulled firmly to the handlebar, and the rear brake applied, slowly release the left-side clutch lever while giving it moderate throttle. A healthy clutch will stall the engine. If the engine continues to run and rev while the lever is fully released, the friction material is worn or the clamping force is insufficient.
- Olfactory Indicators: A distinct, acrid 'burning' smell emanating from the right-side engine casing after hard acceleration or stop-and-go traffic indicates glazing or overheating of the friction material.
Preventive Diagnosis: From the Left Lever to the Right Basket
As a core tenet of preventive maintenance, always diagnose the external, easily accessible components before splitting cases or draining oil. Clutch slipping is frequently misdiagnosed as worn plates when the true culprit is improper left-side lever adjustment or incorrect lubrication.
1. Lever Free Play and Cable Tension
If your motorcycle uses a cable-actuated clutch, the cable will stretch over time. If there is zero free play at the left-side lever, the clutch release mechanism is perpetually applying slight pressure to the pressure plate, preventing full clamping force. According to manufacturer service manuals, standard lever free play should measure between 10mm and 15mm (0.4 to 0.6 inches) at the lever tip. Adjust the barrel adjuster at the lever perch first; if maxed out, adjust the lower threaded collar near the right-side engine casing.
2. Hydraulic System Integrity and Fluid Choice
For hydraulic clutches, a spongy left-side lever or a lever that slowly pulls to the grip under sustained pressure indicates air in the line or a failing master cylinder cup. Bleed the system using DOT 4 fluid. More critically, examine your engine oil. Motorcycles with wet clutches share engine oil between the crankcase and the transmission. Using standard automotive oil containing friction modifiers (like molybdenum) will coat the friction plates and cause severe slipping. You must exclusively use oil certified to the JASO T 903:2016 MA or MA2 standard, which guarantees high-friction coefficients for wet clutch compatibility.
3. The Right-Side Clutch Basket Inspection
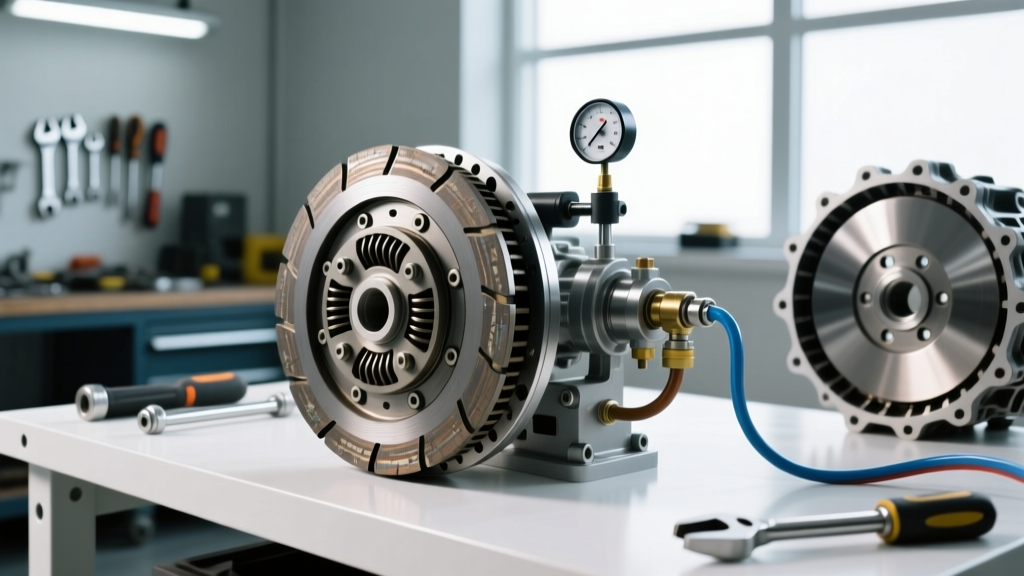
If external adjustments fail, drain the oil, remove the right-side clutch cover, and extract the clutch basket. Preventive diagnosis here involves measuring the physical wear limits of the friction components.
| Component | Standard Specification | Service Limit (Replace) | Measurement Tool |
|---|---|---|---|
| Friction Plate Thickness | 3.00 mm | 2.60 mm | Digital Caliper / Micrometer |
| Steel Plate Warpage | 0.00 mm | 0.10 mm | Surface Plate & Feeler Gauge |
| Clutch Spring Free Length | 45.5 mm | 42.0 mm | Vernier Caliper |
| Clutch Basket Finger Notching | Smooth | Visible Grooves / Sticking | Visual & Tactile Inspection |
Note: If the aluminum fingers of the clutch basket are deeply notched, the friction plates will hang up during engagement, causing a chattering sensation and uneven wear. In severe cases, the basket must be replaced or upgraded to an aftermarket billet aluminum unit.
Real-World Part Numbers and Replacement Costs
When diagnosis confirms that the friction material is below the 2.60mm service limit, replacement is mandatory. When reassembling the right-side clutch cover, always use a new gasket and adhere strictly to factory torque specifications to prevent warping the cover or stripping the crankcase threads.
- OEM Friction Kits: Typically range from $90 to $140. Excellent for stock commuting and standard riding.
- EBC Brakes CK Series (e.g., CK1146 for Yamaha MT-07): Priced around $75 to $95. These use premium cork-based materials that offer smooth engagement and resist glazing. Available via the EBC Brakes Motorcycle Catalogue.
- Barnett Carbon Kevlar Kits: Priced between $130 and $180. Ideal for high-horsepower applications or aggressive track riding, offering superior heat resistance and bite.
- Clutch Cover Gasket & Hardware: Expect to spend $15 to $25 on an OEM gasket and a new crush washer for the oil drain bolt.
Mechanic's Torque Warning: The clutch center nut on the right side of the engine requires significant torque to seat properly against the crankshaft taper. For a Yamaha CP2 engine, the center nut requires 70 Nm (51 lb-ft). You MUST use a dedicated universal clutch holding tool to prevent the basket from spinning while torquing. Failure to achieve proper torque will result in the nut backing off, destroying the crankshaft threads and the clutch basket.
Bedding-In New Clutch Plates
After reassembling the right-side casing and refilling with JASO MA2 oil, do not immediately subject the motorcycle to hard launches. New friction plates require a bedding-in period to mate perfectly with the steel separator plates. For the first 50 to 100 miles, ride conservatively. Use smooth, progressive throttle roll-ons and avoid slipping the clutch excessively in stop-and-go traffic. This allows the friction material to transfer a thin, even layer onto the steel plates, maximizing the clamping surface area and ensuring long-term durability.
Conclusion
Understanding what side the clutch is on a motorcycle is just the beginning of drivetrain mastery. While the left-side lever dictates your control, the right-side clutch basket houses the mechanical reality of your bike's power delivery. By routinely checking lever free play, strictly adhering to JASO MA2 fluid standards, and measuring friction components against precise service limits, you can diagnose and prevent clutch slipping long before it leaves you stranded on the side of the road.