The Myth of the "Feel" Diagnostic
If you have spent any time in automotive forums or meme pages, you may have encountered the obscure "Cars 3 Carl Clutchen" lore—a fictionalized, internet-born joke about an anthropomorphic clutch pedal from the Pixar universe that supposedly diagnoses drivetrain issues purely through "feel" and cartoonish sentience. While the internet loves a pop-culture diagnostic shortcut, real-world clutch system diagnostics in 2026 requires stripping away the memes and applying a rigorous, measurement-based inspection checklist. A slipping, chattering, or grabbing clutch is never a mystery; it is a mathematical deviation from factory tolerances.
Whether you are diagnosing a Tremec T56 Magnum in a performance build, a Subaru 6-speed in a rally application, or a standard transverse manual in a daily commuter, this technical deep-dive provides the definitive clutch system inspection checklist used by top-tier drivetrain specialists.
Phase 1: Hydraulic Circuit & Pedal Geometry Verification
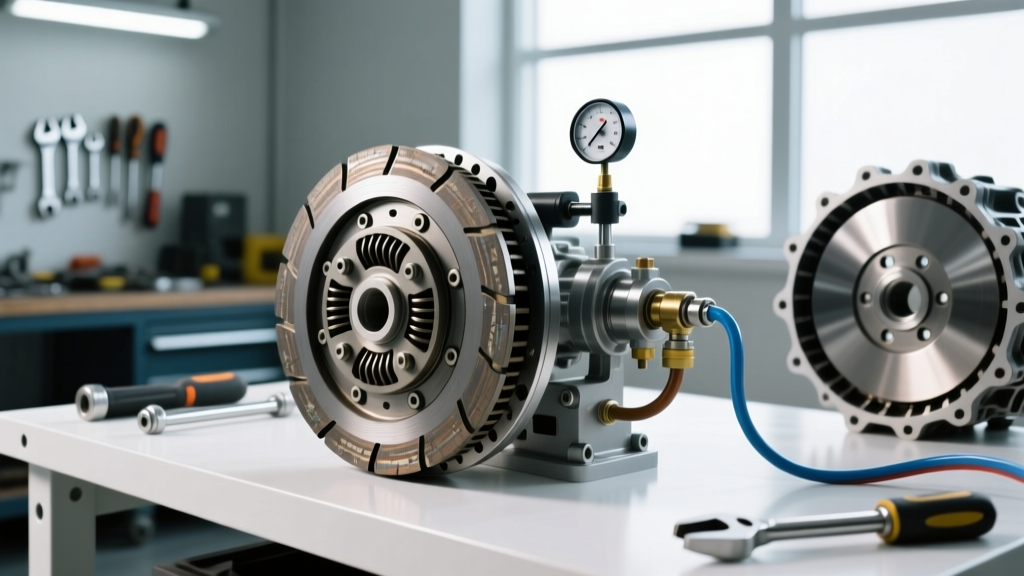
Before pulling the transmission, you must isolate the hydraulic actuation system. Over 40% of perceived "clutch failure" symptoms (like dragging or incomplete disengagement) are actually hydraulic faults. Modern manual vehicles predominantly use Concentric Slave Cylinders (CSC) or external hydraulic throw-out bearings.
Master Cylinder Pushrod & Free Play
Inspect the pedal free play at the pad. Factory specifications typically demand 0.5 to 1.0 inches of free play before the master cylinder pushrod engages the piston. If the pushrod is adjusted too tightly against the piston, the fluid return port remains blocked. This causes thermal expansion of the brake fluid to apply continuous pressure to the clutch disc, resulting in severe slipping and premature friction material glazing.
CSC vs. External Slave Diagnostics
For vehicles equipped with an external slave cylinder (common on older Nissan Z-cars or Jeep AX15 transmissions), inspect the actuation fork for pivot ball wear. A worn pivot ball alters the geometry, reducing the effective stroke of the throw-out bearing. For internal CSC setups (like the LuK LSC125 series found in many GM and Ford applications), a slow-returning pedal often indicates moisture contamination in the DOT 3/DOT 4 fluid causing internal seal swelling. A complete hydraulic flush using a pressure bleeder set to 15 PSI is mandatory before condemning the clutch assembly.
Phase 2: Flywheel Runout & Dual-Mass (DMF) Validation
Once the transmission is removed, the inspection shifts to the rotating assembly. According to engineering guidelines published by the Schaeffler Group (LuK/Sachs), mating surface integrity is the primary determinant of clutch chatter.
Measuring Flywheel Runout
Mount a magnetic dial indicator to the engine block and rest the needle on the flywheel friction surface. Rotate the crankshaft 360 degrees. Maximum allowable Total Indicator Runout (TIR) is generally 0.004 inches (0.10 mm). If runout exceeds this, the clutch disc will experience cyclic clamping force variations, leading to aggressive chatter upon engagement. While resurfacing at a machine shop costs between $75 and $120, dual-mass flywheels (DMF) cannot be resurfaced and must be replaced.
The DMF Testing Protocol
If the vehicle utilizes a DMF, you must perform a three-point physical inspection:
- Rotational Free Play: Using a Sachs DMF testing tool or a specialized degree wheel, measure the rotational lash between the primary and secondary masses. Most passenger vehicle DMFs allow 20 to 25 degrees of free play before the internal springs lock. Exceeding 28 degrees indicates broken internal dampening springs.
- Radial Runout: Measure the outer edge of the secondary mass. Tolerance is strictly limited to 1.2 mm (0.047 inches).
- Axial Play: Check for secondary mass wobble. Excessive axial play points to a failed internal bearing race.
Expert Note: In 2026, a high-quality OEM replacement DMF (e.g., Sachs or LuK) ranges from $650 to $950. Avoid cheap single-mass flywheel (SMF) "conversion kits" for modern diesel or high-torque applications; removing the DMF transfers destructive torsional harmonics directly into the crankshaft thrust bearings and transmission input shaft, leading to catastrophic downstream failures.
Phase 3: Bellhousing Concentricity & Input Shaft Health
This is the step that separates parts-changers from true drivetrain technicians. If the transmission bellhousing is not perfectly aligned with the engine block, the transmission input shaft will orbit off-center. This causes the clutch disc hub to bind on the splines, resulting in a failure to disengage (gear crunching) or rapid, asymmetric wear of the diaphragm spring fingers.
Dial-Indicating the Bellhousing
Mount a dial indicator to the crankshaft flange and sweep the inside bore of the bellhousing. The maximum allowable TIR is 0.005 inches. If the runout exceeds this, you must install offset dowel pins (available in 0.007", 0.014", and 0.021" offsets from manufacturers like Lakewood or Moroso) to re-center the bore. According to Tremec Engineering, operating a Magnum-series transmission with bellhousing misalignment greater than 0.005" will void the warranty and guarantee premature input shaft bearing failure.
Phase 4: Friction Material & Spline Lubrication
Inspect the clutch disc friction material for hot spots (blueing), which indicates thermal overload from slipping or riding the pedal. Check the torsional dampening springs in the disc hub; if they are loose or rattling, the disc must be replaced.
The Spline Grease Trap
When reinstalling, the transmission input shaft splines require a microscopic coating of high-molybdenum grease (such as Honda 08798-9002 or the Sachs equivalent included in premium kits). Never use standard chassis grease or anti-seize. Excessive grease will slingshot onto the friction surface during operation, causing immediate, irreversible clutch slip. Apply a thin film, slide the disc onto the splines to distribute it, and then wipe the excess completely clean.
Definitive Clutch Inspection Tolerances & Torque Chart
Reference this data table during your reassembly phase to ensure factory-accurate clamping and alignment.
| Component / Measurement | Specification / Tolerance Limit | Typical Torque Spec (V8 / LS-Series) |
|---|---|---|
| Flywheel Face Runout (TIR) | < 0.004 in (0.10 mm) | 74 lb-ft + 80° (Yield Bolts) |
| Bellhousing Bore Concentricity | < 0.005 in (0.12 mm) | 35-50 lb-ft (Block to Bell) |
| Pressure Plate Diaphragm Wear | < 0.030 in groove depth | 26-32 lb-ft (Star Pattern) |
| DMF Rotational Free Play | 20° - 25° (Max 28°) | N/A (Replace if out of spec) |
| Input Shaft Spline Lubrication | Moly Grease (Thin Film Only) | N/A |
| Pedal Free Play (At Pad) | 0.5 in - 1.0 in | Adjust Pushrod Accordingly |
Conclusion: Data Over Dogma
While the "Cars 3 Carl Clutchen" meme serves as a humorous reminder of how drivers anthropomorphize their vehicles' mechanical quirks, modern clutch system diagnostics leaves no room for guesswork. By systematically verifying hydraulic geometry, measuring flywheel runout to the thousandth of an inch, dial-indicating the bellhousing, and applying precise spline lubrication, you eliminate the variables that cause repeat failures. A complete clutch replacement using a premium LuK RepSet (typically $280 to $450 for the parts) is a significant investment; executing this inspection checklist ensures that the new assembly performs flawlessly for the next 100,000 miles. For further reading on manual transmission actuation systems, consult the technical service bulletins available via SAE International.