Bridging the Gap: Car vs. Motorcycle Drivetrains
If you have ever researched a Honda Fit clutch replacement, you are likely familiar with the fundamental concept of a dry, single-plate friction disc mated to a heavy flywheel. For beginners transitioning from basic automotive maintenance to powersports, understanding the architectural leap from a front-wheel-drive subcompact car to a transverse-mounted motorcycle engine is critical. While the basic physics of friction and clamping force remain identical, the execution, environment, and service procedures are vastly different.
In this beginner-friendly explainer, we will use the widely understood Honda Fit (specifically the GK5 generation with the L15B 1.5L engine) as a baseline to demystify clutch replacement for motorcycles. By the end of this guide, you will understand wet multi-plate systems, precise measurement tolerances, and the exact steps required to rebuild a motorcycle clutch basket without leaving spare parts on your workbench.
The Fundamental Divide: Dry Single-Plate vs. Wet Multi-Plate
The Honda Fit Baseline (Dry System)
A standard Honda Fit clutch replacement involves dropping the subframe or axles, unbolting the transaxle, and accessing a single, roughly 200mm dry friction disc. It operates in the air, relying on the mass of the flywheel and the diaphragm spring to absorb and dissipate heat during engagement. When the organic friction material wears down to the rivets, the clutch slips, and replacement is mandatory.
The Motorcycle Architecture (Wet System)
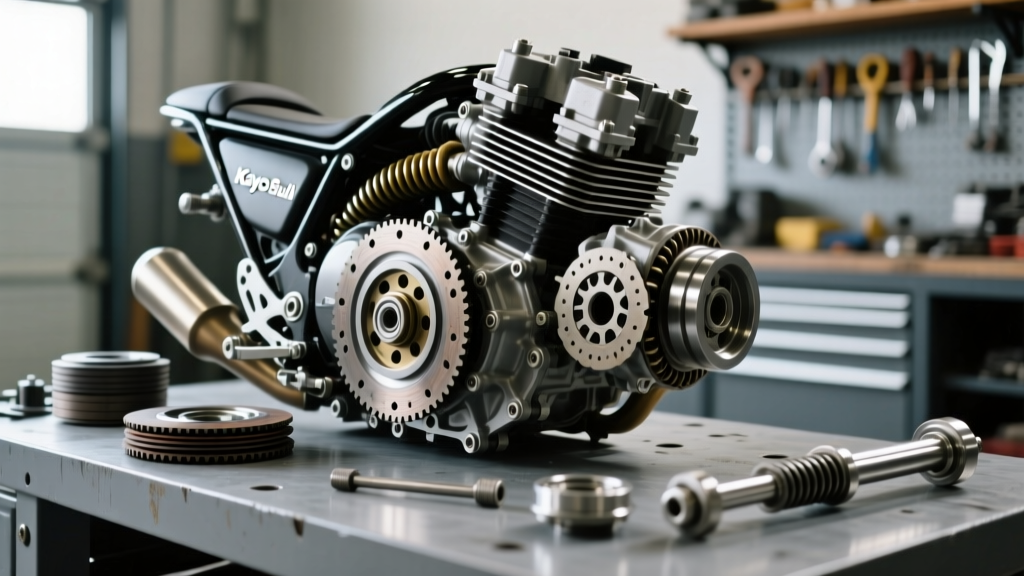
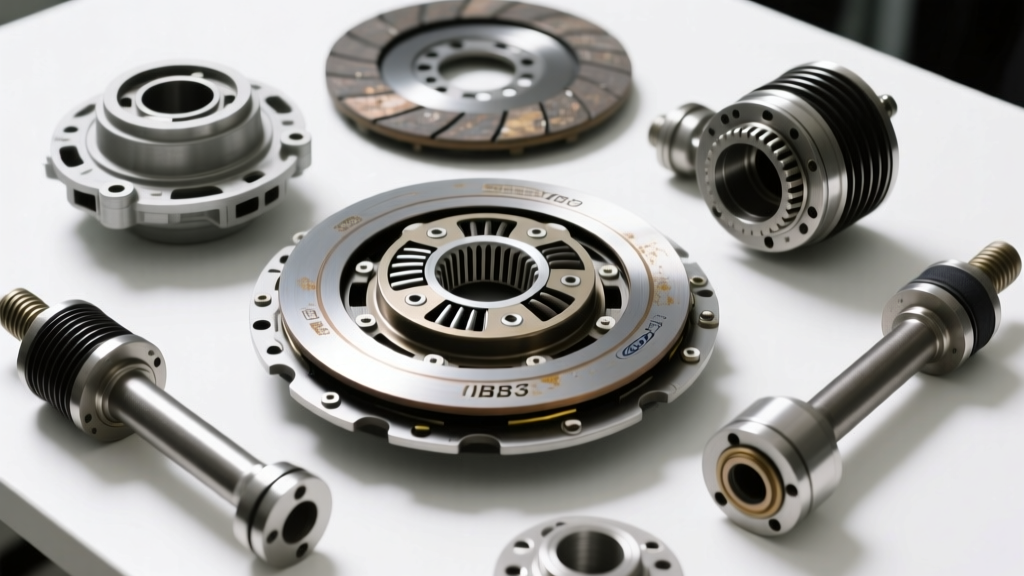
Motorcycles do not have the physical space for a large-diameter single plate, nor do they have dedicated flywheels for heat dissipation. Instead, they utilize a wet multi-plate clutch bathed in the engine's shared oil sump. By stacking alternating friction and steel plates (often 7 to 9 friction plates), the total surface area is multiplied, allowing a compact basket to handle 100+ horsepower. The engine oil acts as both a lubricant for the transmission gears and a coolant for the clutch pack.
Step-by-Step Motorcycle Clutch Replacement Guide
Replacing a motorcycle clutch is generally more accessible than a Honda Fit clutch replacement because you rarely need to remove the engine or transmission. The clutch is typically housed behind the right-side crankcase cover. Here is the professional workflow for a standard transverse inline-four or parallel-twin motorcycle.
1. Draining and Fluid Selection
Drain the engine oil while it is warm. Critical Warning: When refilling later, you must use an oil certified with JASO MA or MA2 standards. Modern 2026 automotive oils (API SP/SN PLUS) contain molybdenum-based friction modifiers designed to improve car fuel economy. If you use standard car oil in a motorcycle, these modifiers will coat the clutch plates and cause immediate, catastrophic slipping.
2. Accessing the Clutch Basket
Remove the right-side footpeg and brake pedal to access the crankcase cover. Unbolt the perimeter bolts (usually 8mm heads). Keep track of the dowel pins. Behind the cover, you will find the clutch lifter mechanism. Note the orientation of the rack-and-pinion or cam-style actuator, and carefully remove the small pushrod and the tiny ball bearing that sits at the end of the transmission mainshaft. Losing this ball bearing in the engine oil is a rite of passage for beginners—use a magnetic pick-up tool or a dab of grease to secure it.
3. Compressing and Removing the Springs
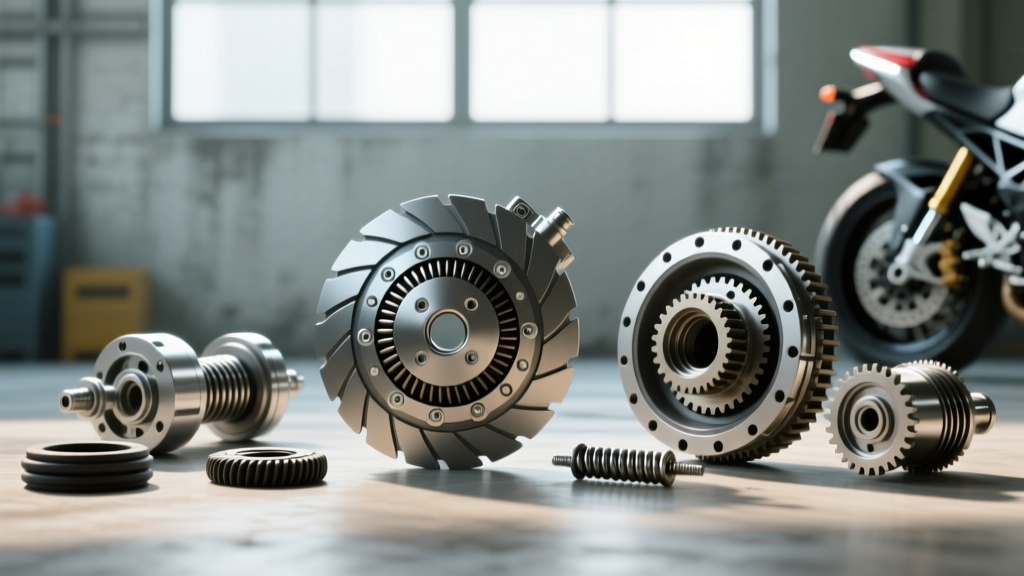
Unlike the heavy diaphragm spring in a Honda Fit, motorcycles use 4 to 6 individual coil springs. Use a dedicated clutch spring compressor tool (or carefully use your hands if the springs are weak) to compress the spring retainers. Remove the bolts (typically 8mm or 10mm). Once the springs and retainers are off, the pressure plate lifts away, exposing the stack of friction and steel plates.
4. Extracting and Inspecting the Pack
Pull the plates out, maintaining their exact order if you plan to reuse the steel plates. However, best practice dictates replacing the entire pack. Inspect the inner and outer clutch baskets for 'notching'—grooves worn into the aluminum tangs by the steel plates. Light notching can be smoothed with a fine file, but deep grooves require basket replacement to prevent clutch drag and harsh engagement.
Technical Specifications & Torque Chart
Understanding the numerical differences between automotive and powersports applications highlights why precision is paramount. Below is a comparative data table illustrating the engineering divergence.
| Specification | Honda Fit (GK5 1.5L Manual) | Honda CBR500R (PC49 Parallel-Twin) |
|---|---|---|
| Clutch Type | Dry, Single-Plate | Wet, Multi-Plate (7 Friction, 6 Steel) |
| Actuation Method | Hydraulic Slave Cylinder & Fork | Cable/Hydraulic to Cam & Pushrod |
| Friction Material | Organic / Cerametallic | Cork / Kevlar / Paper Composite |
| Pressure / Center Nut Torque | Flywheel: 103 Nm + 90° | Center Nut: 69 Nm (51 lb-ft) |
| Spring Bolt / Retainer Torque | Pressure Plate: 22 Nm | Clutch Springs: 8 Nm (71 lb-in) |
| Average OEM Replacement Cost | $250 - $400 (Kit + Flywheel Machining) | $90 - $150 (Full Friction & Spring Kit) |
Measurement Tolerances: When to Replace Steel Plates
In a Honda Fit clutch replacement, you replace the disc, resurface or replace the flywheel, and install a new pressure plate. In a motorcycle, you must measure the existing components if you are only buying friction plates.
- Friction Plate Thickness: Use a micrometer to measure the friction plates. A standard plate might be 3.0mm thick. The service manual limit is usually around 2.8mm. If any plate is below the limit, replace the entire friction pack.
- Steel Plate Warpage: Place each steel plate on a known flat surface (like a piece of glass). Use a feeler gauge to check for gaps. The maximum allowable warpage is typically 0.1mm to 0.2mm. If a feeler gauge slides under the plate, the steel plate is warped and will cause clutch chatter. Replace it.
- Clutch Spring Free Length: Measure the coil springs uncompressed. Over time, heat and compression cause them to sag. If the service manual specifies a minimum free length of 43.5mm and your spring measures 42.8mm, your clamping force is compromised. Always install new springs (e.g., EBC or OEM) during a rebuild.
The Soaking Process: A Non-Negotiable Step
One of the most frequent and destructive beginner mistakes is installing dry friction plates. Because motorcycle clutches operate in an oil bath, the porous friction material must be fully saturated before the engine is started. If you start the bike with dry plates, the initial friction will generate immense localized heat, glazing the friction material and warping the steel plates within seconds.
The Correct Procedure: Submerge the new friction plates in a pan of the exact JASO MA2 engine oil you plan to use in the crankcase. Let them soak for a minimum of 2 to 4 hours (overnight is ideal). This ensures the oil penetrates the core of the friction material, providing immediate lubrication and cooling upon first engagement.
Reassembly and Final Adjustments
When stacking the plates back into the basket, pay close attention to the service manual's stacking order. Some manufacturers use a specific 'judder spring' or a slightly thinner friction plate at the bottom of the stack to ensure smooth engagement from a stop. Furthermore, ensure the last plate installed is a friction plate, not a steel plate.
Torque the clutch spring bolts in a crisscross pattern to the exact specification (usually 8 to 10 Nm). Over-torquing these small bolts will strip the aluminum threads in the clutch center, requiring a costly Heli-Coil repair or full center replacement. Reinstall the crankcase cover with a brand new gasket. Never reuse a crushed fiber or rubber-coated steel gasket, as it will inevitably leak oil onto your exhaust headers.
Sourcing Parts and Further Reading
For high-quality replacement components, brands like EBC Brakes (CK Series for standard replacement, SRC Series for heavy-duty Kevlar) and ProX Racing Parts offer OEM-equivalent tolerances at a fraction of the dealer price. Always cross-reference your specific OEM part numbers to ensure the correct plate count and diameter.
To deepen your understanding of wet clutch mechanics and see visual teardowns, we highly recommend consulting authoritative powersports resources. The technical team at RevZilla's Common Tread offers excellent visual walkthroughs for various sportbike and cruiser platforms. Additionally, EBC Brakes Technical Guides provide vital insights into bedding-in procedures and advanced material choices for track-day riders.
While a Honda Fit clutch replacement is a heavy, labor-intensive job requiring transmission removal, a motorcycle clutch rebuild is a highly rewarding, precision-based task that can be completed on a Saturday afternoon with basic hand tools, a torque wrench, and a set of metric feeler gauges. Respect the torque specs, soak your plates, and your motorcycle will shift smoothly for tens of thousands of miles.