The Kayo Bull 125 Clutch Dilemma: Repair or Replace?
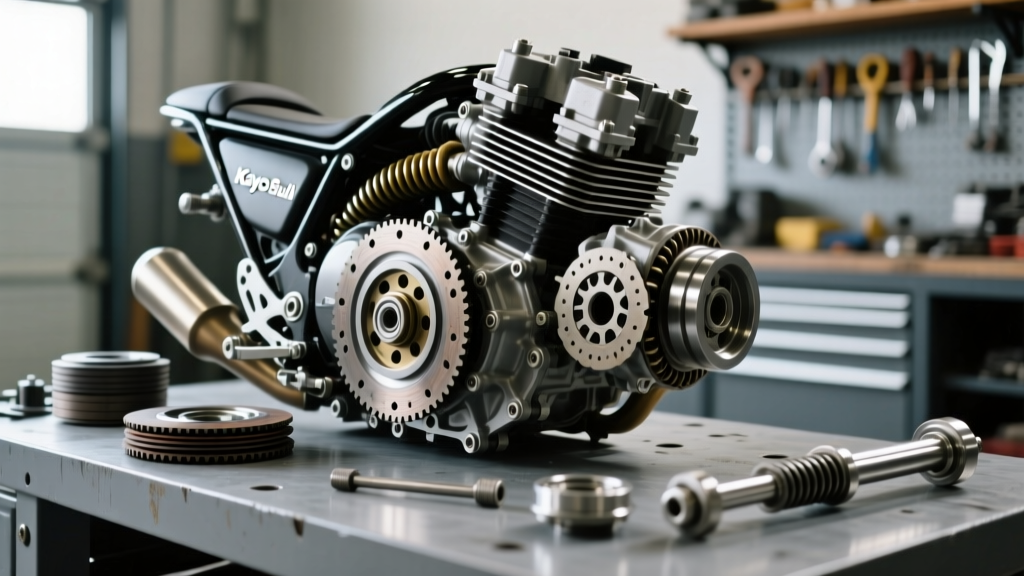
The Kayo Bull 125 is a staple in the pit bike and entry-level dirt bike community, powered by a robust 125cc air-cooled single-cylinder engine. This powerplant shares its fundamental architecture with legendary Honda CRF and XR series engines, meaning it utilizes a wet, multi-plate manual clutch system. When your Bull 125 starts slipping under hard acceleration or the lever feels unusually spongy, you are faced with a critical decision: do you simply replace the friction plates, or is it time for a complete clutch basket assembly swap?
Making the wrong choice can lead to immediate repeat failures, wasted oil, and destroyed transmission cases. As of 2026, aftermarket support for the Kayo Bull 125's engine remains incredibly strong, with complete CNC-machined basket assemblies and OEM-style plate kits readily available. This step-by-step guide will walk you through the diagnostic decision matrix, precise teardown procedures, and the exact torque specifications required to get your bike back on the dirt safely.
Phase 1: The Diagnostic Decision Matrix
Before you drain a single drop of oil, you must understand the failure modes of the 125cc wet clutch. A slipping clutch is rarely just about worn friction material; it is often a symptom of deeper mechanical fatigue. Use the following matrix to determine your repair path once the right-side crankcase cover is removed.
| Component | Inspection Criteria | Decision: Repair (Plate Kit) | Decision: Replace (Full Assembly) |
|---|---|---|---|
| Friction Plates | Measure thickness with calipers | Worn evenly, below 2.8mm limit | Glazed, burnt, or cork disintegrating |
| Steel Plates | Check for warping on flat glass | Warping under 0.1mm, no bluing | Warped >0.1mm or heat-blued |
| Clutch Basket (Outer) | Inspect aluminum spline fingers | Minor grooving, no play | Deep notches causing plate hang-up |
| Clutch Center (Inner) | Check splines and damper springs | Splines sharp, damper springs tight | Stripped splines or broken dampers |
| Clutch Springs | Measure free length | Length >39mm | Collapsed below 38mm service limit |
Expert Insight: If the aluminum fingers on your outer clutch basket are deeply notched, simply installing a new clutch kit will not fix your issue. The new friction tabs will catch in the notches, preventing the clutch from fully disengaging (causing hard shifting) or fully engaging (causing slip). In this scenario, a full basket replacement is mandatory.
Phase 2: Step-by-Step Teardown and Extraction
If you have determined that a teardown is necessary, gather your tools. You will need a 10mm and 12mm socket set, a universal clutch holding tool, a torque wrench, feeler gauges, and digital calipers.
Step 1: Draining and Cover Removal
- Warm up the engine for three minutes to suspend particulates in the oil, then drain the crankcase completely. The Kayo Bull 125 typically holds 800ml to 1000ml depending on the exact engine variant.
- Remove the right-side footpeg and brake lever assembly to gain clearance.
- Unbolt the right crankcase cover (usually 8mm or 10mm bolts). Keep track of the two longer dowel bolts that locate the cover.
- Carefully pry the cover off. Watch for the clutch lifter arm and pushrod; do not let them fall into the engine cases.
Step 2: Extracting the Clutch Assembly
- Remove the clutch spring bolts (typically 8mm heads) in a crisscross pattern to relieve tension evenly on the pressure plate.
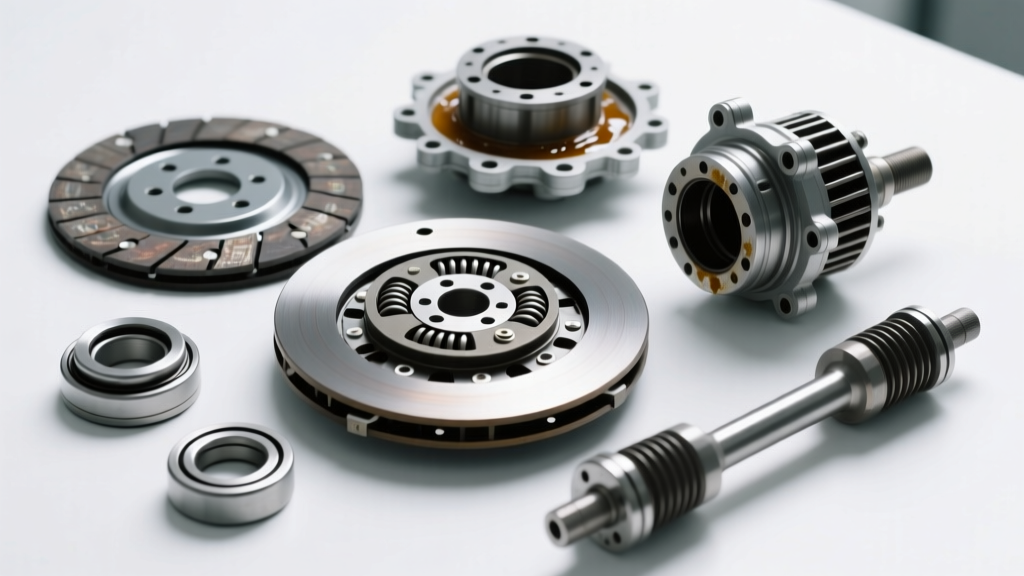
- Remove the pressure plate, friction plates, and steel plates. Keep them in a stack in the exact order they came out for initial diagnostic reference.
- Lock the clutch basket using your universal holding tool. The center nut is usually 17mm or 19mm and is torqued heavily from the factory. Break it loose, remove the lock washer, and slide the entire basket and center hub assembly off the main shaft.
Phase 3: Precision Measurements and Rebuild Protocol
With the assembly on the bench, it is time to measure. According to standard 125cc single-cylinder service manuals, the friction plate service limit is generally 2.8mm. If your plates measure 2.9mm but the bike was slipping, check your steel plates for heat warping. As detailed in comprehensive dirt bike maintenance guides from Rocky Mountain ATV/MC, warped steel plates reduce the clamping force of the springs, leading to slip even with thick friction material.
The Rebuild Sequence
If you are executing a standard repair (replacing plates and springs), follow this exact sequence to ensure longevity:
- Pre-Soak the Friction Plates: Submerge all new friction plates in a clean pan of the exact 10W-40 motorcycle oil you plan to run in the engine. Let them soak for a minimum of two hours. Installing dry plates will cause immediate glazing and burnout upon first startup.
- Install the Center and Basket: If replacing the full assembly, slide the new inner hub and outer basket onto the main shaft. Ensure the woodruff key (if equipped) or the splines are perfectly aligned.
- Torque the Center Nut: Install the lock washer and center nut. Torque the center nut to 38 ft-lbs (51 Nm). Bend the lock washer tab against the flat spot on the nut.
- Stack the Plates: Alternate friction and steel plates. The Kayo Bull 125 typically uses a 5-plate setup (5 friction, 4 steel). Ensure the outermost plate is a friction plate.
- Install Springs and Pressure Plate: Install the new heavy-duty clutch springs. Torque the pressure plate bolts to 7 ft-lbs (10 Nm) in a star pattern.
Phase 4: Fluid Chemistry and Final Adjustment
The number one cause of premature clutch failure in Chinese-manufactured pit bikes like the Kayo Bull is the use of incorrect lubricants. The Kayo Bull 125 utilizes a shared sump, meaning the engine oil lubricates the piston, the transmission gears, and the clutch friction material simultaneously.
The JASO MA2 Mandate
You must use a 10W-40 oil certified with a JASO MA or MA2 rating. Modern automotive oils (API SN or SP) contain friction modifiers and high levels of molybdenum designed to improve fuel economy in cars. In a wet clutch, these modifiers coat the friction plates, causing catastrophic slipping and rapid wear. Stick to dedicated motorcycle oils like Mobil 1 Racing 4T, Valvoline 4-Stroke, or Bel-Ray EXS.
Cable Free Play Adjustment
Once the right cover is reinstalled (torque M6 cover bolts to 8 ft-lbs) and the engine is filled with 900ml of fresh JASO MA2 oil, you must adjust the clutch cable. 1. Loosen the cable adjuster at the handlebar lever. 2. Adjust the actuator arm on the engine case so there is barely a touch of preload on the clutch pushrod. 3. Adjust the handlebar barrel adjuster to achieve exactly 10mm to 15mm of free play at the tip of the lever. Too little free play will cause the throwout bearing to ride the pressure plate, leading to slip and burnout. Too much free play will result in incomplete disengagement, making it impossible to find neutral or shift into first gear without stalling.
Bedding In the New Clutch
Do not take your freshly rebuilt Kayo Bull 125 straight to the motocross track or the top of a steep hill climb. The new friction material requires a bedding-in process to mate perfectly with the steel plates. Start the bike, let it idle to build oil pressure, and ride it gently through the gears for the first 15 minutes. Apply light, progressive throttle, allowing the clutch to do the work of matching engine RPM to wheel speed. After the initial heat cycle and cool-down, your clutch will deliver crisp, predictable engagement and withstand the abuse of aggressive dirt riding for hundreds of hours to come.