The Critical Link: Lever Free Play and Clutch Actuation
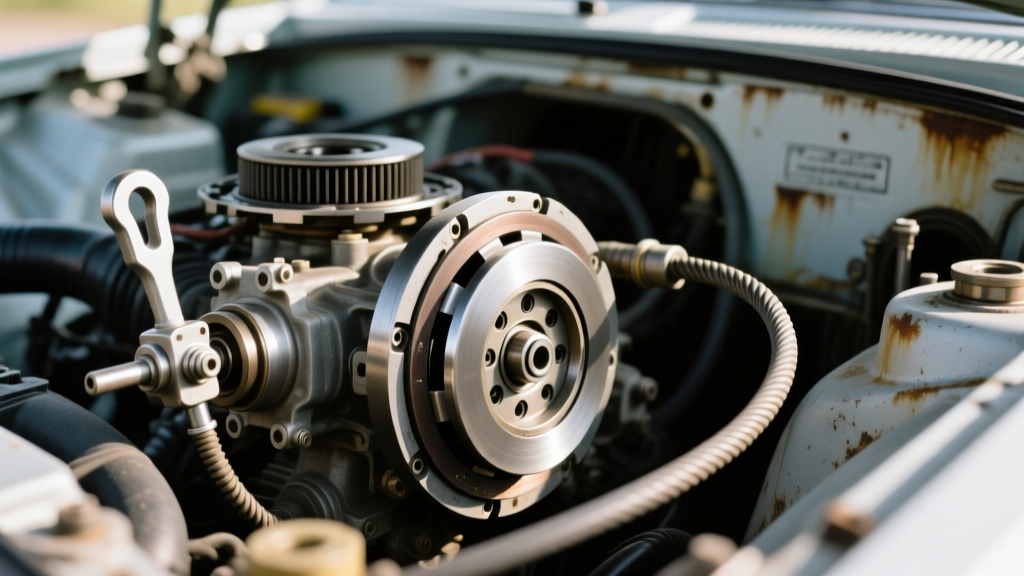
A properly calibrated wet multi-plate clutch transfers crankshaft torque to the transmission input shaft with zero parasitic slip. When riders experience clutch engagement and disengagement issues—such as the bike creeping forward at a stoplight or the engine RPMs flaring without proportional acceleration during hard upshifts—the root cause is often traced back to the cockpit. Before tearing into the engine cases to inspect friction plates, mastering the art of adjusting motorcycle clutch lever free play is the most critical first step in drivetrain diagnostics.
Whether your machine utilizes a traditional braided steel cable or a modern hydraulic master cylinder, the physical distance the lever travels before meeting resistance (free play) directly dictates how the internal release bearing interacts with the clutch pressure plate. In this beginner-friendly explainer, we will decode the mechanics of clutch actuation, outline the symptoms of incorrect adjustment, and provide exact specifications to restore flawless engagement.
Understanding Motorcycle Clutch Engagement and Disengagement
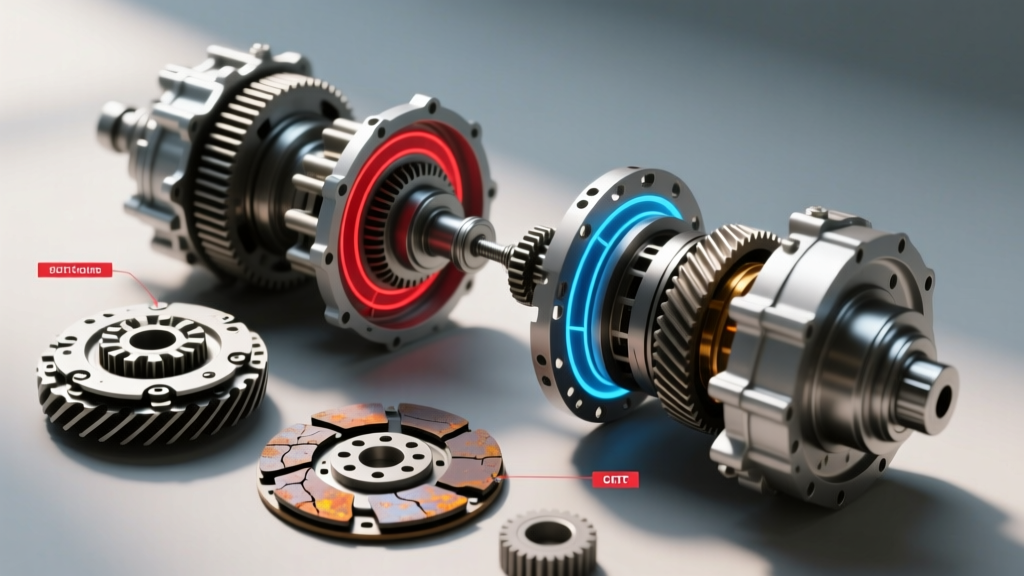
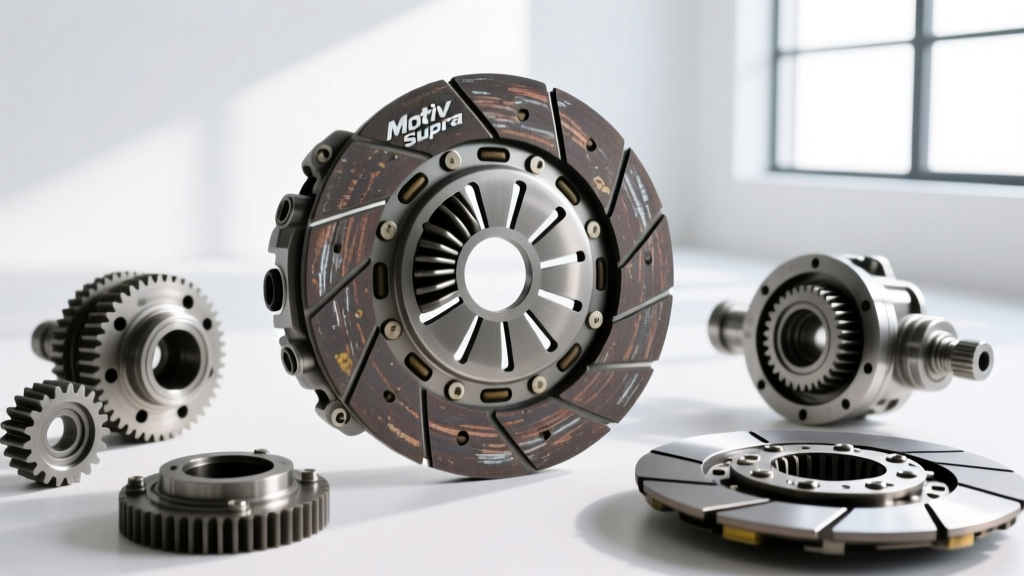
Most modern motorcycles employ a wet multi-plate clutch system submerged in engine oil. The clutch pack consists of alternating friction plates (lined with cork, Kevlar, or paper-based composites) and smooth steel separator plates. Heavy-duty clutch springs—often rated between 120 and 180 lbs/in of pressure—clamp this pack together against the clutch hub.
When you pull the clutch lever, you are actuating a mechanism that pushes a central pushrod through the transmission's main shaft. This pushrod presses against a release plate (or diaphragm spring), compressing the clutch springs and separating the friction and steel plates. This disengages the engine from the transmission, allowing you to shift gears or come to a stop without stalling.
The free play in your lever is the mechanical slack required to ensure that when you release the lever, the pushrod fully retracts. This retraction allows the release bearing to back off the pressure plate completely, ensuring the clutch springs can apply 100% of their clamping force.
Symptoms of Incorrect Clutch Lever Free Play
Failing to maintain the correct free play leads to two distinct categories of clutch system symptoms. Understanding these will help you diagnose the issue before it causes catastrophic internal wear.
1. Too Little Free Play (Clutch Slipping)
If your clutch lever is pulled too tight against the handlebar grip with zero slack, the internal release bearing remains in constant, slight contact with the pressure plate. This prevents the clutch springs from fully clamping the friction plates together.
- Symptoms: RPMs surge without a corresponding increase in speed, especially under heavy load (e.g., rolling on the throttle in 3rd or 4th gear). You may also smell a distinct burning odor from the engine oil, as the slipping plates generate immense heat and glaze the friction material.
- Damage Risk: Rapid wear of friction plates, warping of steel separator plates due to thermal overload, and degradation of engine oil viscosity.
2. Too Much Free Play (Clutch Dragging / Disengagement Issues)
If there is excessive slack in the cable or hydraulic line, pulling the lever to the grip does not provide enough mechanical throw to fully compress the clutch springs and separate the plates.
- Symptoms: The motorcycle lunges forward when shifted into first gear while holding the lever in. Finding neutral at a stop becomes incredibly difficult, and gears will 'clunk' or grind during shifts because the transmission input shaft is still being driven by the engine.
- Damage Risk: Premature wear of shift forks, bent shift detent stars, and accelerated wear on the clutch basket fingers due to forced shifting under load.
Step-by-Step Guide: Adjusting Cable-Actuated Systems
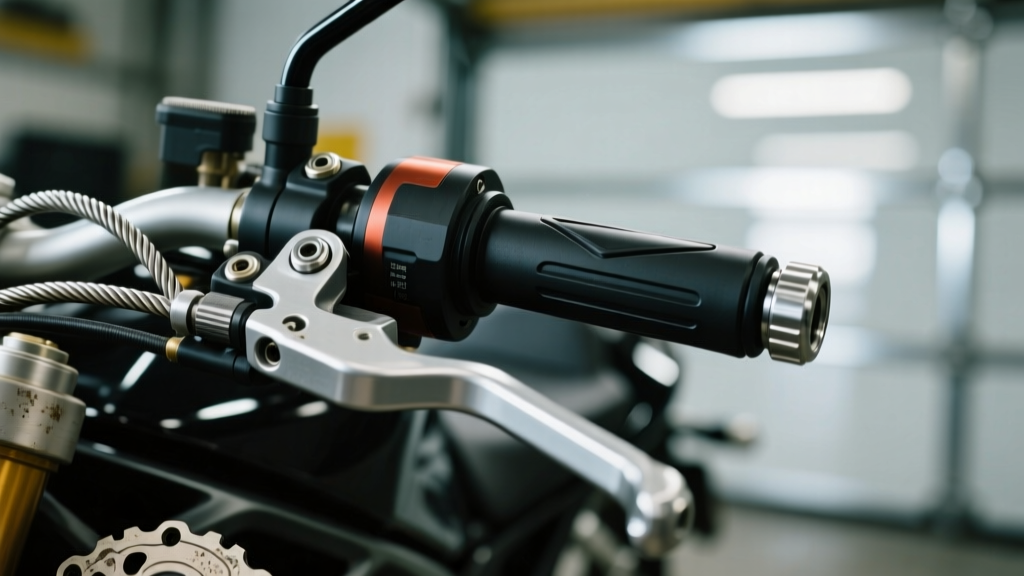
For motorcycles with cable-actuated clutches (e.g., Kawasaki Ninja 400, Honda CB500X, Harley-Davidson Softail), adjusting the motorcycle clutch lever is a straightforward mechanical process. According to Cycle World Maintenance Guides, the universal target for cable free play is generally between 10mm and 15mm (approx. 3/8 to 1/2 inch) measured at the very end of the lever ball.
- Locate the Perch Adjuster: Find the threaded barrel adjuster where the cable meets the clutch lever perch on the handlebar.
- Loosen the Locknut: Use a 10mm or 12mm open-end wrench to loosen the locknut securing the adjuster.
- Set the Free Play: Thread the adjuster inward (toward the grip) to increase slack, or outward to decrease it. Measure the play at the lever's tip. It should move freely for 10-15mm before you feel the distinct resistance of the clutch springs engaging.
- Secure the Locknut: Hold the adjuster in place and tighten the locknut against the perch to prevent vibration from altering your settings.
- Inline Fine-Tuning: If the perch adjuster is maxed out, locate the inline rubber-booted adjuster further down the cable near the engine case. Loosen its locknut and thread the barrel to achieve the bulk of your adjustment, then use the perch adjuster for final fine-tuning.
Expert Tip: Always adjust the cable when the engine is cold. As the engine heats up and the aluminum cases expand, the distance between the transmission and the handlebar perch changes slightly, which can alter free play.
Hydraulic Clutch Systems: Bleeding vs. Adjusting
Sportbikes and premium adventure motorcycles (e.g., Ducati Panigale V4, BMW R1250GS) utilize hydraulic clutch actuation. Unlike cables, hydraulic systems are theoretically self-adjusting. The master cylinder features a fluid return port that automatically compensates for friction plate wear.
However, disengagement issues in hydraulic systems are common and usually stem from one of three problems:
- Air in the Line: Causes a spongy lever that fails to generate enough hydraulic pressure to fully actuate the slave cylinder. Fix: Bleed the system using the correct fluid (DOT 4 for Brembo/Nissin systems, or Mineral Oil for Magura systems).
- Swollen seals or contaminated fluid: Old DOT fluid absorbs moisture, which degrades the internal cup seals in the master cylinder, preventing the piston from returning fully and causing clutch slip. Fix: Rebuild or replace the master cylinder (e.g., a Magura HC3 replacement costs roughly $250-$300).
- Aftermarket Levers: Installing cheap, non-OEM adjustable levers can alter the pivot geometry or pushrod length, preventing the master cylinder piston from fully retracting. Fix: Verify the pushrod pin length matches OEM specifications exactly.
Diagnostic Data: Free Play Specs & Troubleshooting Chart
Consult your specific factory service manual for exact tolerances, but the table below provides a reliable baseline for popular platforms.
| Motorcycle Model | Actuation Type | Target Free Play | Fluid / Lube Spec |
|---|---|---|---|
| Kawasaki Ninja 400 | Cable | 10 - 15 mm at lever tip | PTFE Cable Lube |
| Harley-Davidson Softail | Cable (Assist & Slip) | 1/16" - 1/8" at ferrule | HD Synthetic Lube |
| Ducati Monster 937 | Hydraulic | Self-Adjusting (No play) | DOT 4 (e.g., Motul RBF 600) |
| BMW R1250GS | Hydraulic | Self-Adjusting (No play) | DOT 4 Low Viscosity |
When Lever Adjustment Isn't Enough: Internal Clutch Diagnostics
If you have correctly set your free play but engagement and disengagement issues persist, the fault lies inside the clutch cover. As highlighted by technical experts at RevZilla's Common Tread, internal mechanical failures require a deeper teardown.
1. Notched Clutch Basket Fingers
The aluminum fingers of the outer clutch basket can develop deep grooves from the repeated impact of the friction plate tabs. When notched, the plates bind and refuse to separate smoothly when the lever is pulled, causing severe dragging. Solution: Light notches can be carefully filed flat, but deep grooves require a basket replacement. Upgrading to a CNC-machined billet basket (like those from Hinson or Wiseco, typically $250-$350) eliminates this issue permanently.
2. Warped Steel Separator Plates
Excessive heat from a slipping clutch will warp the steel plates. Even a warp of 0.1mm is enough to cause the plates to drag against one another when the clutch is disengaged. Solution: Stack the steel plates on a flat piece of glass and check for gaps using a feeler gauge. Replace the entire pack with an EBC CK Series or OEM steel plate kit ($80-$120).
3. Clutch Spring Sag
Over time and heat cycles, clutch springs lose their tensile strength and compress. Measure the free length of your springs with digital calipers and compare them to the service manual's minimum length specification. If they are sagging, the clutch will slip under high torque loads. Solution: Install heavy-duty replacement springs (e.g., ProX or EBC, approx. $25). When reinstalling the clutch spring bolts, always apply a drop of blue Loctite 243 and torque them precisely to the manufacturer's spec (usually 6-8 Nm) to prevent them from backing out and destroying the engine cases.
Summary
Adjusting your motorcycle clutch lever is not just a matter of rider comfort; it is a vital maintenance procedure that protects your transmission and clutch pack from catastrophic failure. By understanding the difference between cable slack and hydraulic self-adjustment, and by knowing when to look past the lever and into the clutch basket, you can ensure crisp shifts, perfect neutral finds, and maximum torque transfer for thousands of miles.