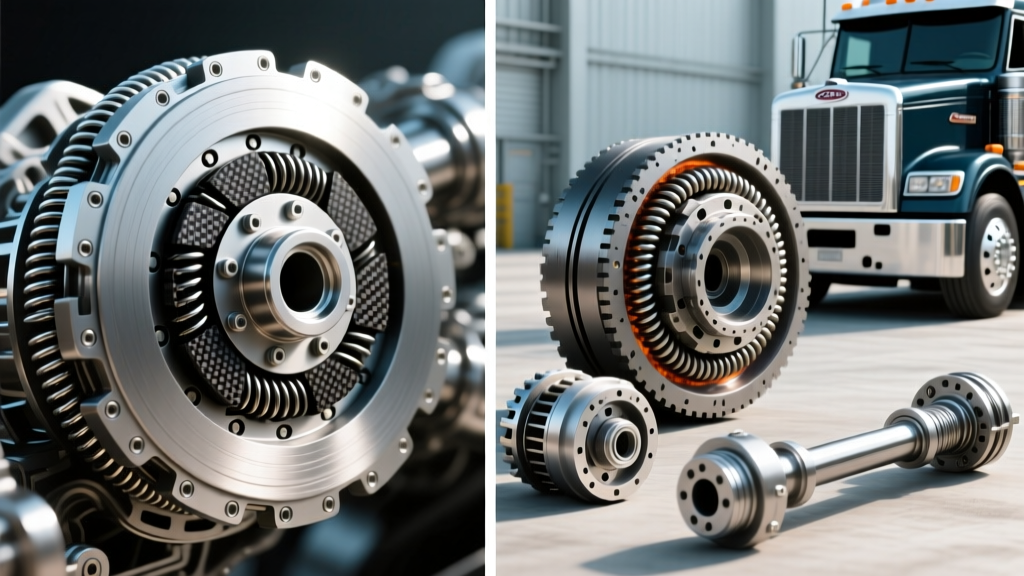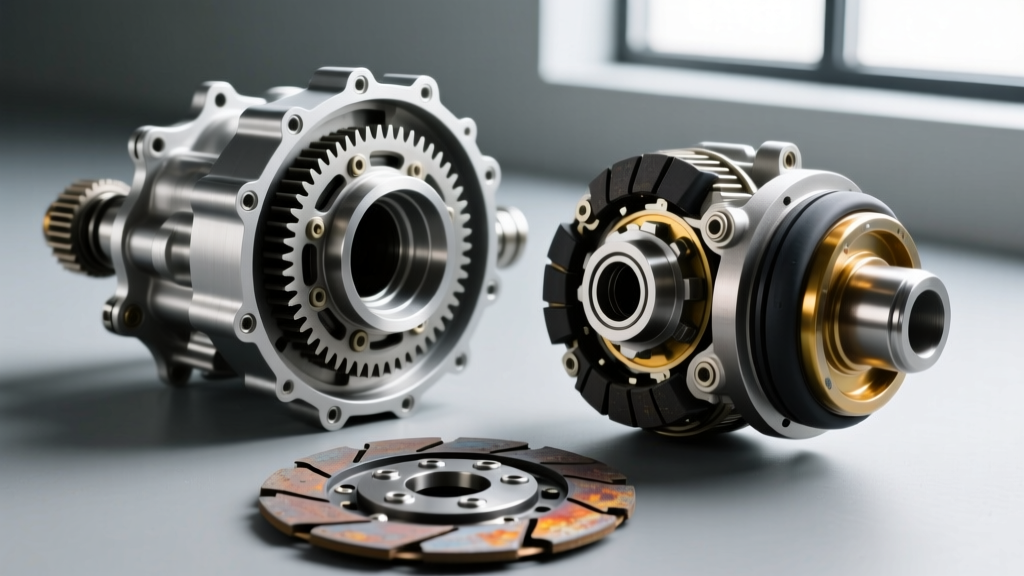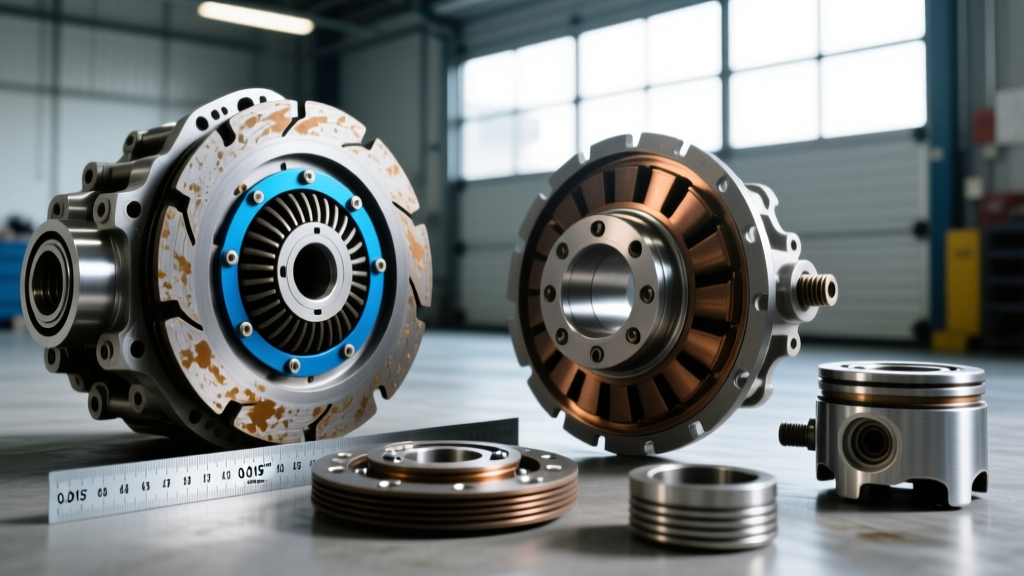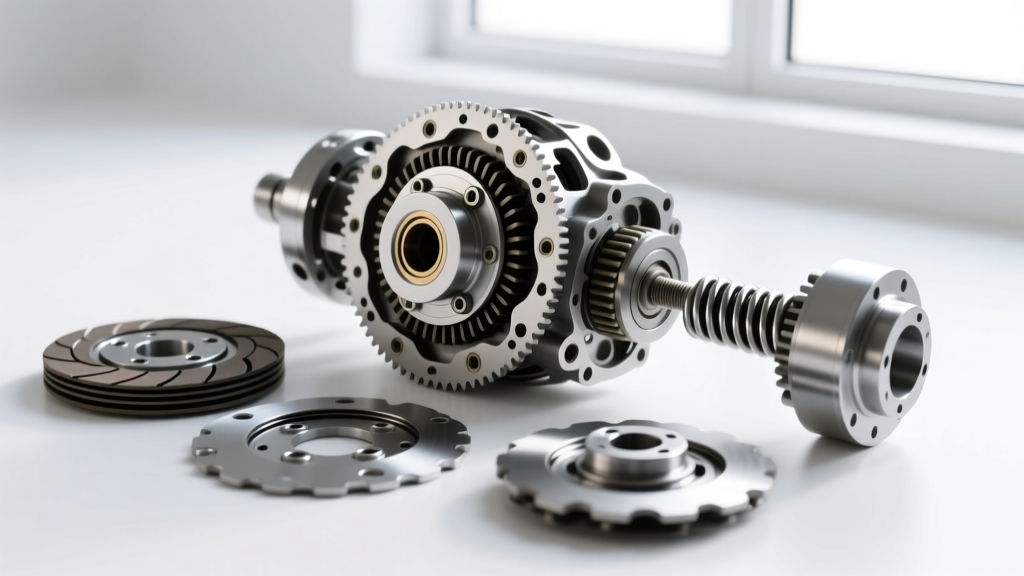
Unlike the dry, single-plate clutch setups found in standard automotive manual transmissions, motorcycles and ATVs rely on compact, wet multi-plate clutches bathed in engine oil. For a beginner mechanic, cracking open the right-side engine casing can feel overwhelming. This is where a gearbox clutch diagram—often labeled as the transmission or clutch assembly schematic in your OEM service manual—becomes your most valuable diagnostic tool.
In this 2026 beginner-friendly explainer, we will break down how to read a factory gearbox clutch diagram, trace power flow, and diagnose the most common wet clutch failures on modern dirt bikes, street motorcycles, and utility ATVs.
Decoding the Motorcycle Gearbox Clutch Diagram
When you pull up the gearbox clutch diagram in your factory service manual, you are looking at an exploded view of the primary drive and clutch assembly. Understanding this schematic is crucial because it shows you exactly how engine torque is transferred to the transmission input shaft.
Core Components Identified in the Schematic
- Clutch Basket (Outer Hub): Driven by the primary gear attached to the crankshaft. The basket features splined "fingers" that hold the friction plates.
- Inner Hub (Center Clutch): Splined directly to the transmission input shaft. It holds the steel separator plates.
- Friction and Steel Plates: The friction plates have cork, Kevlar, or carbon lining and mate with the basket. The smooth steel plates mate with the inner hub. They alternate in a stack.
- Pressure Plate & Springs: Bolted to the inner hub, these compress the plate stack together to create the friction necessary to transfer power.
- Pushrod / Release Mechanism: Runs through the center of the transmission mainshaft to push the pressure plate outward, disengaging the clutch.
Common ATV & Motorcycle Clutch Symptoms
By cross-referencing your riding symptoms with the gearbox clutch diagram, you can isolate exactly which component is failing without blindly throwing parts at the machine.
1. Clutch Slipping Under Heavy Load
The Symptom: You pin the throttle on your ATV or motorcycle, the RPMs skyrocket, but your speed barely increases. The Diagram Diagnosis: Slipping occurs when the pressure plate fails to clamp the friction and steel plates tightly. According to your schematic, the culprits are usually the clutch springs (which suffer from heat fatigue and lose their free-length) or the friction plates (which have worn past their minimum thickness). The Hidden Culprit: Incorrect oil. Using standard automotive oil containing friction modifiers will destroy a wet clutch. You must use oil certified to the JASO MA or MA2 standard, which is specifically formulated without friction modifiers to ensure wet clutch grip.
2. Clutch Drag and "False Neutrals"
The Symptom: The bike creeps forward even with the clutch lever pulled to the bar, or you cannot find neutral while the engine is running. The Diagram Diagnosis: Drag happens when the plates refuse to separate. Looking at the gearbox clutch diagram, you will notice the tabs on the friction plates slide into the grooves of the clutch basket. Over time, these aluminum basket fingers develop deep notches. When you pull the lever, the friction plates get physically wedged in these notches, preventing the pack from expanding and disengaging.
3. Aggressive Chatter on Engagement
The Symptom: The clutch grabs violently and jerks the chassis when taking off from a stop. The Diagram Diagnosis: Chatter is almost always caused by warped steel separator plates or a degraded "judder spring" (a conical washer used in modern Hondas and Yamahas to smooth out initial engagement). If the steel plates have blued from overheating, they will warp and cause uneven clamping pressure.
Diagnostic Data: Wear Limits and Torque Specs
Expert diagnosis requires precision measurement, not just visual inspection. Use a micrometer for friction plates and a caliper/surface plate for steel plates. Below are standard diagnostic limits for popular 2025/2026 platforms:
| Vehicle Model | Friction Plate Min. Thickness | Spring Free Length Min. | Center Nut Torque Spec |
|---|---|---|---|
| Honda CRF450R (2024-2026) | 2.94 mm (0.116 in) | 41.0 mm (1.61 in) | 59 lb-ft (80 Nm) |
| Yamaha YZ450F (2023-2026) | 2.80 mm (0.110 in) | 39.5 mm (1.55 in) | 58 lb-ft (78 Nm) |
| Polaris Sportsman 850 (ATV) | 2.90 mm (0.114 in) | 38.0 mm (1.50 in) | 65 lb-ft (88 Nm) |
| Kawasaki KX450 (2024-2026) | 2.95 mm (0.116 in) | 42.5 mm (1.67 in) | 61 lb-ft (83 Nm) |
Note: Always apply a medium-strength threadlocker (like Loctite 243) to the center clutch nut threads, as the primary drive forces can easily back this nut out if torqued dry.
Tracing the Actuation System
Your gearbox clutch diagram doesn't just show the spinning parts; it also maps the actuation path. If your lever feels stiff or has zero free-play, trace the diagram outward from the pressure plate:
- The Pushrod: A long steel or ceramic rod running through the hollow transmission mainshaft. If the bike was recently rebuilt, ensure the pushrod wasn't installed backward or replaced with an incorrectly sized aftermarket part.
- The Ball-and-Ramp Mechanism (Common on ATVs): Utility ATVs like the Polaris Sportsman use a mechanical ball-and-ramp actuator rather than a simple pushrod. If your ATV clutch won't disengage, the steel balls inside the ramp mechanism may be pitted or missing grease, causing the mechanism to bind.
- Cable Free-Play: You must maintain 10mm to 15mm of free-play at the clutch lever perch. Without this gap, the actuation mechanism constantly applies slight pressure to the pressure plate, causing premature slip and massive heat buildup.
Repair Costs and Aftermarket Upgrades
When your measurements confirm that the clutch pack is toast, you have a decision to make. Here is a realistic pricing breakdown for 2026:
- OEM Clutch Pack Replacement ($120 - $180): Replacing just the friction plates, steels, and springs. Ideal for trail riders and casual track days.
- Complete OEM Basket & Hub Rebuild ($350 - $500): Required if the basket fingers are deeply notched. Notching will destroy a brand-new clutch pack in less than 10 hours of ride time.
- Aftermarket Billet Upgrades ($600 - $900): Companies like Hinson Racing offer CNC-machined billet aluminum baskets and inner hubs. These feature hard-anodized coatings (like Akadize) that completely eliminate finger notching and improve oil flow through the clutch pack.
Pro Tip for Beginners: When installing a new clutch pack, always soak the friction plates in the exact JASO MA2 engine oil you plan to run in the bike for at least 12 hours before assembly. Installing dry friction plates will cause immediate glazing and catastrophic slip upon the first startup.
Final Thoughts
Diagnosing motorcycle and ATV transmission issues doesn't require decades of experience; it just requires a methodical approach. By keeping your OEM gearbox clutch diagram on hand, taking precise micrometer measurements, and adhering strictly to torque specs and JASO oil standards, you can confidently conquer any wet clutch failure. For deeper model-specific teardowns, always consult your manufacturer's official portal, such as the Polaris Owner's Manuals & Service Guides or your Japanese OEM's powersports tech library.