When your motorcycle or ATV clutch lever suddenly feels like you are squeezing a brick, or your bike starts creeping forward at stoplights, most beginners immediately panic and assume their clutch plates are fried. Before you order a $150 OEM clutch kit and prepare to split your engine cases, grab a can of clutch cable lube. In the world of two-wheeled and off-road diagnostics, cable friction is the most frequently misdiagnosed clutch symptom.
This beginner-friendly explainer will walk you through how a dry or contaminated cable mimics catastrophic transmission failure, the exact specifications for cable free play, and how to properly service your system without tearing your bike apart.
The Anatomy of a Motorcycle and ATV Clutch Cable
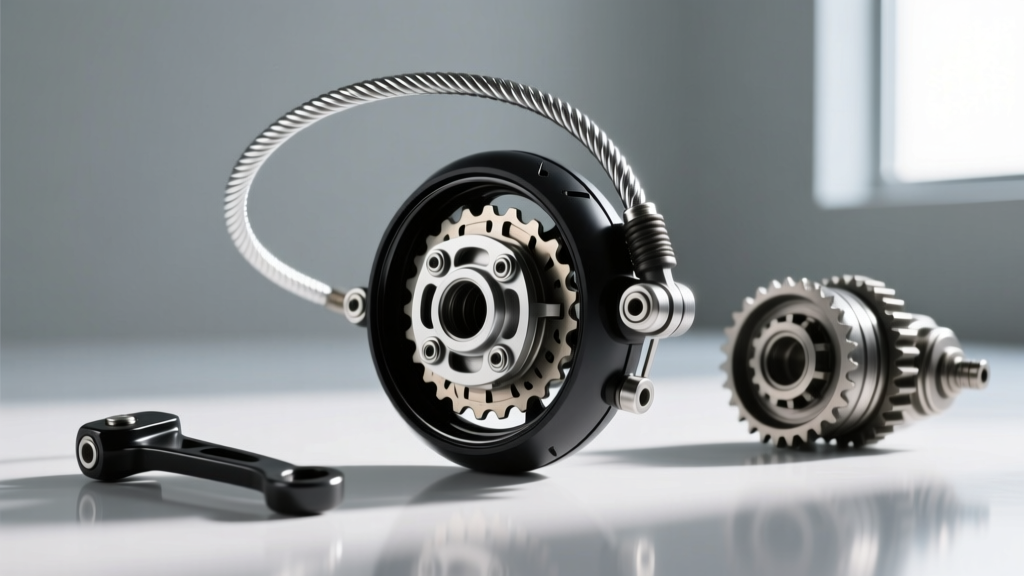
Unlike cars that primarily use hydraulic fluid to actuate the clutch, most motorcycles and ATVs rely on a mechanical Bowden cable. This system consists of a braided steel inner wire (typically 1.2mm to 1.5mm thick for dirt bikes, and up to 2.5mm for heavy cruisers) sliding inside an outer housing. Modern outer housings feature a PTFE (Teflon) inner liner to reduce friction, while older or budget ATVs may use unlined steel-wound housings.
Because ATVs and dirt bikes operate in extreme environments—mud, water crossings, and heavy roost—the outer housing boots inevitably crack or dislodge. Once dirt and water breach the housing, the factory lubricant turns into a grinding paste, causing massive internal friction that directly impacts clutch actuation.
3 Clutch Symptoms Caused by a Dry Cable
1. The "Stiff Lever" Fatigue
If your lever requires immense hand strength to pull, especially on an ATV with a long cable run down to the footwell-mounted actuator, the issue is rarely weak clutch springs. A dry cable can increase lever pull effort by up to 40%. While a healthy clutch lever should require about 15-20 lbs of pull force, a binding cable can push this over 30 lbs, leading to severe hand fatigue and blisters on long trail rides.
2. Incomplete Disengagement (False Drag)
When a cable is heavily corroded, it loses its ability to snap back instantly when you release the lever. This delayed return prevents the clutch actuator arm from fully retracting. The result? The clutch doesn't fully engage, causing a "phantom slip" where your RPMs climb but your speed doesn't, or the bike creeps forward even with the lever pulled to the bar.
3. Erratic Free Play Changes
A healthy clutch system requires 10mm to 15mm of free play measured at the tip of the lever. This slack ensures the throw-out bearing isn't constantly riding on the pressure plate. A binding cable will cause your free play to change wildly as the cable heats up and expands, or as dirt shifts inside the housing. If you find yourself adjusting your barrel adjuster every single ride, your cable is failing.
Choosing the Right Clutch Cable Lube
Not all lubricants are created equal. Using the wrong product can actually attract more dirt or degrade the plastic inner liners of modern cables. Below is a diagnostic breakdown of common lubricants.
| Lube Type | Best Application | Dust/Mud Attraction | Expert Verdict |
|---|---|---|---|
| PTFE Dry Lube (e.g., Tri-Flow) | Modern PTFE-lined cables, Dirt Bikes, ATVs | Very Low | Best overall. Dries quickly, leaves a frictionless film. |
| White Lithium Grease | Older unlined steel cables, Heavy Cruisers | High | Use only on vintage or unlined cables. Too sticky for off-road. |
| Silicone Spray | Emergency trail-side fixes | Low | Good for water displacement, but lacks long-term shear strength. |
| Motor Oil / WD-40 | None | Extreme | Never use. Attracts grit, degrades rubber boots and plastic liners. |
Step-by-Step: How to Lube Without Removing the Cable
You do not need to completely disassemble your ATV or motorcycle to lubricate the cable. You will need a specialized tool like the Motion Pro Cable Luber (Part #08-0008) and a can of PTFE dry lube.
- Expose the Cable: Loosen the lever perch bolts (typically 8mm or 10mm heads, torqued to 8-12 Nm) and slide the lever off to expose the top of the cable housing and the inner wire nipple.
- Install the Luber Tool: Clamp the Cable Luber collar around the top of the outer housing. Ensure the rubber O-ring creates a tight seal against the housing. Tighten the set screw carefully—do not overtighten, or you will crush the housing and restrict the inner wire.
- Prep the Exit Point: Wrap a shop towel tightly around the bottom of the cable where it enters the engine case actuator arm. Old, dirty lube and grit are about to be pushed out.
- Inject the Lube: Insert the straw of your PTFE dry lube into the luber tool's injection port. Spray in short, one-second bursts. Watch the bottom exit point.
- Flush and Seal: Continue spraying until clean, clear lubricant exits the bottom. Remove the tool, wipe down the exposed wire, and reassemble your lever.
ATV vs. Motorcycle Routing: Unique Diagnostic Challenges
While the mechanical principles are identical, ATVs present unique diagnostic hurdles. On a sport quad or utility ATV, the clutch cable often routes down through the frame backbone, past the CV axle boots, and directly into the mud-blasted footwell area. Water intrusion here is rampant. If your ATV clutch feels notchy specifically after a water crossing, water has displaced the grease inside the lower housing loop. Always inspect the lower rubber dust boot on ATVs; if it is torn, no amount of clutch cable lube will save it until the boot is replaced and the housing is flushed with compressed air.
Crucial Final Step: Resetting Your Free Play
After applying your clutch cable lube, the cable will move much more freely, which often changes your existing adjustment. Failing to reset your free play is a common beginner mistake that leads to a burnt clutch pack.
To measure correctly, pull the lever until you feel the distinct resistance of the clutch spring pressure. The distance the lever travels before hitting this resistance is your free play. For 95% of motorcycles and ATVs, this measurement should be between 10mm and 15mm (about 3/8 to 5/8 of an inch) at the very tip of the lever blade.
If the free play is too tight (less than 10mm), the throw-out bearing will constantly drag against the pressure plate fingers, causing premature wear and clutch slip under heavy load. If it is too loose (over 20mm), the cable won't pull the actuator arm far enough to fully disengage the clutch, leading to hard shifting and creeping at stoplights. Always use the inline adjuster near the engine case for coarse adjustments, and the barrel adjuster at the lever for fine-tuning.
When to Replace Instead of Lube
Lubrication is maintenance, not a cure for physical damage. You must replace the entire cable assembly if you observe any of the following failure points:
- Fraying: More than two broken strands on the inner wire at the lever nipple or actuator arm.
- Housing Damage: The outer plastic sheath is cracked, exposing the steel wound core to moisture.
- Stretching: You have run out of threads on both the inline adjuster and the lever barrel adjuster, yet still cannot achieve the 10-15mm free play spec.
Expert Tip: When installing a new cable, always apply a small dab of marine-grade grease to the lever pivot bolt and the barrel adjuster threads to prevent galvanic corrosion between the steel bolt and aluminum perch.
By understanding the difference between a worn clutch pack and a binding Bowden cable, you can save hundreds of dollars in unnecessary parts and labor. Keep your clutch cable lube routine tied to your chain maintenance schedule, and your levers will stay buttery smooth for thousands of miles.