The True Cost of Post-Installation Carmen Clutch Failures
There are few things more frustrating in the automotive world than investing in a high-performance drivetrain upgrade, only to experience immediate drivability issues upon leaving the shop. The Carmen clutch lineup—widely recognized in the performance community for its high-clamp-load diaphragm springs and aggressive ceramic/organic hybrid friction materials—is engineered to handle extreme torque loads in LS-swapped drift cars, heavy-duty towing rigs, and forced-induction street builds. However, when a Carmen clutch kit exhibits slipping, severe chatter, or release bearing noise immediately after a repair or replacement, the financial sting of a botched installation or misdiagnosis can quickly eclipse the initial cost of the parts.
As we navigate the 2026 automotive repair landscape, shop labor rates have surged, and the margin for error during a manual transmission swap has virtually vanished. Modern high-torque applications demand precise flywheel step-height machining, exacting hydraulic geometry, and meticulous bellhousing alignment. This comprehensive cost analysis and diagnostic breakdown will dissect the most common post-installation symptoms associated with heavy-duty aftermarket clutch kits, providing real-world pricing, specific torque specifications, and actionable troubleshooting frameworks to protect your wallet and your drivetrain.
Diagnostic Cost Breakdown: Shop Fees vs. DIY Reality
When a newly installed clutch begins to misbehave, the first hurdle is the diagnostic phase. Unlike an engine misfire that can be read via an OBD-II scanner, clutch system diagnostics require physical inspection, hydraulic pressure testing, and often, complete transmission removal. Below is a realistic 2026 cost matrix for diagnosing and rectifying post-installation clutch complaints.
| Diagnostic / Repair Phase | Independent Shop Rate (2026) | Dealership / Specialty Rate | DIY Cost (Tools & Fluids) |
|---|---|---|---|
| Initial Drivability & Hydraulic Diagnosis | $140 - $190 | $210 - $260 | $0 (Visual & Road Test) |
| Transmission Drop & Bellhousing Inspect | $550 - $850 | $950 - $1,400 | $45 (Rent-A-Tool Lift Jack) |
| Flywheel Resurfacing / Step-Height Check | $95 - $160 | $180 - $280 | $75 (Mail-in Machine Service) |
| Hydraulic System Flush & Bench Bleed | $110 - $140 | $160 - $210 | $18 (DOT 4 Fluid & Syringe) |
| Pilot Bearing & Input Shaft Quill Inspect | Included in Drop Fee | $150 Surcharge | $0 (Included) |
According to industry data tracked by the NAPA Know How network, the average 'drop-and-inspect' labor charge for a rear-wheel-drive performance vehicle now sits between 4.5 and 6.0 billable hours. If your shop failed to document the flywheel step height and bellhousing runout during the initial installation, you will likely be forced to pay this diagnostic labor rate out-of-pocket, as aftermarket manufacturers strictly require proof of proper installation to honor warranty claims.
Top 3 Post-Replacement Symptoms & Repair Costs
1. Severe Chatter on Engagement (Flywheel Step-Height Errors)
The Symptom: Violent shuddering and aggressive chassis vibration when releasing the pedal in first or second gear, particularly at low RPMs.
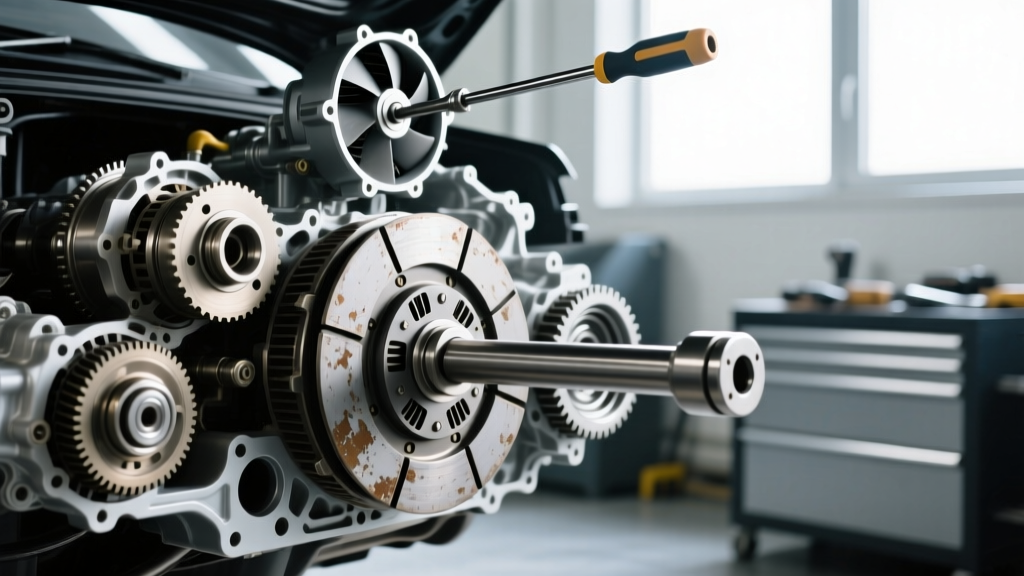
The Root Cause: The Carmen clutch kit utilizes a high-pressure diaphragm spring that is highly sensitive to the flywheel step height. For example, on a GM LS-platform engine, the required step height (the distance from the flywheel friction surface to the pressure plate mounting pad) must be precisely between 0.390' and 0.430'. If the machine shop resurfaced the flywheel but failed to cut the step, or if the installer used an incorrect single-mass conversion flywheel without shimming the pressure plate, the clutch fingers over-extend. This causes uneven clamping force, leading to immediate chatter and rapid friction material degradation.
The Cost to Fix: You cannot 'bed-in' a step-height error. The transmission must be removed again. Expect to pay $600+ in labor to drop the unit, plus $120 for proper flywheel machining and a new set of pressure plate bolts (which are torque-to-yield and must be replaced). Total out-of-pocket cost: $720 - $950.
2. High-Pitched Squeal from the Bellhousing (Throwout Bearing Preload)
The Symptom: A metallic squealing or grinding noise that occurs when the clutch pedal is fully released (foot off the pedal), which disappears when slight pressure is applied to the pedal.
The Root Cause: This is a classic symptom of throwout bearing (release bearing) preload. In high-torque setups utilizing a Tremec T-56 Magnum or similar transmission, the distance from the bellhousing face to the pressure plate fingers must be measured. If the mechanic reused a worn pivot ball stud or failed to install the correct adjustable pivot ball shim kit, the release bearing remains under constant rotational tension against the diaphragm fingers. This constant friction destroys the bearing's internal raceway in under 500 miles and can score the transmission's input shaft collar (quill).
The Cost to Fix: A new heavy-duty release bearing (e.g., Sachs or McLeod) costs around $85 via the RockAuto parts catalog. However, the labor to pull the transmission and inspect the input shaft quill for scoring will run $550 - $800. If the quill is scored, a new input shaft or a Speedi-Sleeve repair will add another $250 - $400 to the bill.
3. Inconsistent Pedal Feel & Gear Crunching (Hydraulic Bypass)
The Symptom: The clutch pedal feels 'spongy,' engagement happens at the very top of the pedal travel, and shifting into first or reverse results in severe gear grinding.
The Root Cause: High-clamp-load aftermarket clutches require significantly more hydraulic fluid volume to actuate the stiffer diaphragm spring. The factory 19mm Clutch Master Cylinder (CMC) is often inadequate, leading to internal hydraulic bypass or incomplete disengagement. Furthermore, if the CMC pushrod length was not adjusted to maintain a strict 0.020' to 0.040' free-play at the pedal, the master cylinder may not fully return to its resting position, blocking the compensator port and trapping pressure in the line.
The Cost to Fix: Upgrading to a 23mm or 25mm performance CMC (such as a Wilwood or Tilton unit) costs between $160 and $240. Add $120 for labor to install, bench-bleed, and adjust the pushrod geometry. Total repair cost: $280 - $360.
4. Pilot Bearing Failure & Input Shaft Damage
The Symptom: Difficulty shifting into gear while the engine is running, accompanied by a low-frequency rumble from the rear of the engine block that changes pitch with engine RPM.
The Root Cause: The pilot bearing supports the tip of the transmission input shaft. If the installer used a hammer or excessive force to drive a sintered bronze or sealed needle-roller pilot bearing into the crankshaft flange, the internal tolerances are crushed. Upon startup, the bearing seizes to the input shaft, causing the shaft to spin even when the clutch pedal is fully depressed. This prevents the synchronizers from stopping the gear rotation, resulting in gear clash and eventual destruction of the input shaft splines.
The Cost to Fix: The pilot bearing itself (e.g., GM part #12557583) is a $12 part. The collateral damage, however, is catastrophic. Replacing a damaged input shaft and ruined synchronizer blocking rings inside a T-56 or CD009 transmission requires a complete teardown and rebuild, easily costing $1,200 to $1,800 at a specialized transmission shop.
Warranty Coverage: What the Manufacturer Actually Pays
When a Carmen clutch or similar premium aftermarket kit fails prematurely, owners often assume the manufacturer will cover the subsequent repair bills. This is a dangerous misconception. Aftermarket drivetrain companies operate under strict 'defect-only' warranty policies.
'Warranty coverage applies strictly to the replacement of the friction disc and pressure plate assembly if a material or manufacturing defect is verified upon teardown. Labor costs for removal, reinstallation, diagnostics, and incidental damage (such as scored flywheels or damaged input shafts due to improper installation procedures) are expressly excluded from coverage.'
To ensure your warranty remains valid, you must retain the original machine shop receipt proving the flywheel was resurfaced to the manufacturer's exact Ra (Roughness Average) finish specification—typically between 20 and 50 micro-inches for organic discs, and slightly smoother for ceramic pucks. Without this documentation, the manufacturer will immediately void the claim, citing 'installation error' or 'flywheel contamination' as the root cause of the failure.
Preventative Assembly Checklist & Critical Torque Specs
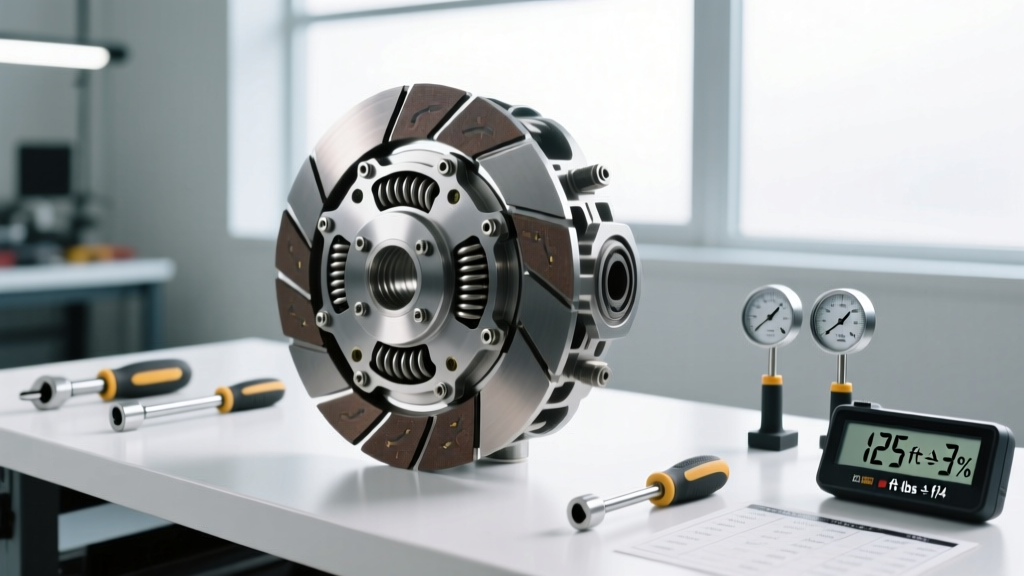
To avoid the devastating costs of a comeback repair, any shop or DIY enthusiast installing a high-performance clutch kit must adhere to exact torque specifications and assembly protocols. Below are the critical specs for a standard GM LS / Tremec T-56 Magnum swap utilizing a heavy-duty aftermarket clutch:
- Flywheel to Crankshaft Bolts: 74 lb-ft + 90 degrees of rotation (Torque-to-Yield). Must use new OEM or ARP fasteners and red threadlocker.
- Pressure Plate to Flywheel: 35 lb-ft. Must be tightened in a strict crisscross/star pattern in 10 lb-ft increments to prevent warping the clutch cover.
- Bellhousing to Engine Block: 35 lb-ft. Bellhousing runout must be measured with a dial indicator; maximum allowable runout is 0.005'. If it exceeds this, dowel pin offset bushings must be installed to prevent input shaft binding and premature wear.
- Driveshaft Flange to Differential: 15 - 20 lb-ft. Ensure the driveshaft is indexed correctly to prevent high-speed harmonic vibrations that can be misdiagnosed as clutch chatter.
- Hydraulic Line Fittings: Hand-thread to prevent cross-threading, then tighten to 12-15 lb-ft. Always use a line wrench to avoid rounding the soft brass or aluminum fittings on the slave cylinder.
Ultimately, diagnosing and repairing post-installation clutch problems is an exercise in precision. While the initial cost of a premium clutch kit might seem steep, the true financial risk lies in the assembly. By understanding the exact cost breakdowns, adhering to strict torque specs, and verifying machine shop tolerances, you can ensure your drivetrain operates flawlessly and avoid the hidden costs of a second teardown.