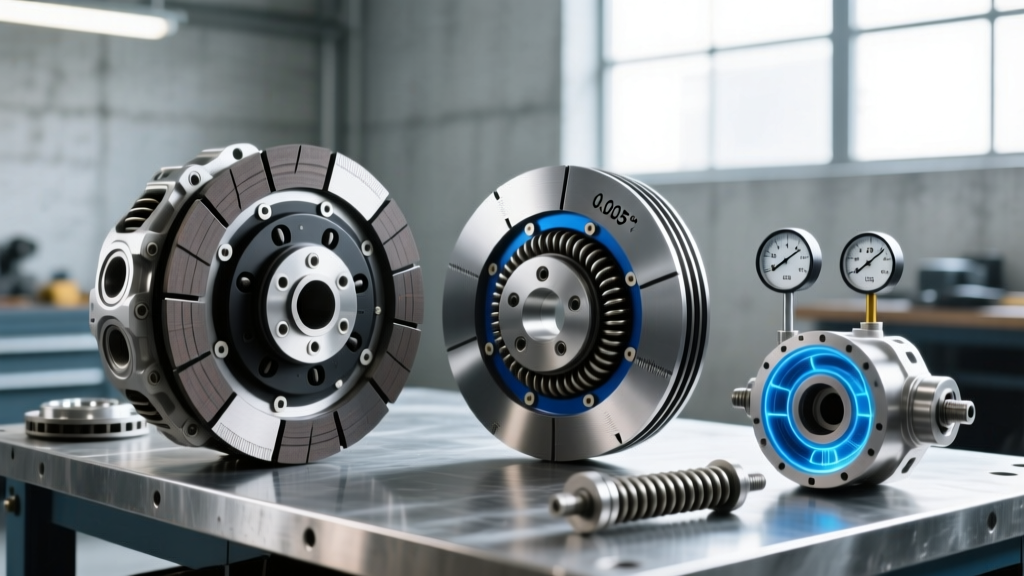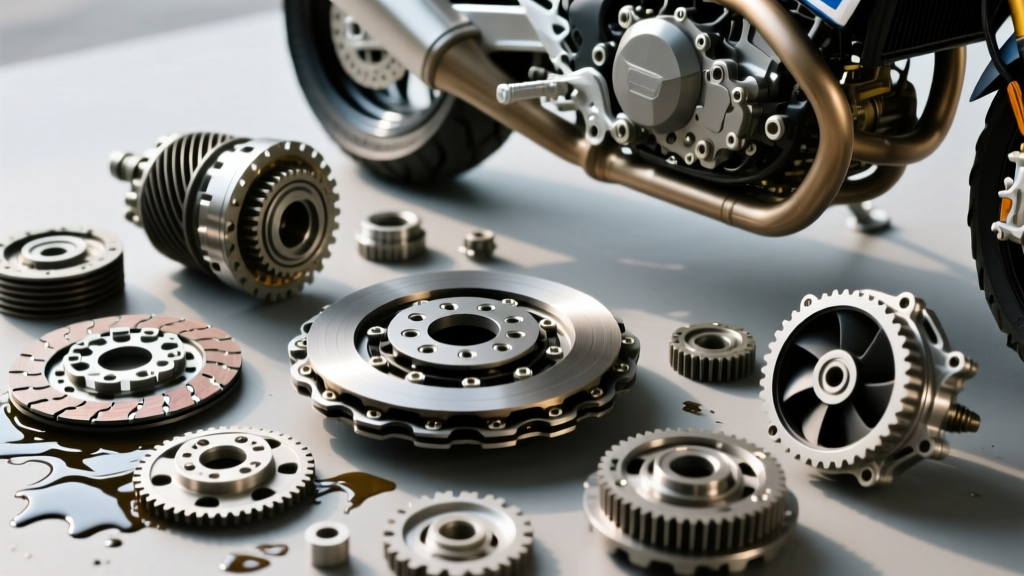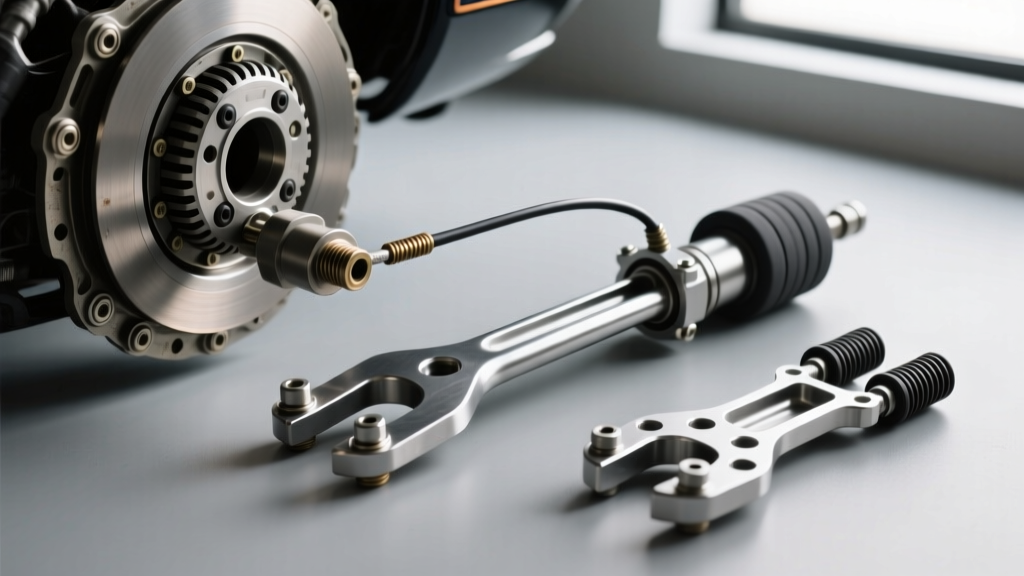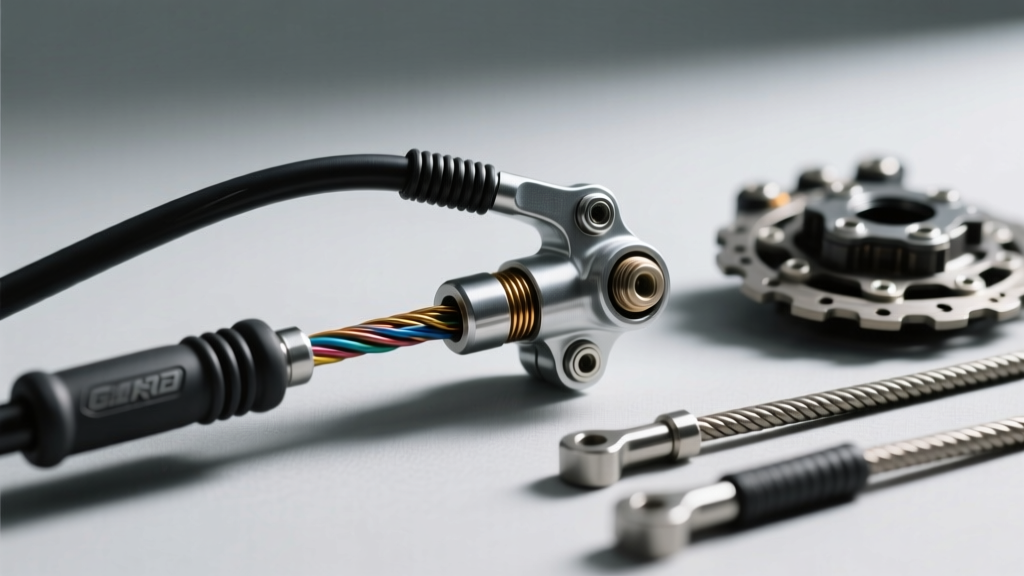
The Diagnostic Crossroads: Cable vs. Internal Clutch Failures
When a rider experiences a spongy lever, incomplete disengagement, or mid-corner clutch slip, the immediate instinct is to perform a motorbike clutch cable adjustment. However, as modern motorcycle drivetrains have evolved, so too have the complexities of clutch system diagnostics. In 2026, while ride-by-wire and hydraulic systems dominate the premium segment, the vast majority of the global motorcycle fleet still relies on mechanical steel-strand cables to actuate the clutch pushrod.
Misdiagnosing an internal clutch pack failure as a simple cable stretch is one of the most common—and expensive—errors made by amateur mechanics. A proper root cause analysis requires a systematic approach, distinguishing between external actuation failures (the cable and lever assembly) and internal friction stack degradation. This guide serves as both a technical diagnostic manual and a buyer's comparison for replacement components, ensuring you address the true root cause of your clutch system symptoms.
Buyer's Guide: Clutch Cable Construction & Material Comparison
Before tearing into the clutch cover, evaluate the cable itself. Not all replacement cables are created equal. The market is segmented into three primary material categories, each with distinct stretch rates, lifespan profiles, and pricing.
| Cable Type | Core Material | Liner / Sheath | Stretch Rate (Annual) | 2026 Avg. Cost | Best Application |
|---|---|---|---|---|---|
| Standard OEM | Galvanized Steel Strand | PVC / Nylon | 2.0 - 3.5 mm | $25 - $45 | Commuters, low-stress touring |
| Premium Aftermarket (e.g., Motion Pro) | High-Carbon Steel | PTFE (Teflon) Lined | 0.5 - 1.2 mm | $45 - $75 | Track days, adventure touring |
| Heavy-Duty (e.g., Barnett) | Kevlar / Aramid Core | PTFE / Stainless Braid | < 0.2 mm | $85 - $130 | High-torque cruisers, off-road |
Expert Insight: Upgrading to a PTFE-lined cable from a reputable manufacturer like Motion Pro reduces lever friction by up to 30%, significantly decreasing the mechanical load on the lever pivot and the cable solder nipples.
Root Cause Analysis: 4 Primary Cable Failure Modes
If your motorbike clutch cable adjustment fails to hold, or the lever feels notchy, the cable is likely suffering from one of the following physical failure modes:
1. Solder Nipple Fatigue and Pull-Through
Symptom: Sudden loss of all lever tension; cable slips out of the lever perch or clutch actuator arm. Root Cause: Improper routing causing sharp bend radii (less than 2 inches). When the cable is forced through a tight bend, the outer sheath compresses while the inner strand stretches, placing asymmetric shear stress on the lead/tin solder nipple. Over thousands of actuations, micro-fractures form until the nipple snaps.
2. Sheath Compression and Delamination
Symptom: Lever feels spongy, but free play at the lever is technically within spec. Root Cause: UV degradation and extreme engine heat cause the PVC outer sheath to soften and compress under load. The cable isn't actually stretching; the housing is collapsing. This is prevalent on older standard OEM cables routed too close to the exhaust header or cylinder head.
3. Water Ingress and Galvanic Corrosion
Symptom: Lever sticks in the engaged position; clutch fails to disengage, causing the bike to lurch forward when shifting into first gear. Root Cause: Missing or torn rubber dust boots at the lever perch allow water and road salt to enter the sheath. This creates galvanic corrosion between the steel strand and the inner liner, effectively welding the cable in place. Pressure washing a motorcycle directly into the cable housing exacerbates this.
4. Lever Cam and Pivot Wear
Symptom: Inconsistent free play; cable adjustment barrel requires constant tweaking. Root Cause: The cast aluminum lever cam that pulls the cable nipple wears down, creating a flat spot. The cable is fine, but the mechanical advantage changes unpredictably throughout the lever pull. Always inspect the lever pivot bolt and cam surface during diagnostics.
The Misdiagnosis Trap: Internal Clutch Failures
If a fresh cable and precise motorbike clutch cable adjustment do not resolve slipping or dragging, the root cause lies inside the clutch cover. Do not ignore these internal failure modes.
Warped Steel Plates vs. Cable Stretch
A slipping clutch is often blamed on a stretched cable failing to provide enough clamping force. However, if the cable is properly adjusted (yielding 10-15mm of free play at the lever), the pressure plate is fully seated. If slipping persists, the steel separator plates are likely warped due to aggressive slip-launching or low oil levels. Diagnostic Spec: Remove the clutch pack and place each steel plate on a machined flat surface. Measure the gap with a feeler gauge. For a Yamaha MT-07 (CP2 engine), the maximum allowable warpage is 0.10 mm. For a Honda CBR600RR, it is 0.20 mm. If exceeded, the plates create localized high-spots that prevent full friction surface contact, mimicking a loose cable.
Glazed Friction Material vs. Improper Free Play
Riding with zero free play at the lever keeps the clutch pushrod slightly depressed, preventing the pressure plate springs from applying full clamping force (F = μN). This constant micro-slip generates immense heat, glazing the organic or Kevlar friction material. Buyer's Note: If the friction plates exhibit a shiny, burnt appearance, they must be replaced. EBC Brakes offers excellent replacement kits (e.g., the CK series for standard replacement, or SRK for heavy-duty Kevlar). Expect to pay between $110 and $180 for a complete friction kit.
Clutch Spring Sag
Clutch springs lose their temper and sag over time due to thermal cycling. A sagged spring cannot apply adequate pressure, regardless of cable adjustment. Diagnostic Spec: Measure the free length of the clutch springs using digital calipers. A Kawasaki Ninja 400 spring has a standard length of 45.2 mm and a service limit of 42.9 mm. If any spring falls below the service limit, replace the entire set (typically $30-$50 for OEM or Hinson springs).
Step-by-Step Motorbike Clutch Cable Adjustment Protocol
To establish a baseline for your root cause analysis, perform the adjustment using this exact sequence:
- Zero the Adjusters: Thread the inline barrel adjuster and the lever perch adjuster completely inward to their minimum length.
- Set Actuator Arm Slack: At the engine case, loosen the locknut on the clutch actuator arm. Adjust the stud until the arm just begins to move the internal pushrod, then back it off exactly one-half (1/2) turn. Tighten the locknut to 7 Nm.
- Establish Lever Free Play: Pull the cable slack through the lever perch adjuster until you measure 10 to 15 mm of free play at the very tip of the lever ball. This gap ensures the throw-out bearing or pushrod is not applying parasitic load to the pressure plate.
- Lock and Verify: Secure all locknuts. Start the motorcycle, pull the clutch, and shift into first. The bike should not creep forward. Rev to 4,000 RPM in neutral, pull the clutch, and wait 3 seconds before shifting; if it clunks violently, you have clutch drag (internal warpage or cable binding).
2026 Maintenance & Sourcing Directives
Proactive maintenance is the ultimate cure for cable-related failure modes. For 2026, we recommend utilizing synthetic, PTFE-compatible cable lubricants applied via a dedicated cable luber tool every 6,000 miles. Avoid petroleum-based greases, which can cause older PVC liners to swell and bind.
When sourcing replacement parts, always verify the exact OEM part number or cross-reference with premium aftermarket catalogs. While a $25 eBay cable might seem like a bargain, the inferior soldering and lack of a PTFE liner will inevitably lead to premature failure modes, leaving you stranded or, worse, causing a rear-wheel lockup if the cable snaps and jams the actuator arm. Invest in quality metallurgy, adhere strictly to torque specifications (clutch spring bolts typically require 6-8 Nm in a criss-cross pattern), and your clutch system will deliver flawless, predictable engagement for thousands of miles.