Allocating a $2,500 budget for a high-end automotive drivetrain upgrade puts you in the exact same financial bracket as purchasing a designer Carolina Herrera clutch bag. But while a luxury fashion accessory only requires aesthetic precision, a performance twin-disc automotive clutch demands absolute mechanical perfection. When enthusiasts drop serious money on a McLeod RXT 1000 (Part #6921000) or a Centerforce DYAD DS (Part #DF558000), they expect refined, track-ready engagement. Instead, many are met with violent, teeth-rattling chatter and severe drivetrain vibration during takeoff.
In the realm of high-torque manual transmissions—whether you are running a Tremec T-56 Magnum behind a boosted LS3 or a TR-3550 with a naturally aspirated Coyote 5.0—clutch chatter is not just an annoyance; it is a symptom of underlying mechanical conflict. As we move through the 2026 performance landscape, where torque outputs routinely exceed 800 lb-ft at the crank, diagnosing the root cause of engagement shudder requires a methodical, data-driven approach. This guide breaks down the exact diagnostic protocols for isolating and eliminating performance clutch chatter.
The Physics of Performance Clutch Chatter
Clutch chatter is fundamentally a stick-slip phenomenon. It occurs when the static coefficient of friction between the clutch disc and the flywheel is significantly higher than the kinetic (sliding) coefficient. As the clutch engages, the friction material grabs aggressively, momentarily locking the drivetrain. The engine's torque overcomes this static grip, causing the disc to slip, only to grab again instantly. This rapid cycle of grabbing and slipping happens at a frequency that manifests as a violent, low-frequency vibration (typically between 10Hz and 20Hz) that resonates through the chassis.
While aggressive friction materials are often blamed, chatter is rarely the fault of the clutch kit itself. It is almost always a symptom of improper installation tolerances, driveline misalignment, or hydraulic inconsistencies that prevent smooth, uniform clamping force.
Diagnostic Protocol: Isolating the Shudder
Before tearing into the bellhousing, you must systematically eliminate external variables. Follow this exact diagnostic sequence to pinpoint the source of your twin-disc clutch vibration.
1. Flywheel Runout and Step-Height Verification
The most common culprit for chatter in twin-disc setups is improper flywheel preparation. A twin-disc system relies on a precise 'step height'—the distance between the flywheel friction surface and the intermediate (floater) plate resting surface. If the step height is outside the manufacturer's tolerance (usually between 0.390' and 0.410' for McLeod setups), the pressure plate cannot apply uniform clamping force, leading to uneven engagement and severe chatter.
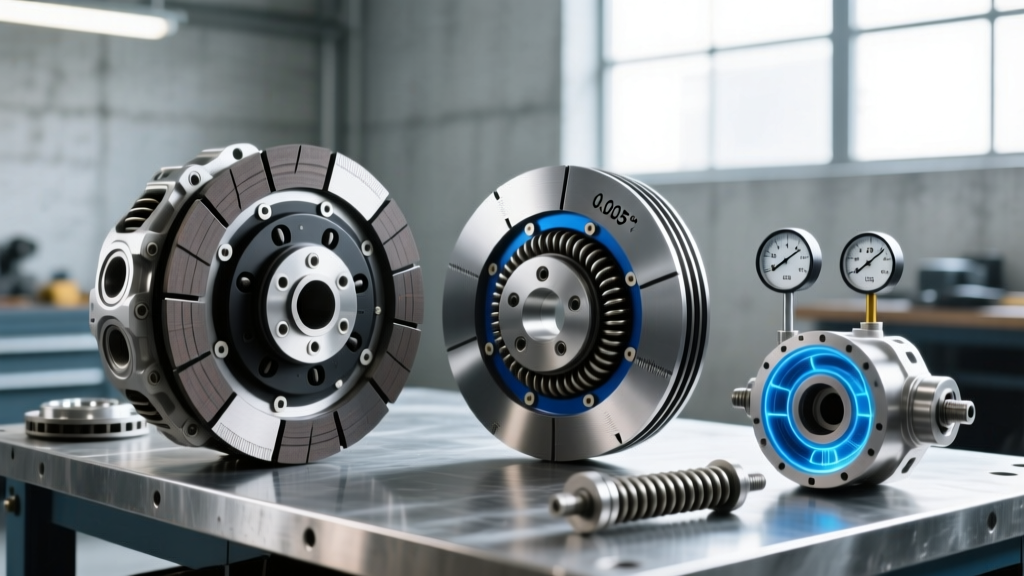
Furthermore, flywheel runout must be measured with a dial indicator mounted to the engine block. According to McLeod Racing's technical guidelines, maximum allowable runout at the outer edge of the friction surface is 0.005 inches. If your machine shop resurfaced the flywheel without checking the crankshaft flange for runout, you are building a failure point into the system from day one. Always use a magnetic base dial indicator to verify the crankshaft flange is true before bolting on a $600 billet steel flywheel.
2. Bellhousing Concentricity and Dowel Alignment
Modern high-performance engines produce massive amounts of torque, which can flex the engine block and transmission case under load. If the bellhousing is not perfectly concentric with the crankshaft, the transmission input shaft will bind in the pilot bearing and the clutch disc hub during engagement. This binding causes the disc to drag and skip across the flywheel, creating intense vibration.
Using a dial indicator mounted to the rear of the crankshaft (or a dedicated bellhousing alignment tool), measure the Total Indicator Reading (TIR) of the bellhousing bore. The industry standard for performance applications, including the Tremec Magnum series, dictates a maximum TIR of 0.005 inches. If your TIR exceeds this, you must install offset dowel pins (available in 0.007', 0.014', and 0.021' offsets from manufacturers like Lakewood or RobbMc) to dial in the bellhousing. Skipping this step is a guaranteed way to ruin a $2,000 clutch assembly within 500 miles.
3. Driveline Angles and U-Joint Phasing
Sometimes, what the driver perceives as 'clutch chatter' is actually driveline vibration masquerading as engagement shudder. When upgrading to a lightweight aluminum flywheel, the reduction in rotational mass decreases the drivetrain's rotational inertia, making it far more susceptible to harmonic vibrations caused by improper U-joint working angles.
Measure the angles of the transmission output shaft and the rear differential pinion. The working angle of the U-joints must be between 1 and 3 degrees, and the transmission and pinion angles must be parallel (or in the same plane) to ensure the U-joints cancel out each other's velocity fluctuations. If your engine swap utilized aftermarket crossmembers that altered the transmission rake, you will experience severe vibration at takeoff that perfectly mimics clutch chatter.
Friction Material Matrix: NVH vs. Torque Capacity
Choosing the right friction material is a compromise between Noise, Vibration, and Harshness (NVH) and torque capacity. The table below outlines how different materials behave in high-horsepower street/track applications.
| Friction Material | Torque Capacity | Chatter Propensity | Best Application |
|---|---|---|---|
| Organic / Kevlar Blend | Up to 550 lb-ft | Very Low | Daily driven street cars, mild bolt-ons |
| Full Face Cerametallic | Up to 850 lb-ft | Moderate | Street/Track, supercharged V8s |
| Sintered Iron Puck (Unsprung) | 1,000+ lb-ft | Extreme | Dedicated drag/track cars only |
| Twin-Disc Organic/Ceramic | Up to 1,200 lb-ft | Low to Moderate | High-HP street cars (e.g., McLeod RXT) |
If you are building a street-driven vehicle, avoid unsprung sintered iron pucks at all costs. The lack of a torsional dampening spring (sprung hub) transfers every engine harmonic and engagement shock directly into the transmission gears, resulting in catastrophic NVH and inevitable gear rattle at idle.
Hydraulic Release Systems: The Hidden Vibration Culprit
In 2026, the vast majority of performance manual swaps utilize hydraulic release bearings or heavy-duty slave cylinders. A poorly bled or restricted hydraulic system will cause the clutch to engage erratically, triggering chatter. Factory rubber hydraulic lines expand under pressure and can trap micro-bubbles, leading to a spongy pedal and inconsistent clamping force.
The Fix: Upgrade to a -3 AN stainless steel braided clutch line. Furthermore, when bleeding a high-pressure system (like the Tremec T-56 Magnum hydraulic slave), you must use a pressure bleeder set to at least 40 PSI. Gravity bleeding or simple pedal-pumping is entirely insufficient for evacuating air from the complex internal galleries of a modern hydraulic throwout bearing. Refer to the Centerforce technical archives for specific hydraulic bleed sequences tailored to your release bearing model.
Final Assembly Torque Specifications
Improper torque sequences on the flywheel and pressure plate will warp the mating surfaces, inducing runout and subsequent chatter. Always use a calibrated torque wrench and follow the manufacturer's specific star-pattern sequence. Below are baseline specifications for common performance platforms:
- LS-Series Flywheel to Crank (OEM Bolts): 74 lb-ft + 60 degrees rotation.
- LS-Series Flywheel to Crank (ARP Bolts): 150-160 lb-ft (with ARP Ultra-Torque lube).
- T56 Magnum Bellhousing to Block (M10x1.5): 35 lb-ft.
- Pressure Plate to Flywheel (M8x1.25): 35-45 lb-ft (Always follow the specific kit's manual, tightening one turn per bolt in a star pattern to ensure even diaphragm spring compression).
Conclusion: Precision Over Parts
You wouldn't accept poor stitching and misaligned leather on a luxury Carolina Herrera clutch, and you shouldn't accept sloppy tolerances on a $2,500 performance automotive clutch. Chatter and vibration in twin-disc upgrades are almost never the result of the parts themselves, but rather the environment in which they operate. By strictly adhering to 0.005-inch runout limits, dialing in your bellhousing concentricity, verifying driveline angles, and upgrading your hydraulic lines, you can transform a violent, shuddering mess into a smooth, telepathic engagement that handles massive torque with absolute authority.
For further reading on drivetrain alignment and manual transmission swaps, the experts at Summit Racing's technical database offer excellent visual guides on dial-indicating bellhousings and measuring U-joint working angles. Take the time to measure twice, torque correctly, and your high-performance drivetrain will reward you with flawless operation.