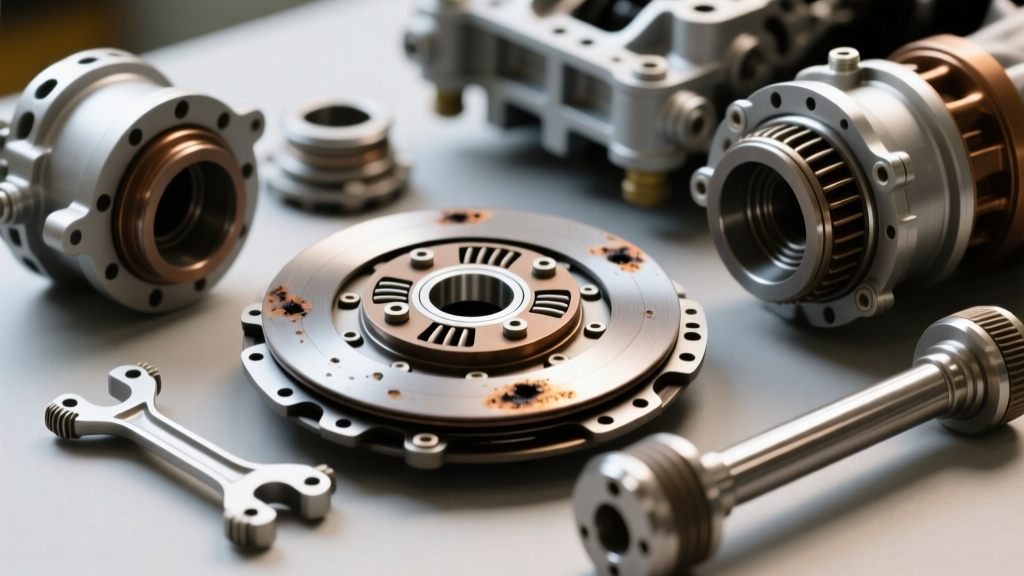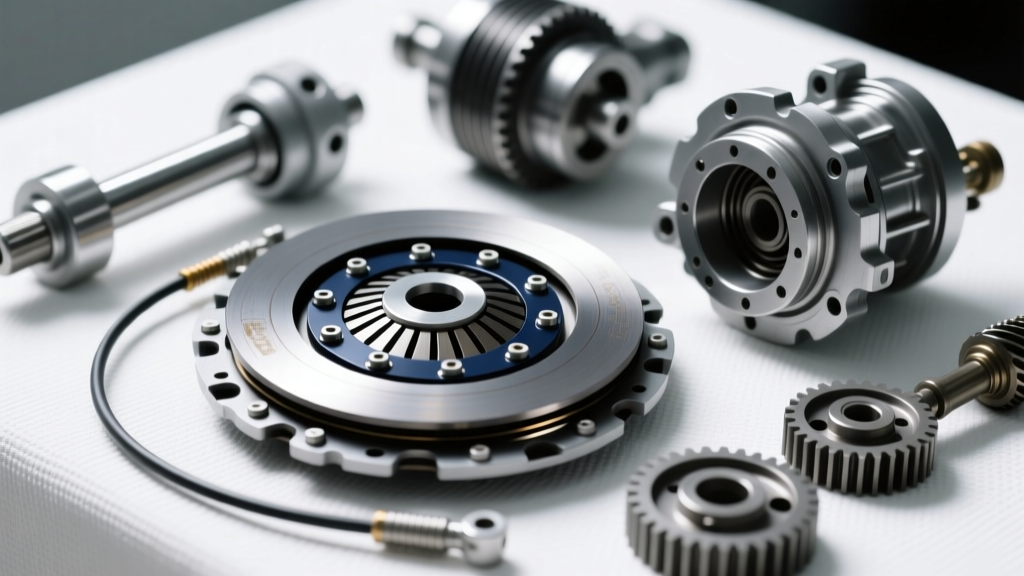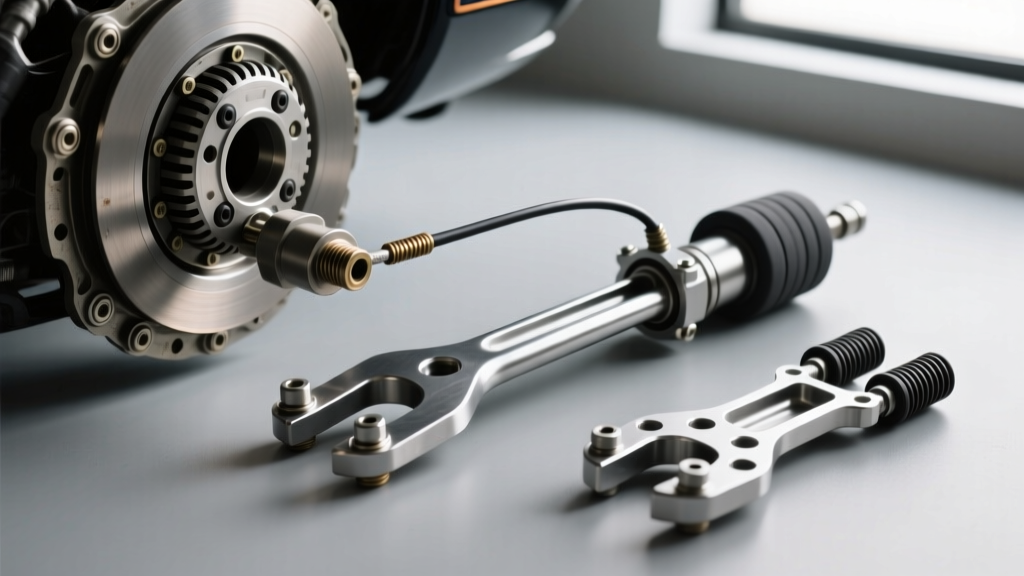
When diagnosing manual transmission issues in classic 1979-1993 Mustangs, enthusiasts often overlook the mechanical relationship between the firewall and the bellhousing. Specifically, improper fox body clutch cable routing is a primary culprit behind severe clutch fork and pivot ball failures. As of 2026, with the scarcity of NOS Ford components and the rising popularity of Tremec TKX swaps, understanding this parasitic load transfer is critical for preserving your drivetrain. This guide dives deep into diagnosing clutch fork and pivot issues, correcting cable geometry, and executing permanent bellhousing upgrades.
The Geometry Problem: How Routing Destroys Pivots
The factory Fox Body clutch actuation system relies on a stamped steel clutch fork (Ford part number E8ZZ-7515-A) pivoting on a press-in steel ball stud. In a perfectly aligned system, the clutch cable pulls the fork in a direct, linear path. However, the factory plastic clutch quadrant and restrictive firewall grommet often force the cable into a binding arc.
When fox body clutch cable routing is compromised by friction or an off-axis pull, the cable exerts lateral side-loading on the clutch fork. Instead of pivoting cleanly, the fork twists against the pivot ball. Over thousands of clutch cycles, this lateral force causes three catastrophic failure modes:
- Bellhousing Wallowing: The aluminum T-5 bellhousing hole elongates, causing the pivot ball to lean under load.
- Fork Pad Grooving: The stamped steel fork wears a deep, concave groove into the pivot ball, leading to binding and clutch chatter.
- Pivot Stud Shearing: Extreme side-loading snaps the pressed-in pivot stud at the base, resulting in total clutch disengagement failure.
Diagnosing Clutch Fork and Pivot Ball Failure
Before tearing into the bellhousing, you must confirm that the pivot and fork are the root cause of your drivability symptoms. Look for these specific diagnostic indicators:
Symptom 1: Bellhousing Squeak and Chatter
A rhythmic metallic squeaking that correlates with engine RPM when the clutch pedal is depressed usually indicates the fork rubbing against a worn, grooved pivot ball. If accompanied by aggressive chassis chatter during takeoff in 1st or 2nd gear, the fork is likely binding on the pivot, causing the throwout bearing to pulse against the pressure plate fingers.
Symptom 2: Inconsistent Pedal Return and Free Play
If your clutch pedal feels notchy or fails to return to the top of its travel, the fork may be hanging up on a wallowed-out pivot hole. Furthermore, if you notice that your clutch engagement point drifts from day to day, the pressed-in pivot ball may be slowly backing out of the aluminum bellhousing due to lateral cable stress.
Symptom 3: Incomplete Disengagement
When a stamped steel fork is subjected to severe side-loading from poor cable routing, the fork itself can physically bend. A bent fork alters the throwout bearing contact patch, reducing effective travel. According to Tremec's T-5 transmission specifications, standard fork travel should be between 0.450" and 0.500". A bent fork will rob you of this critical travel, causing gear crunching, particularly when shifting into reverse or first gear from a stop.
Fox Body Clutch Cable Routing Best Practices
To eliminate the side-loading that destroys pivot balls, you must correct the cable geometry at the source. Upgrading to an adjustable cable and a billet quadrant is non-negotiable for any high-horsepower or track-driven Fox Body.
| Component | OEM / Stock Setup | Expert Aftermarket Upgrade | Estimated Cost (2026) |
|---|---|---|---|
| Firewall Quadrant | Plastic (E9ZZ-7553-A) - Prone to tooth stripping | Billet Aluminum (Ford Perf. M-7553-B) | $85 - $120 |
| Clutch Cable | Fixed-length OEM - Stretches and binds | Adjustable (Ford Perf. M-7519-A or McLeod) | $140 - $190 |
| Pivot Ball | Press-in Steel - Wallows aluminum housing | Screw-in Chromoly / Billet Aluminum | $45 - $75 |
| Clutch Fork | Stamped Steel (E8ZZ-7515-A) | Heavy-Duty Rollerized Fork (McLeod 16910) | $110 - $150 |
Routing Tip: When installing an adjustable cable like the Ford Performance M-7519-A, ensure the cable jacket is secured firmly to the bellhousing bracket. The inner cable must have a smooth, sweeping arc from the firewall to the fork. Avoid zip-tying the cable tightly against the exhaust headers or the steering shaft, as heat and friction will degrade the Teflon lining and reintroduce binding.
Upgrading the Pivot Ball and Clutch Fork
If your diagnostics confirm pivot wear or fork bending, you must pull the transmission and perform a permanent bellhousing repair. As detailed in McLeod Racing's technical documentation, relying on a press-in pivot ball in an aluminum housing is a relic of the 1980s. Here is the expert procedure for upgrading to a screw-in pivot.
Step 1: Extraction and Preparation
Remove the T-5 or TKX transmission. Use a slide hammer with a small hook attachment to pull the damaged press-in pivot stud from the bellhousing. If the aluminum hole is severely wallowed out (exceeding 0.510" in diameter), you will need to drill and tap the hole rather than using a simple helicoil.
Step 2: Drilling and Tapping
Most high-quality aftermarket screw-in pivot balls (such as those from Steeda or McLeod) utilize a 3/8"-16 UNC thread. Using a drill press or a highly steady hand with a magnetic drill guide, drill the damaged hole out to 5/16" (0.3125"). Follow up with a 3/8"-16 bottoming tap. Use high-quality cutting fluid designed for aluminum to prevent galling and ensure clean, sharp threads.
Step 3: Installation and Torque Specs
Apply a generous amount of Red Loctite 271 (high-strength, permanent threadlocker) to the threads of the new chromoly pivot ball. Screw it into the bellhousing until the base seats flush against the aluminum. Torque Specification: Tighten the pivot ball to exactly 25-30 lb-ft. Allow the Loctite to cure for a minimum of 24 hours before reinstalling the transmission or applying clutch loads.
Step 4: Fork and Throwout Bearing Inspection
While the transmission is out, inspect the input shaft bearing retainer collar (the snout where the throwout bearing rides). If the collar is grooved, replace it. Install a heavy-duty clutch fork and a new throwout bearing (Ford E8ZZ-7A548-A or equivalent). Ensure the fork pivot pad is perfectly smooth; if using a rollerized fork, verify the needle bearings spin freely without binding.
Final Geometry Checks and Preload Settings
Once the transmission is bolted back to the engine block (torquing the T-5 bellhousing bolts to 50 lb-ft), the final step is setting the cable tension. A common mistake in the Fox Body community is applying constant preload to the throwout bearing, which will destroy the bearing in under 1,000 miles.
Adjust your aftermarket cable so that the throwout bearing has exactly 1/16" to 1/8" of free play against the pressure plate fingers. You should be able to rotate the throwout bearing by hand through the inspection cover when the clutch pedal is fully released. This free play ensures that the clutch fork rests gently against the adjustable cable stop, rather than transferring engine vibration and lateral loads back into your newly upgraded pivot ball.
By addressing the root cause of the side-loading through precise fox body clutch cable routing and upgrading the pivot geometry to modern screw-in tolerances, you eliminate chatter, prevent bellhousing damage, and ensure crisp, reliable shifts for the life of the vehicle.