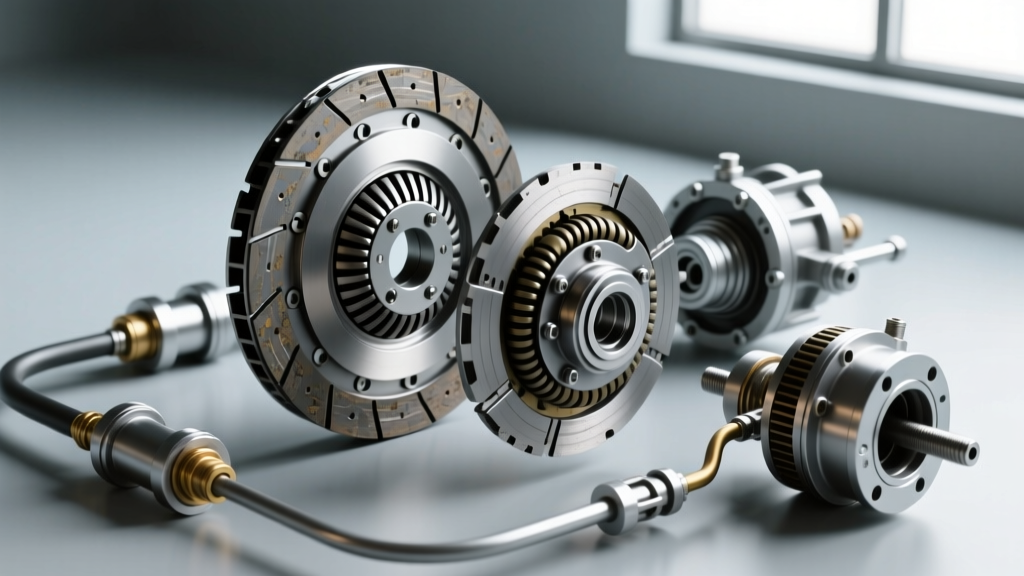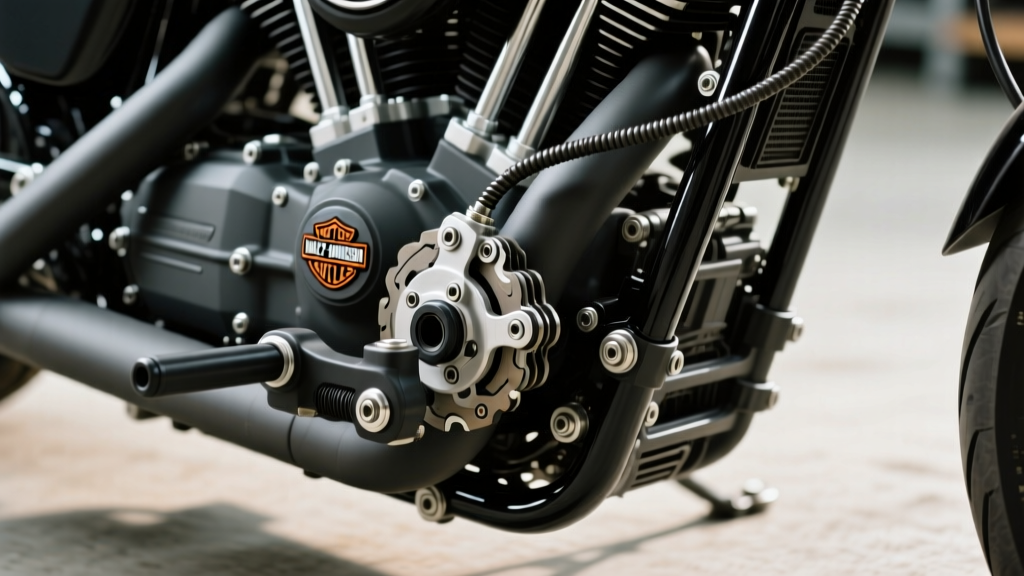
If you have ever studied a standard car clutch diagram, you likely picture a dry, single-plate setup driven by a hydraulic slave cylinder and a heavy flywheel. While that mental model is perfect for your daily commuter car, it will lead you entirely astray when diagnosing clutch problems on motorcycles and All-Terrain Vehicles (ATVs). Powersports machines predominantly use multi-plate wet clutches bathed in engine oil, creating a completely different set of failure modes, symptoms, and diagnostic procedures.
In this beginner-friendly explainer, we will bridge the gap between automotive theory and powersports reality. We will break down the unique symptoms of failing motorcycle and ATV clutches, provide exact diagnostic steps, and share real-world part numbers and torque specifications to get your machine back on the trail or track.
The Wet Clutch Paradigm: Why Motorcycles and ATVs Are Different
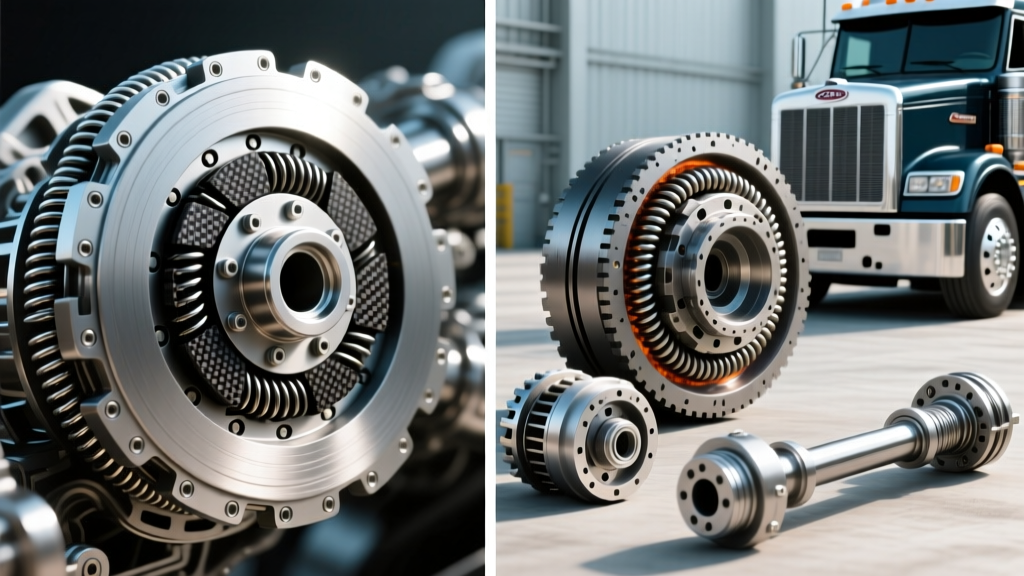
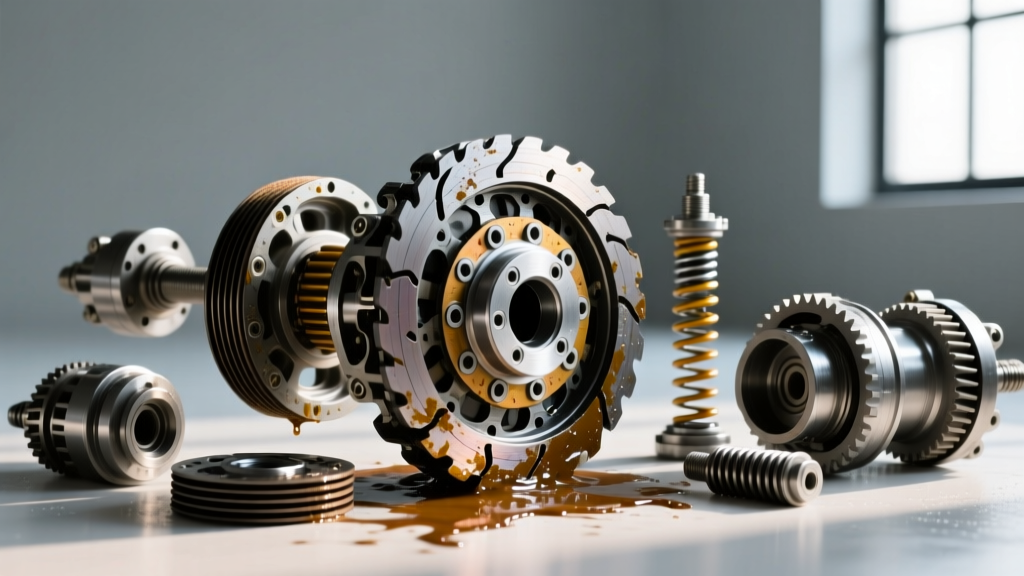
Unlike the dry clutch in a manual car, a motorcycle or ATV clutch consists of alternating friction and steel plates compressed by heavy springs inside the engine casing. Because these plates are bathed in the same oil that lubricates the engine and transmission, the friction material is highly specialized.
This is where beginners make their first critical error: using standard automotive oil. Car oils contain friction modifiers that will cause a powersports wet clutch to slip immediately. You must always use oil certified to the JASO T 903 MA or MA2 standard, which guarantees the absence of friction-reducing molybdenum additives.
Diagnostic Matrix: Identifying Powersports Clutch Symptoms
Before tearing into the right-side engine cover, use this diagnostic matrix to match your machine's behavior to the likely internal failure.
| Symptom | Riding Condition | Probable Cause | First Diagnostic Step |
|---|---|---|---|
| RPMs flare without acceleration | Wide-open throttle (WOT) in 3rd gear or higher | Glazed friction plates or weak clutch springs | Check cable free-play and oil level/condition |
| Lever chatter or grabbing | Feathering the clutch from a dead stop | Warped steel plates or notched clutch basket | Inspect basket fingers for grooving |
| Lever feels completely dead | All riding conditions | Snapped cable, failed hydraulic master, or separated friction material | Check cable continuity or master cylinder fluid |
| Clutch won't fully disengage | Shifting into first gear from neutral | Stuck plates (oil stiction) or incorrect pushrod adjustment | Perform a cold-start lever hold and rear brake stall test |
Deep Dive: Common Moto & ATV Clutch Failures
1. High-RPM Slipping and the 'Friction Fade'
Slipping is the most common complaint among ATV riders, particularly on high-horsepower models like the Polaris RZR or Yamaha YFZ450R. When you pin the throttle and the tachometer climbs but your speed doesn't, your friction plates are failing to grip the steel plates.
The Fix: Measure your friction plates. A standard OEM friction plate (like Honda part 22200-KZ4-J00) typically has a service limit of 2.6mm to 2.8mm depending on the model. If your plates measure below the service limit in the factory service manual, they must be replaced. Additionally, measure the clutch spring free length. If a spring has compressed by more than 1mm to 2mm from its factory spec, it can no longer provide adequate clamping force. Upgrading to stiffer aftermarket springs (e.g., ProX or Hinson) is a $40-$60 fix that often cures slipping without replacing the plates.
2. The Notched Clutch Basket: The Root of Chatter
If your dirt bike or ATV shudders violently when you release the lever from a stop, you are experiencing clutch chatter. While a standard car clutch diagram shows a single pressure plate absorbing engagement shock, a multi-plate setup relies on the smooth sliding of plate tabs inside the aluminum clutch basket (outer hub).
Over thousands of miles, the steel plate tabs hammer into the softer aluminum basket, creating deep notches. When you pull the lever, the plates hang up in these notches instead of separating cleanly, causing a grab-and-release shudder.
The Fix: Remove the clutch pack and run your fingernail along the inner fingers of the basket. If your nail catches in deep grooves, the basket is compromised. You can temporarily file the notches smooth with a flat mill bastard file, but the ultimate fix is replacing the basket. An OEM Yamaha basket costs around $180, while a billet aluminum Hinson basket (part number B08-518) runs closer to $350 but offers lifetime durability.
3. Cable Stretch vs. Hydraulic Fade
Many entry-level motorcycles and utility ATVs use a mechanical cable actuation system. Cables stretch over time, and the inner wire can fray at the lever perch. If your lever feels loose, adjust the barrel adjuster at the lever and the inline adjuster near the engine casing. You need exactly 10mm to 15mm of free-play at the lever tip. Zero free-play will cause the clutch to slip because the throw-out bearing is constantly pressing on the pressure plate.
For high-end sportbikes and modern ATVs with hydraulic clutches, a spongy lever usually indicates air in the line or degraded DOT 4 fluid. Bleeding the system using a vacuum bleeder and flushing the fluid annually prevents internal master cylinder corrosion.
4. The Pushrod and Release Bearing: Hidden Culprits of Dragging
If your motorcycle creeps forward when the clutch lever is fully pulled in, or if you hear a grinding noise when shifting into first gear, your clutch is dragging. While a car clutch diagram relies on a hydraulic fork to move the throw-out bearing, most motorcycles use a mechanical pushrod that passes directly through the center of the transmission mainshaft.
At the end of this pushrod sits a small ball bearing and a release rack (or actuator cam). If this ball bearing falls out during a clutch cover removal—a notoriously common beginner mistake—the clutch will never disengage. Furthermore, the aluminum release rack can wear down or crack under heavy use. When inspecting a dragging clutch, always remove the pushrod, measure it for bending (roll it on a flat glass surface), and inspect the actuator cam for deep grooves. Replacing a worn actuator cam (OEM part costs usually under $25) often completely cures a dragging clutch without needing to touch the friction plates.
Real-World Replacement Costs and Part Selection
When it is time to replace the clutch pack, beginners often default to the cheapest option on eBay. This is a mistake. Friction material composition dictates performance and longevity.
- OEM Paper/Kevlar Blends: Best for utility ATVs and commuter bikes. Smooth engagement, long life. Cost: $120 - $180 for a full pack.
- EBC CK Series (Carbon Fiber): Excellent for trail riding and enduro. High heat tolerance, very progressive feel. Cost: $90 - $130.
- EBC SRC Series (Kevlar): Designed for motocross and aggressive ATV racing. Bites hard, handles extreme heat, but can be abrupt for beginners. Cost: $110 - $150.
Torque Specs and Reassembly Best Practices
Reassembling a powersports clutch requires precision. Stripping the soft aluminum threads of the inner hub is a rite of passage for careless beginners. Always use a calibrated inch-pound torque wrench.
- Clutch Spring Bolts (6mm): Typically 7 to 10 Nm (62 to 88 in-lbs). Use blue Loctite 243.
- Clutch Center Nut (14mm-18mm): Typically 60 to 85 Nm. This nut holds the entire assembly to the transmission mainshaft. You must use a dedicated clutch holding tool (e.g., Motion Pro 08-0411) to prevent the hub from spinning while torquing.
Before installing the new clutch pack, soak the friction plates in fresh JASO MA2 engine oil for at least one hour. Installing them dry will cause immediate glazing and permanent damage upon first engagement. For a deeper dive into powersports maintenance intervals, refer to the technical guides at Cycle World's maintenance archives.
Summary: Think in Multi-Plate, Not Single-Plate
Diagnosing clutch problems on motorcycles and ATVs requires throwing out the standard car clutch diagram and embracing the complexities of the wet, multi-plate system. By understanding the critical role of JASO-certified oils, recognizing the signs of a notched basket, and adhering to strict torque specifications, even a beginner can confidently diagnose and repair powersports clutch issues. Keep your free-play adjusted, your oil clean, and your friction plates soaked, and your machine will deliver flawless power delivery for thousands of miles.