Understanding Your Harley's Cable-Actuated Clutch
For decades, the cable-actuated clutch has been a defining characteristic of the Harley-Davidson riding experience. Whether you are wrenching on a classic Evo, a Twin Cam 88/96/103/110, or a modern Sportster, the mechanical connection between your left hand and the transmission's clutch release mechanism requires precise calibration. While many 2018 and newer Milwaukee-Eight Softail and Touring models have transitioned to hydraulic assist and slipper clutches, millions of cable-actuated Harleys remain on the road and in garages today.
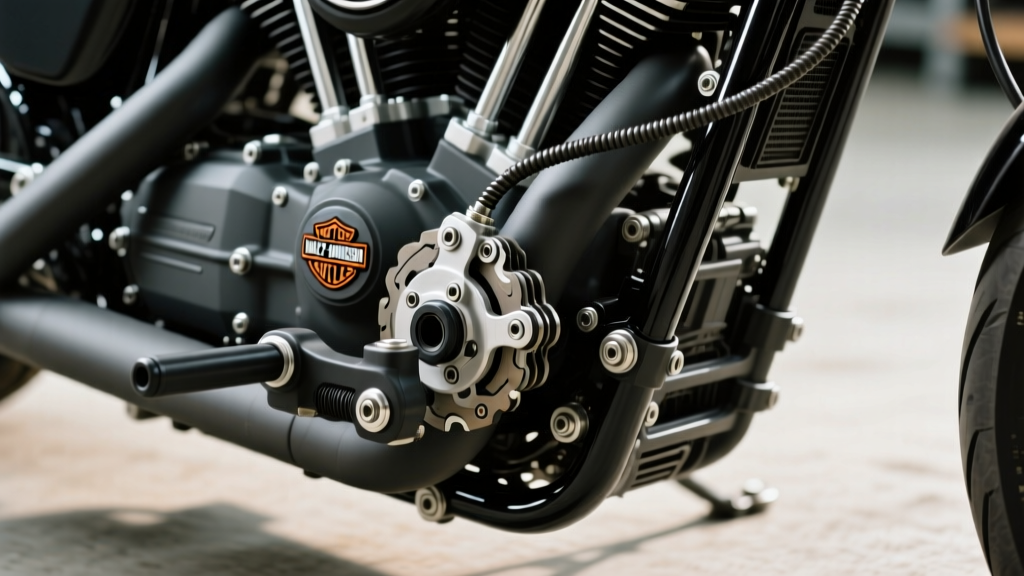
Performing a proper Harley clutch cable adjustment is not just about making the lever feel comfortable; it is a critical drivetrain maintenance procedure. The clutch cable transfers your hand's mechanical force to a ball-and-ramp or screw-actuated release mechanism inside the primary chaincase. This mechanism pushes a rod through the mainshaft, compressing the clutch diaphragm spring and separating the friction plates from the steel drive plates. If this system is out of adjustment, you risk catastrophic transmission damage, premature clutch pack wear, or dangerous loss of vehicle control at stops.
Expert Note: This guide specifically applies to cable-actuated Harley-Davidson models. If your 2018+ Softail or 2014+ Touring bike features a hydraulic clutch master cylinder on the handlebar, you need to bleed the hydraulic fluid and check the master cylinder pushrod, not adjust a cable.
Symptoms of Incorrect Harley Clutch Cable Adjustment
Before turning any wrenches, you must diagnose the behavior of your motorcycle. The clutch system operates in a narrow window of tolerance. Here is how to identify which way your adjustment has drifted:
- Too Tight (Zero Freeplay): The cable is constantly pulling on the release mechanism, preventing the clutch spring from fully clamping the friction plates. Symptoms: Clutch slipping under heavy acceleration, a burning smell from the primary case, loss of top-end speed, and premature wear of the clutch release bearing (throw-out bearing).
- Too Loose (Excessive Freeplay): The lever bottoms out against the grip before the release mechanism fully disengages the clutch pack. Symptoms: Clutch dragging, extreme difficulty finding neutral at a stop, the motorcycle creeping forward with the lever pulled in, and loud gear clash or grinding when shifting into first gear.
- Inconsistent Engagement: If the clutch engages smoothly sometimes but grabs harshly other times, you likely have a frayed cable binding inside the housing, or a damaged internal clutch ramp mechanism, rather than a simple adjustment issue.
Essential Tools and Torque Specifications
Harley-Davidson engineering relies heavily on specific torque values, particularly in the primary chaincase where aluminum threads are easily stripped. Gather the following tools before beginning your adjustment.
| Component / Task | Specification / Measurement | Tool Required | Critical Warning |
|---|---|---|---|
| Lever Freeplay | 1/16" to 1/8" (1.5mm - 3mm) | Feel / Ruler | Measure at the lever end before resistance |
| Derby Cover Bolts (Primary) | 84 - 108 in-lbs | T27 Torx Bit | INCH-pounds only! Foot-pounds will snap bolts |
| Clutch Release Locknut | 84 - 108 in-lbs | 11mm Wrench / Socket | Hold center screw while tightening locknut |
| Primary Chaincase Fluid | 32 oz (Sporty) / 38 oz (Big Twin) | Funnel / Drain Pan | Use Formula+ or SYN3 20W-50 |
The 3-Phase Adjustment Procedure
A common beginner mistake is simply twisting the barrel adjuster at the handlebar until the lever "feels right." This is fundamentally incorrect and will lead to a slipping or dragging clutch. A true Harley clutch cable adjustment requires a three-phase approach to synchronize the handlebar, the internal transmission release mechanism, and the lower cable jacket.
Phase 1: Handlebar Slack Creation
Your first step is to remove all tension from the cable system. Locate the rubber boot covering the cable adjuster on your handlebar clutch lever assembly. Slide the boot back, loosen the locknut, and thread the adjuster barrel completely inward (toward the lever pivot). This creates maximum slack in the cable, ensuring that the internal clutch release mechanism is allowed to rest in its fully disengaged, neutral state. Lock the nut in this position temporarily.
Phase 2: Internal Transmission Release Mechanism
This is the step most beginners skip, and it is the most critical for Big Twin models. You must set the internal mechanical stop before adjusting the cable.
- Access the Primary Side: For many models, it is easiest to drain the primary chaincase fluid via the drain plug. Alternatively, you can carefully lean the motorcycle heavily to the left to keep fluid away from the derby cover (primary inspection cover).
- Remove the Derby Cover: Using your T27 Torx bit, remove the 5 screws securing the outer primary cover. Note the condition of the O-ring or gasket; replace it if it is flattened or cracked to prevent primary oil leaks.
- Set the Release Screw: In the center of the clutch diaphragm spring, you will see an adjustment screw secured by an 11mm locknut. Loosen the locknut. Using an Allen key or your fingers, turn the center screw inward (clockwise) until you feel firm mechanical resistance. This is the screw making contact with the internal clutch release pushrod.
- Back Off for Clearance: Once seated, back the screw out exactly 1/2 to 3/4 of a turn. This microscopic gap prevents the pushrod from applying constant pressure to the clutch pack while riding, which would cause slipping and overheating.
- Secure and Seal: Hold the center screw perfectly still while you tighten the 11mm locknut to 84-108 inch-pounds. Reinstall the derby cover and torque the T27 screws to 84-108 inch-pounds in a star pattern. Refill primary fluid if drained.
Phase 3: Lower Cable Adjuster and Lever Freeplay
Now that the internal mechanism is set, you must take up the slack in the cable housing. Locate the lower cable adjuster, typically found where the cable housing meets the transmission case or primary cover. Loosen the locknut and turn the adjuster sleeve to lengthen the cable housing. As you turn it, pull the clutch lever at the handlebar. Stop adjusting the moment you feel the lever begin to encounter the mechanical resistance of the clutch spring. Back the adjuster off slightly to introduce a tiny amount of slack. Tighten the lower locknut. Finally, return to the handlebar and use the barrel adjuster to fine-tune the lever freeplay to exactly 1/16" to 1/8" of movement at the very tip of the lever before you feel the cable pull taut.
When to Replace: Fraying, Stretching, and Upgrades
Cables are wear items. Over time, the inner steel wire stretches, and the outer Teflon-lined housing can compress or crack. If you find yourself adjusting the cable every few hundred miles, the cable has exceeded its structural lifecycle and must be replaced. Furthermore, if you feel a "gritty" or notchy sensation when pulling the lever, the internal wire is likely fraying inside the housing, posing an imminent risk of snapping in traffic.
When replacing your cable, avoid cheap, unbranded imports that suffer from poor routing geometry and rapid housing compression. According to data from Drag Specialties Motorcycle Parts Catalog, a standard OEM-equivalent replacement cable typically costs between $45 and $65. However, for superior longevity and a lighter lever pull, experts highly recommend upgrading to a Teflon-lined, high-tensile strength cable. The Barnett Tool & Engineering Platinum Series clutch cables (part numbers varying by model, such as 101-30-10034 for specific Softail applications) are widely considered the gold standard in the aftermarket, priced around $85 to $110. They feature a Kevlar-reinforced inner wire that virtually eliminates stretch and dramatically reduces lever effort.
Aftermarket Levers and Pull Ratios
If you have installed aftermarket handlebars, extended reach levers, or custom grips, your clutch cable geometry has been altered. Extended levers change the pivot ratio, meaning you pull more cable length with less hand force. If you swap to extended levers, your stock cable may no longer have enough exposed inner wire to engage the clutch fully, resulting in a dragging clutch even when the lever touches the grip. Always measure your required cable length when changing handlebar controls, and consult the Harley-Davidson Official Motorcycle Lineup or aftermarket fitment guides to ensure you order the correct "+2 inch" or "-2 inch" cable variant for your specific custom setup.
Final Verification and Road Test
Before taking the motorcycle on the open road, start the engine in a safe, open area. Pull the clutch lever in and shift into first gear. The motorcycle should not lurch forward, and the engine RPM should not bog down, confirming the clutch is fully disengaging. Release the lever smoothly; the bike should engage predictably without a harsh "clunk." During your test ride, accelerate hard through the gears in third and fourth. If the RPMs flare without a corresponding increase in road speed, your cable is still too tight, or your clutch friction plates are already glazed from previous slipping. Stop immediately, readjust the freeplay to the looser side of the 1/8" specification, and re-test. Proper maintenance of your Harley clutch cable adjustment ensures thousands of miles of smooth, reliable power delivery.