The 'Motiv Supra Clutch' Diagnostic Philosophy
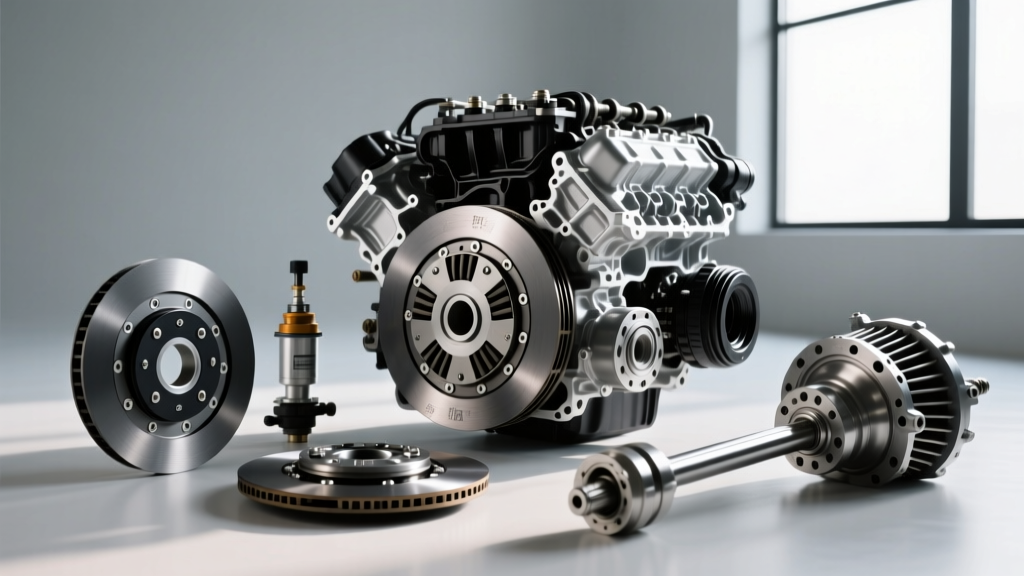
When planning a high-horsepower build, finding the right motiv supra clutch setup is about more than just peak torque capacity; it requires a holistic inspection of the entire actuation and friction system. Whether you are diagnosing a slipping OEM setup on a Mk4 Toyota Supra (2JZ-GTE with the Getrag V160 6-speed) or validating a bespoke B58 manual-swap in a Mk5 chassis, a systematic inspection checklist is mandatory. In 2026, with aftermarket twin-disc and carbon-ceramic setups pushing past 1,200 wheel-horsepower, marginal clearances and worn hydraulic components will destroy even the most expensive friction assemblies.
This technical deep-dive provides a comprehensive inspection checklist for Supra clutch systems, focusing on exact metrology, torque specifications, and failure modes that general repair manuals often overlook.
Phase 1: External Hydraulic & Pedal Geometry Audit
Before dropping the transmission, the hydraulic actuation system must be audited. A common misdiagnosis for clutch slip or drag is blaming the friction disc when the root cause is hydraulic pre-load.
Master Cylinder Pushrod Clearance
The OEM Toyota master cylinder utilizes a 5/8-inch bore, which is often insufficient for high-clamp-load pressure plates (like those from RPS or OS Giken). Many builders upgrade to a 3/4-inch or 7/8-inch Tilton master cylinder. However, if the pushrod clearance between the master cylinder piston and the pushrod is zero, the compensation port remains blocked. This causes fluid to expand as it heats, effectively keeping the clutch partially depressed and causing catastrophic slip under boost.
- Specification: 0.5mm to 1.0mm of free-play must exist at the master cylinder pushrod.
- Pedal Free-Play: Measure 1.0mm to 5.0mm of free-play at the top of the clutch pedal pad before hydraulic resistance is felt.
- Fluid: Flush with high-boiling-point DOT 4 (e.g., Motul RBF 600 or 660) to prevent vapor lock during track use.
Slave Cylinder & Line Inspection
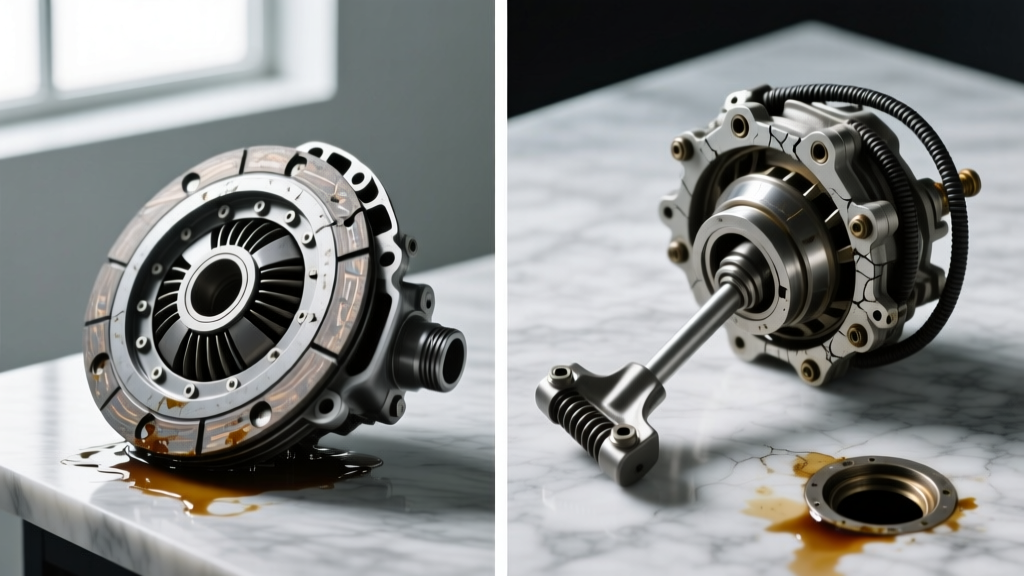
The Mk4 Supra utilizes an external slave cylinder mounted on the bellhousing. Inspect the pushrod for pitting and ensure the return spring is present and under tension. A weak return spring will allow the throwout bearing to ride against the diaphragm fingers at high RPM due to centrifugal force, leading to premature bearing failure and diaphragm wear.
Pro-Tip: If upgrading to a heavy-duty clutch, do not simply increase the master cylinder bore size without recalculating the hydraulic ratio. A 7/8-inch master cylinder on a stock V160 slave will reduce pedal travel, making engagement abrupt and increasing the risk of stalling or driveline shock.
Phase 2: Bellhousing & Release Mechanism Teardown
Once the transmission (whether the factory V160, W58, or a Nissan CD009 swapped into a B58 Mk5) is removed, the release mechanism requires meticulous inspection. The Supra's release system is notorious for specific wear patterns that cause clutch chatter and inconsistent engagement.
Fork and Pivot Ball Metrology
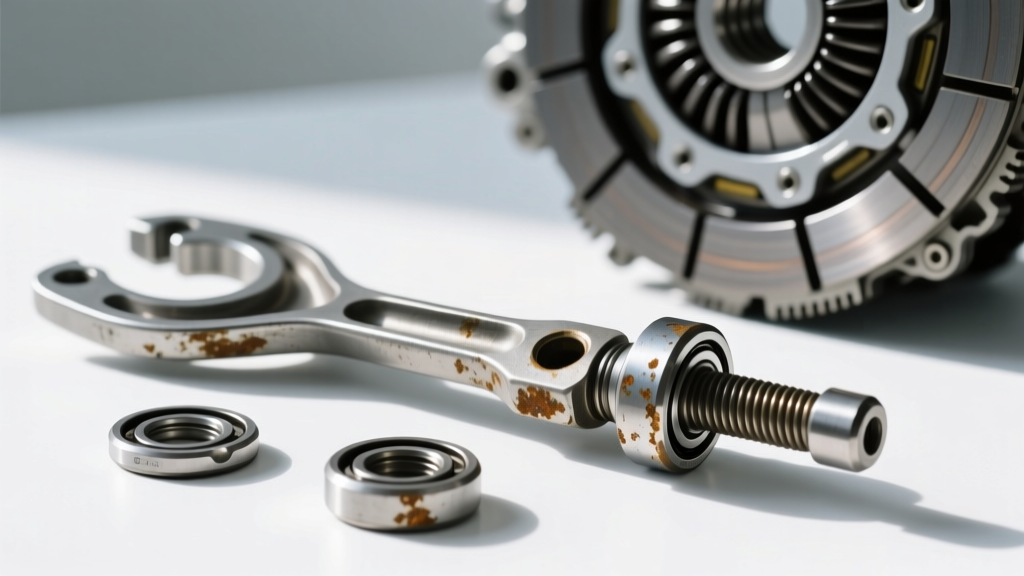
The 2JZ-GTE V160 uses a stamped steel release fork (Toyota Part #31236-30020) that rides on a spherical pivot ball. Over tens of thousands of miles, the fork wears a groove into the pivot ball. This wear alters the geometry of the fork, reducing the effective forward stroke of the throwout bearing. If you install a new, thicker twin-disc clutch without addressing a worn pivot ball, the clutch will not fully disengage, resulting in gear grinding.
- Inspection: Remove the pivot ball and inspect for flat-spotting. Replace with an adjustable aftermarket pivot ball (e.g., from Drift Motion or similar fabrication shops) to restore exact geometry.
- Lubrication: Apply a high-melting-point molybdenum disulfide grease to the pivot ball and fork contact pads. Never use standard lithium grease, as it will liquefy and contaminate the friction disc.
Throwout Bearing (Release Bearing)
Inspect the face of the OEM release bearing (Toyota Part #31230-30010). If the face shows uneven wear or grooves, it indicates that the bearing was riding constantly due to improper pedal free-play. For high-RPM applications, upgrade to a heavy-duty bearing with a larger contact face designed for multi-plate diaphragm springs.
Phase 3: Friction Material & Flywheel Metrology
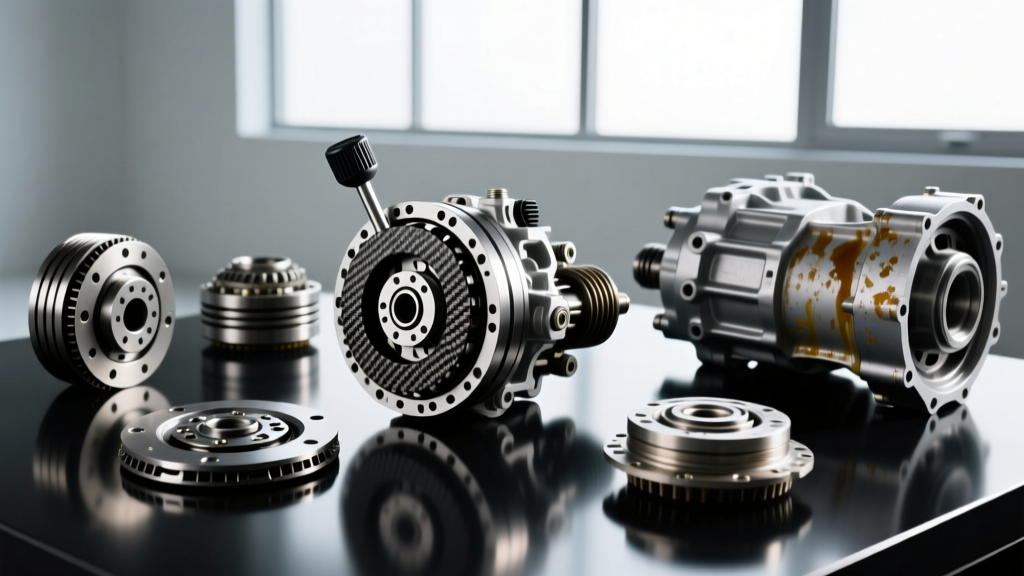
The core of any motiv supra clutch build lies in the friction assembly and flywheel interface. Whether you are inspecting a stock replacement or a 4-plate carbon setup, precision measurements dictate the lifespan of the system.
Flywheel Runout and Step Height
A warped flywheel will cause severe clutch chatter upon engagement, often mistaken for a broken motor mount or worn driveline bushing. Mount a dial indicator to the engine block and measure the flywheel face.
- Maximum Runout: 0.05mm (0.002 inches). Anything exceeding this requires resurfacing or replacement.
- Step Height (Multi-Plate): If running a twin or triple-disc clutch, the 'step height' (the distance from the flywheel friction surface to the pressure plate mounting surface) is critical. Refer to the manufacturer's spec (typically between 0.020' and 0.040'). Incorrect step height will result in zero clamp load or zero pedal travel.
Disc Thickness and Marcel Springs
Measure the friction disc thickness at multiple points using a micrometer. Compare against the manufacturer's service limit. Additionally, inspect the 'marcel' springs (the wavy steel plates between the friction pucks). On aggressive ceramic or sintered iron discs, these are often omitted for instant engagement, but on street-driven Supras, flattened or broken marcel springs will cause violent shudder.
Phase 4: Torque Specifications & Assembly Matrix
Proper fastener torque is non-negotiable. The rotational inertia of a 2JZ or B58 engine will shear under-torqued hardware, while over-torquing can warp the pressure plate housing or strip the crankshaft threads.
| Component | Platform | Torque Specification | Notes / Hardware |
|---|---|---|---|
| Flywheel to Crankshaft | 2JZ-GTE (Mk4) | 85 Nm + 90° turn | Use new OEM TTY bolts (Part #90119-12093). Apply red Loctite to aftermarket ARP bolts. |
| Pressure Plate to Flywheel | 2JZ / B58 Swap | 25 Nm (18 lb-ft) | Star-pattern sequence. Ensure alignment dowels are seated. |
| Bellhousing to Engine Block | V160 / W58 | 72 Nm (53 lb-ft) | Verify dowel pin alignment to prevent input shaft binding. |
| Pivot Ball to Block | 2JZ-GTE | 22 Nm (16 lb-ft) | Use medium-strength threadlocker. |
| Clutch Master Cylinder Nuts | Firewall | 12 Nm (9 lb-ft) | Do not overtighten; firewall sheet metal will deform. |
Cost vs. Replacement Decision Framework
When performing a Supra clutch inspection, determining whether to reuse, machine, or replace components requires balancing cost against reliability. Below is a 2026 market estimate for common service actions.
- Flywheel Resurfacing: $85 - $150. Only viable for single-mass steel flywheels. Chromoly or aluminum flywheels with hard-faced friction surfaces must be replaced or sent back to the manufacturer (e.g., RPS Clutches) for proprietary resurfacing.
- OEM Release Bearing: $45 - $80. Always replace during a teardown. The labor cost of dropping the V160 far outweighs the part cost.
- Rear Main Seal: $15 - $25 for the OEM Toyota seal (Part #90311-85011). A leaking rear main seal will contaminate a new clutch disc instantly. Replace this every time the flywheel is removed.
- Performance Twin-Disc Assembly: $1,200 - $2,200. Required for 2JZ builds exceeding 650 wheel-horsepower.
Final Verification & Bed-In Procedure
Once the assembly is torqued and the hydraulics are bled (using a pressure bleeder to ensure no micro-bubbles remain in the V160 slave line), the bed-in procedure is critical. For organic or Kevlar discs, perform 10-15 moderate engagements from 30 mph to 10 mph in second gear to transfer an even layer of friction material to the flywheel. For sintered iron or carbon discs, follow the manufacturer's aggressive heat-cycling protocol to prevent glazing. A thorough inspection checklist ensures that your motiv supra clutch setup performs flawlessly, translating every ounce of boost into forward momentum without slip or chatter.
For official factory service manuals and updated torque sequences, always consult Toyota TechInfo or the specific transmission manufacturer's documentation prior to final assembly.