The Case for Rebuilding: Miata 5/8-Inch Master Cylinder
As of 2026, the Mazda Miata (NA and NB generations, 1990-2005) remains one of the most popular platforms for DIY drivetrain restoration. However, the factory 5/8-inch (15.87mm) bore clutch master cylinder is a known failure point. The most common failure mode isn't a catastrophic blowout, but rather internal seal degradation caused by decades of DOT 3 fluid hygroscopic moisture absorption. This results in 'pedal drop'—where the clutch pedal slowly sinks to the floor while holding the car in gear at a stoplight.
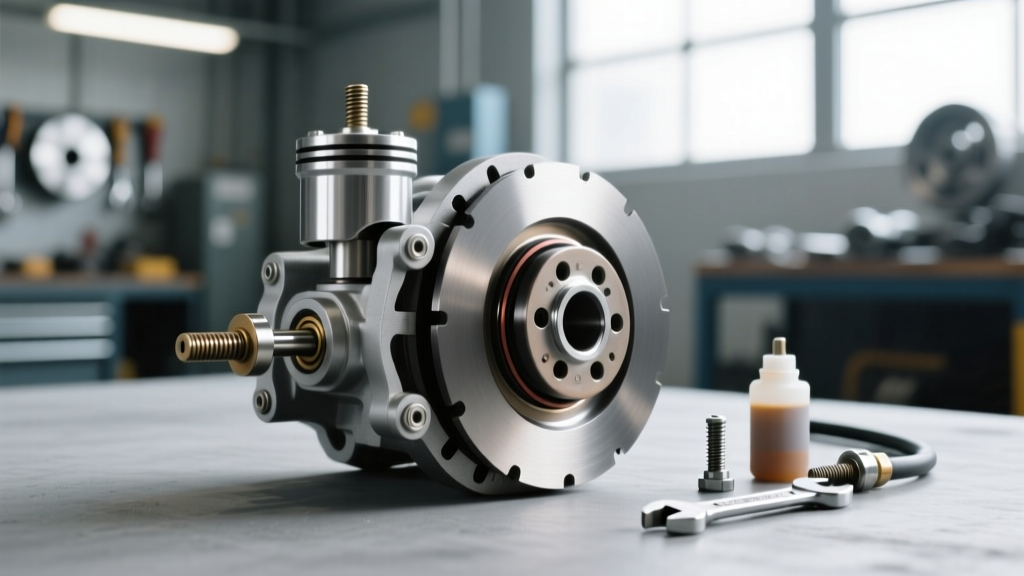
While replacing the entire master cylinder assembly is the standard advice, utilizing clutch master cylinder repair kits is a highly cost-effective and OEM-aligned alternative, provided the cast iron bore is free of deep pitting. Rebuilding the unit preserves the original Mazda pedal feel and saves you from the fitment headaches often associated with cheap offshore replacement assemblies.
Pro-Tip: Never skip bench bleeding a rebuilt master cylinder. Installing a dry master cylinder and attempting to push fluid through the lines will only trap micro-bubbles in the primary cup, leading to a spongy pedal that no amount of slave-side bleeding will fix.
Master Cylinder Repair Kit Breakdown & Sourcing
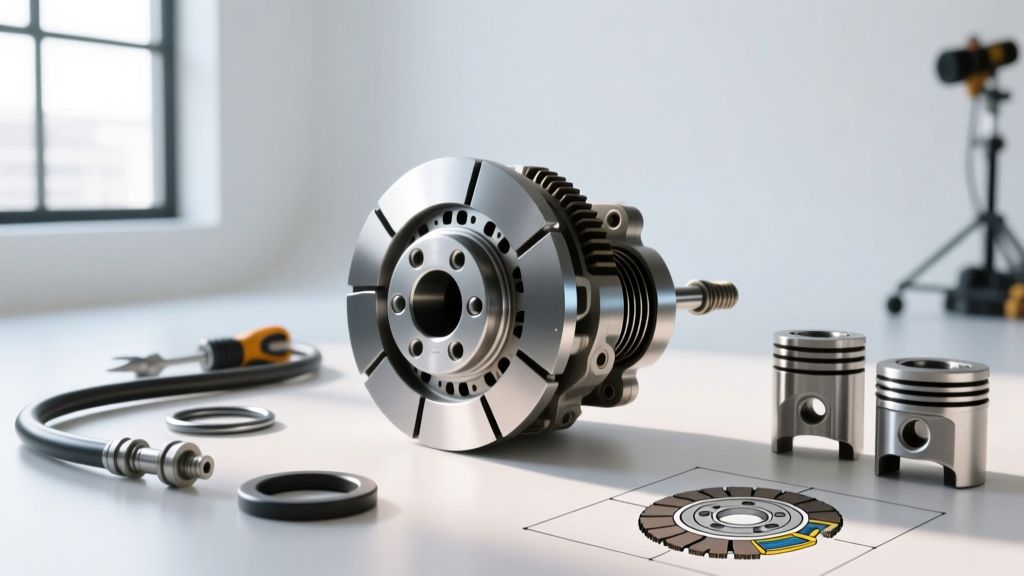
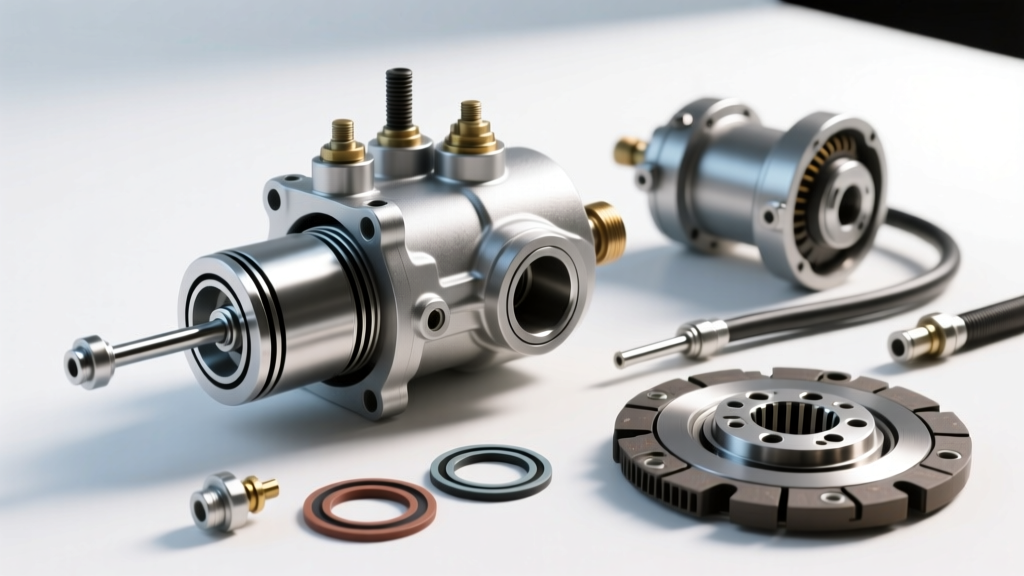
Sourcing genuine Mazda rebuild kits (originally part number 8BP0-41-400Z) has become increasingly difficult as Mazda transitions to superseded complete assemblies. Fortunately, the aftermarket has stepped up with high-quality seal kits that include the primary cup, secondary cup, return spring, snap rings, and pushrod dust boot.
| Brand / Manufacturer | Part Number | 2026 Est. Price | Contents & Notes |
|---|---|---|---|
| Centric (Premium) | 130.45005 | $14 - $18 | Complete seal kit, exact OEM rubber compound. |
| Beck/Arnley | 072-9542 | $16 - $22 | Includes pushrod boot and internal springs. |
| Exedy (Complete Unit) | MC025 | $65 - $85 | Fallback option if bore is scored beyond repair. |
Note: Always cross-reference your specific chassis code. The NA (1.6L and 1.8L) and early NB models share the same 5/8-inch master cylinder architecture, but pedal box pushrod lengths can vary slightly between LHD and RHD markets.
Bore Inspection and Honing Protocol
Before installing the new seals from your repair kit, you must inspect the cylinder bore. Remove the old snap ring and extract the internal components. Clean the bore with isopropyl alcohol and inspect it under a bright LED light.
- Light Surface Rust: Can be removed using a fine 240-grit brake cylinder hone attached to a low-speed drill. Use generous amounts of clean DOT fluid as a lubricant while honing.
- Deep Pitting or Scoring: If your fingernail catches in a groove running parallel to the bore, the master cylinder is scrap. The primary cup will bypass fluid past the pitting under high pressure. In this case, abandon the repair kit and install a new Exedy MC025 complete unit.
Navigating the Clutch Slave Cylinder Bleeder Valve
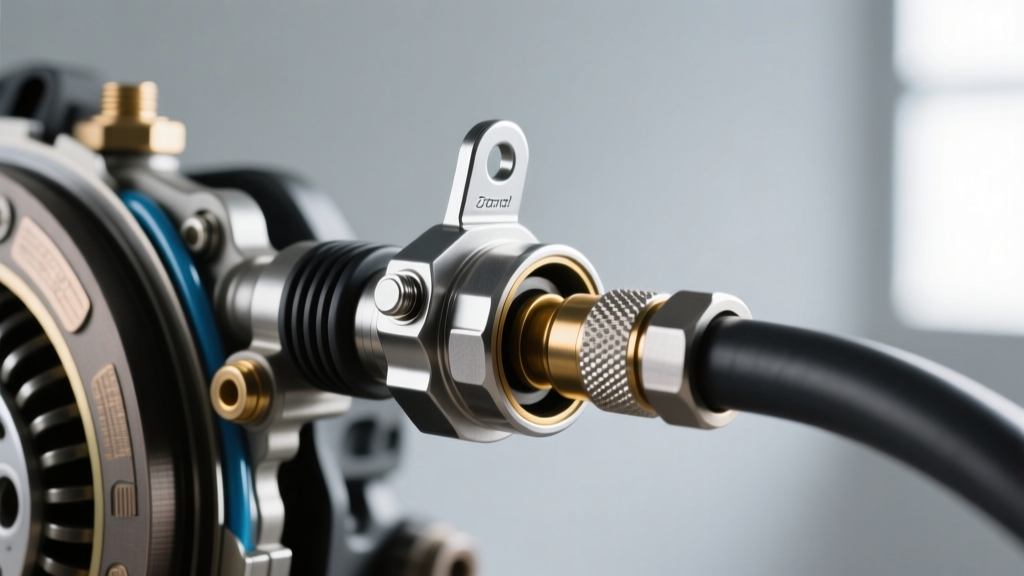
A master cylinder rebuild is only half the battle. The hydraulic system must be flushed and bled, which brings us to the most dreaded component on the Miata transmission bellhousing: the clutch slave cylinder bleeder valve. Located on the external slave cylinder (mounted directly to the T56 or 5-speed aluminum bellhousing), this valve is exposed to decades of road salt, heat cycling, and clutch dust.
Why the Bleeder Valve Seizes and How to Extract It
The factory bleeder valve features an 8mm hex head cast from relatively soft steel, threaded into a cast iron or aluminum slave body. Galvanic corrosion and heat effectively weld the threads together. If you apply a standard 8mm box-end wrench and brute force, the hex head will round off, or worse, the valve will snap flush with the slave cylinder body.
- Chemical Penetration: Soak the valve in PB Blaster or Kroil for at least 48 hours prior to your clutch job. Do not use WD-40; it lacks the necessary creeping solvents for deep thread penetration.
- Thermal Shock: Apply localized heat to the slave cylinder body (not the valve itself) using a heat gun or carefully with a MAP gas torch. Aim for 200°F (93°C) to expand the outer threads.
- Tool Selection: Use a 6-point 8mm flare-nut wrench or a dedicated bleeder valve wrench. Never use a 12-point socket.
The Rescue Procedure: Drilling and Tapping
If the clutch slave cylinder bleeder valve snaps off inside the body, do not immediately condemn the slave cylinder. You can salvage it using a Helicoil thread repair kit.
- Center-punch the broken valve stub.
- Drill out the remnants using a 7.1mm (or 'L' size) drill bit. Use cutting oil and low RPM to avoid wandering into the soft aluminum/iron housing.
- Tap the hole: The standard thread pitch for most replacement oversized bleeder screws is 1/4"-28 UNF. Use a 1/4"-28 bottoming tap to cut new threads.
- Install a Speedi-Sleeve or Oversized Valve: Source a 1/4"-28 bleeder screw (commonly used on GM brake calipers) and verify the internal fluid port aligns correctly before final seating.
For more detailed visual guides on Miata hydraulic rescues, the Miata.net Garage Bleeding Guide remains an invaluable community resource for torque sequences and fluid routing.
Bench Bleeding and System Flushing
Once your master cylinder is rebuilt and the slave cylinder bleeder valve is secured, you must prepare the system for fluid. The Miata clutch hydraulic system holds approximately 0.35 Liters of fluid total.
We recommend upgrading from the factory DOT 3 to a high-performance DOT 4 fluid like Motul RBF 600 or Castrol SRF. These fluids possess higher dry boiling points (594°F / 312°C for RBF 600) and resist the spongy pedal fade common in track-driven NA/NB models.
The Gravity-to-Pressure Bleed Sequence
Because the clutch line routes downward from the master cylinder to the slave, air naturally wants to rise back into the master. A reverse-pressure bleed is highly recommended.
- Bench Bleed the Master: Before connecting the hardline to the master cylinder, fill the reservoir and use a short loop of hose to route the output port back into the reservoir. Pump the pushrod by hand 15-20 times until no micro-bubbles appear.
- Connect the Hardline: Torque the master cylinder hardline fitting to 15 Nm (11 lb-ft).
- Pressure Bleed: Attach a Motive power bleeder to the master cylinder reservoir cap. Pressurize to 12-15 PSI. Do not exceed 15 PSI, or you risk blowing the reservoir cap seal or rupturing the aged rubber flex hose near the slave cylinder.
- Open the Valve: Open the newly secured bleeder valve at the slave cylinder. Allow fluid to flow until it is completely free of bubbles and old, dark fluid.
- Close and Depressurize: Close the valve to 8 Nm (71 in-lb), release the pressure from the reservoir, and top off to the MAX line.
Torque Specifications & Clearances Reference
Adhering to proper torque specs is critical when working with the brittle cast metals and aging fasteners found on 25-year-old manual transmissions.
| Component | Fastener Size | Torque Specification |
|---|---|---|
| Master Cyl to Firewall Nuts | 10mm | 10 - 14 Nm (7 - 10 lb-ft) |
| Slave Cyl to Bellhousing Bolts | 12mm | 19 - 26 Nm (14 - 19 lb-ft) |
| Hardline Flare Nut (Master) | 12mm | 14 - 18 Nm (10 - 13 lb-ft) |
| Bleeder Valve (Standard) | 8mm Hex | 6 - 9 Nm (53 - 80 in-lb) |
| Pushrod Clevis Pin Cotter | N/A | Ensure full splay, no torque spec |
By utilizing a high-quality clutch master cylinder repair kit and taking the time to properly service the clutch slave cylinder bleeder valve, you restore the crisp, communicative pedal feel that the Miata is famous for. Regular fluid flushes every two years will ensure your rebuilt seals last well into the next decade of motoring.