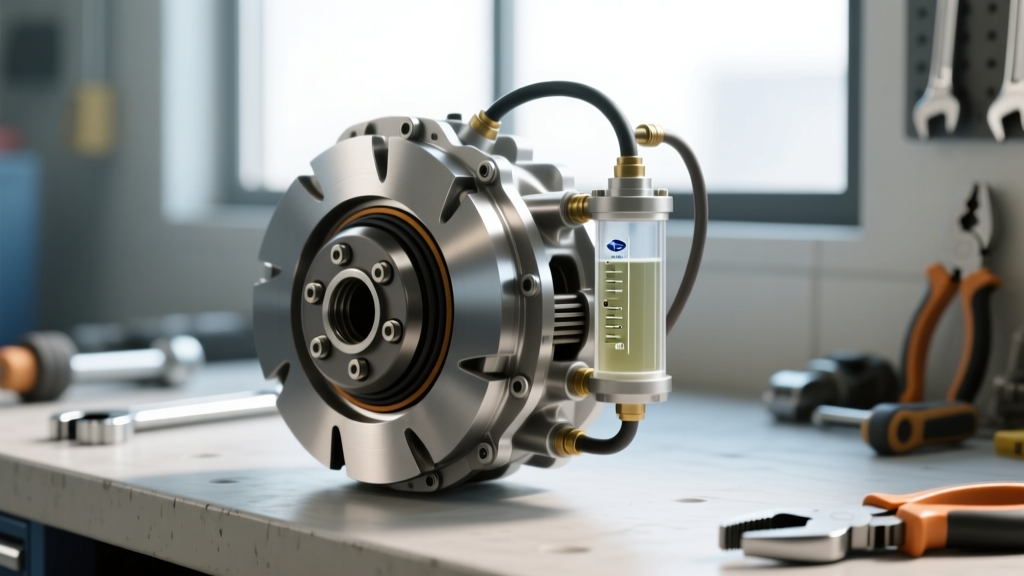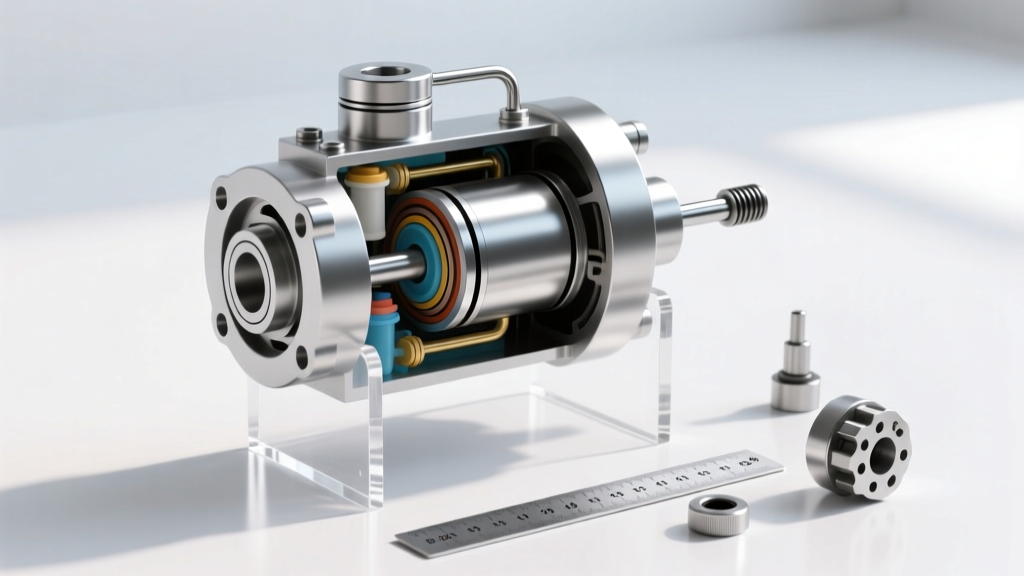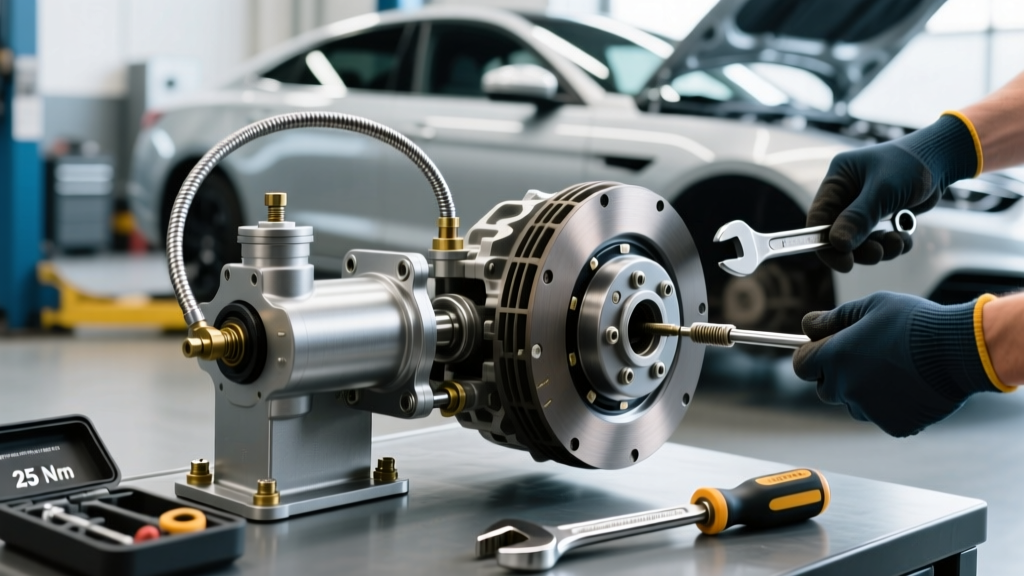
The hydraulic clutch system is a closed-loop marvel of fluid dynamics, translating pedal effort into hundreds of pounds of clamping force at the pressure plate. However, when clutch disengagement fails or the pedal feels abnormal, technicians and DIYers often rush to replace the slave cylinder. This is a costly misdiagnosis in nearly 40% of cases. Frequently, the root cause is a clutch master cylinder stuck in its bore, creating a chain reaction that destroys downstream components. In this comprehensive 2026 diagnostic guide, we will bridge the gap between symptom diagnosis and precise clutch slave cylinder replacement and repair, ensuring you fix the root cause, not just the casualty.
Fluid Chemistry: Why the Master Cylinder Gets Stuck
Before turning a wrench, you must understand why a master cylinder seizes. Clutch hydraulics rely on EPDM (Ethylene Propylene Diene Monomer) rubber seals. These seals are engineered exclusively for glycol-based fluids (DOT 3, DOT 4, DOT 5.1). If a previous owner or careless technician topped off the reservoir with DOT 5 (silicone-based), mineral oil, or petroleum-based assembly lube, the EPDM seals will absorb the foreign hydrocarbons, swell, and bind tightly to the aluminum or cast-iron bore.
Additionally, glycol fluids are hygroscopic. Over 5 to 7 years, moisture contamination leads to internal bore pitting and corrosion. When the primary seal encounters this pitted surface, it can catch and stick, preventing the piston from fully retracting when the pedal is released.
The Chain Reaction: Residual Pressure and Slave Destruction
When the clutch pedal is released, the master cylinder piston must retract past the compensating port to relieve system pressure. If the clutch master cylinder stuck condition prevents this retraction, the compensating port remains blocked. As the fluid heats up from engine bay radiation and exhaust proximity, it expands. With nowhere to go, this expansion generates 15 to 40 PSI of residual line pressure.
This constant, low-level pressure pushes the slave cylinder piston outward against the clutch fork or pressure plate fingers. Over hundreds of heat cycles, the slave cylinder's internal seal rides past its safe travel limit, the dust boot fills with weeping fluid, and the slave eventually blows out. If you replace the slave without addressing the stuck master, the new slave will fail within 500 miles.
Diagnostic Matrix: Stuck Master vs. Blown Slave
Use this diagnostic matrix to isolate the fault before ordering parts. According to Transmission Digest, misinterpreting pedal feedback is the leading cause of unnecessary transmission removals.
| Symptom / Test | Master Cylinder Stuck (Residual Pressure) | Slave Cylinder Blown / Bypassing |
|---|---|---|
| Pedal Feel | Spongy initially, then hard; slow return to top stop. | Consistently spongy; pedal drops to the floorboard under load. |
| Fluid Level | Reservoir remains full; fluid found inside slave dust boot. | Reservoir is low; visible fluid weeping from bellhousing inspection cover. |
| Clutch Engagement | Grinding into reverse; difficulty finding neutral at stoplights. | Inability to disengage; vehicle creeps forward with clutch depressed. |
| Line Pressure Test (Resting) | Holds 10-40 PSI with pedal fully released. | 0 PSI at rest; pressure drops rapidly when pedal is held down. |
Mandatory Pre-Repair Verification
CRITICAL WARNING: Never drop the transmission or replace the slave cylinder until you have verified the master cylinder's compensating port is clear. Crack the bleeder screw on the slave cylinder with the pedal fully released. If fluid shoots out under pressure, the master cylinder is stuck or the pushrod adjustment is too tight. Replace or rebuild the master cylinder first.
Clutch Slave Cylinder Replacement & Repair Procedures
Once the master cylinder is verified or replaced, you can proceed with the clutch slave cylinder replacement and repair. Procedures vary drastically depending on whether your vehicle utilizes an external slave or a Concentric Slave Cylinder (CSC).
External Slave Cylinder (e.g., GM NV3500 / Tremec T56 Magnum)
External slaves are mounted to the outside of the bellhousing and actuate a clutch fork. They are common in GM trucks (NV3500, NV4500) and performance applications (Tremec T56, T56 Magnum).
- Part Selection: For GM applications, the Sachs SH5012 or LuK LSC series (approx. $45–$85 via RockAuto) are OEM-equivalent benchmarks.
- Removal: Remove the two 13mm mounting bolts. Disconnect the 5/16" SAE J2044 quick-connect hydraulic line using a dedicated disconnect tool (e.g., Lisle 39960) to avoid snapping the fragile plastic retaining clips.
- Pushrod Inspection: Inspect the slave pushrod tip and the clutch fork dimple. If the dimple is worn deeper than 2mm, the fork must be replaced, or the new slave will suffer premature ball-socket wear.
- Installation & Torque: Mount the new slave cylinder. Torque the M8 mounting bolts to 18 lb-ft (25 Nm). Reconnect the hydraulic line until it clicks twice.
Concentric Slave Cylinder (CSC) Overhaul (e.g., Ford ZF S6-650 / GM Duramax)
Modern heavy-duty and European vehicles use a CSC, which slides over the transmission input shaft and eliminates the clutch fork. This requires transmission removal. As noted in Schaeffler (LuK) Technical Service Bulletins, improper CSC handling is the #1 cause of immediate post-repair failure.
- Part Selection: For the Ford 6.0L/6.4L PowerStroke with the ZF S6-650, the LuK 510 0118 10 is the definitive OEM part ($160–$220).
- The Golden Rule of CSCs: NEVER attempt to compress a new, self-adjusting CSC by hand or with a zip-tie before installation. The internal plastic shipping lock is designed to break automatically upon first pedal actuation. Pre-compressing it will ruin the internal ratchet mechanism.
- Installation: Slide the CSC over the input shaft spline. Align the mounting tabs with the bellhousing. Torque the M8x1.25 flange bolts to 15 Nm (11 lb-ft) in a star pattern. Over-torquing will distort the plastic housing and cause internal seal binding.
- Line Connection: The hydraulic line routes through the bellhousing. Ensure the rubber grommet is fully seated in the bellhousing aperture to prevent exhaust heat from melting the hydraulic line.
Advanced Bleeding & Fluid Specifications for 2026
Gravity bleeding is obsolete for modern clutch hydraulics, particularly for CSCs where the bleeder screw sits at a complex angle, trapping micro-bubbles in the master circuit.
Fluid Selection
Always use the fluid specified on the reservoir cap. For high-performance or heavy-duty towing applications in 2026, upgrading to a high-quality DOT 4 (like Motul RBF 600 or Castrol SRF) is recommended. These fluids offer a dry boiling point of 325°C (617°F), preventing vapor lock during aggressive driving or heavy towing in mountainous terrain. Never mix DOT 4 with DOT 5 silicone fluid.
Pressure Bleeding Protocol
- Connect a pressure bleeder (e.g., Motive Products 0109) to the master cylinder reservoir and pressurize to 15 PSI. Do not exceed 20 PSI, or you risk blowing the reservoir diaphragm.
- Open the slave cylinder bleeder screw. Allow fluid to flow until it is completely free of micro-bubbles (usually 1 to 1.5 quarts of fluid).
- Close the bleeder screw and disconnect the pressure bleeder.
- Pump the clutch pedal 30 times by hand. This sets the internal ratchet on a CSC and ensures the master cylinder piston is fully seated.
- Verify pedal firmness. The engagement point should be consistent and sit roughly 1 to 2 inches off the floorboard.
By understanding the hydraulic relationship between the master and slave circuits, you avoid the trap of replacing a blown slave only to have it fail again. Proper diagnosis of a stuck master cylinder, combined with precise torque specs and bleeding protocols during slave replacement, guarantees a clutch system that performs flawlessly for the next 100,000 miles.