In modern automotive engineering, the hydraulic clutch actuation system is a masterclass in fluid dynamics and mechanical precision. Whether you are maintaining a classic Tremec T56 Magnum or servicing the automated manual transmission (AMT) variants found in late-model commercial chassis, the hydraulic circuit remains the critical link between driver intent and clutch engagement. While most technicians immediately look at the slave cylinder or the pedal box when diagnosing shifting issues, the true diagnostic window into the health of the system is often overlooked: the clutch reservoir.
As we navigate the 2026 automotive landscape, where DOT 4 and DOT 5.1 low-viscosity fluids are standard for rapid engagement, understanding how to read clutch master cylinder symptoms via the clutch reservoir is an essential diagnostic skill. This technical deep-dive will explore the internal mechanics of the master cylinder, how failures manifest at the reservoir, and the precise steps required to verify and rectify these faults.
The Hydraulic Link: Master Cylinder and Reservoir Dynamics
To accurately diagnose clutch master cylinder symptoms, one must first understand the fluid exchange between the cylinder bore and the clutch reservoir. The master cylinder relies on a compensation port (or bypass port) that connects the reservoir to the primary pressure chamber. When the clutch pedal is fully released, the piston retracts past this port, allowing fluid to freely move between the reservoir and the hydraulic line. This equalizes pressure, accommodates thermal expansion of the fluid, and compensates for clutch disc wear by allowing the slave cylinder to self-adjust its resting position.
When the primary or secondary internal cups (usually manufactured from EPDM rubber) begin to degrade, or when the compensation port becomes obstructed, the fluid dynamics change drastically. These internal failures do not always result in external puddles on the garage floor. Instead, they broadcast their distress directly into the clutch reservoir.
Top 5 Clutch Master Cylinder Symptoms Visible at the Reservoir
1. Unexplained Fluid Drop Without External Leaks
If the clutch reservoir fluid level is dropping, but the firewall, bellhousing, and slave cylinder are bone dry, the master cylinder is likely suffering from an internal secondary cup bypass. In this failure mode, pressurized fluid slips past the rear seal and is directed into the brake booster vacuum hose (if the reservoir is shared) or weeps invisibly down the interior side of the firewall insulation. Because the fluid is not hitting the ground, the reservoir level acts as the only measurable indicator of this catastrophic seal failure.
2. Dark, Contaminated Fluid and EPDM Degradation
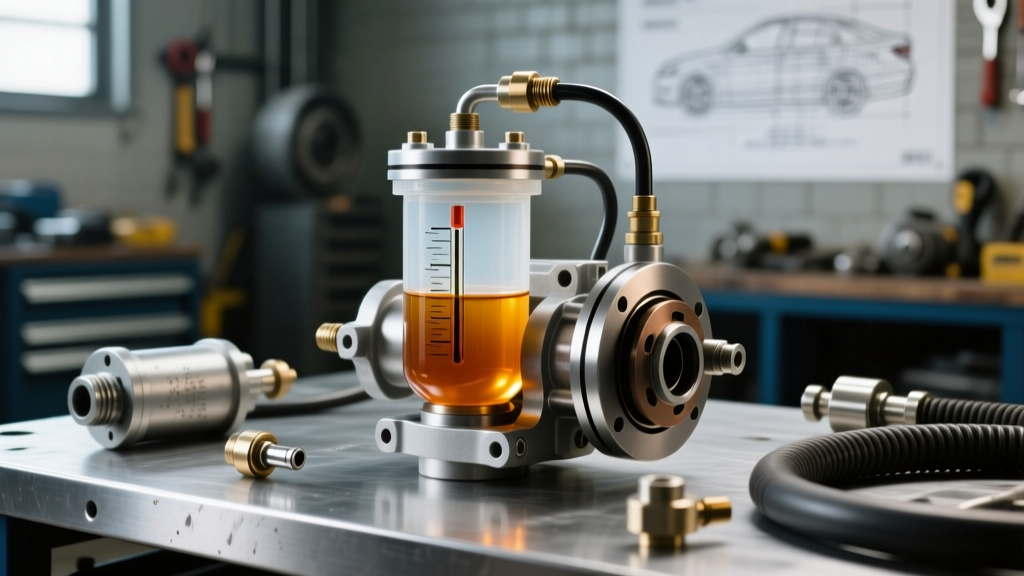
Hydraulic clutch fluid should be clear to pale amber. If you open the clutch reservoir and find black, sludgy fluid or suspended particulate matter, you are witnessing the chemical breakdown of the master cylinder's internal rubber components. Using incompatible fluids (such as petroleum-based assembly lubes or incorrect DOT 5 silicone fluids in a DOT 3/4 system) causes the EPDM cups to swell, blister, and eventually disintegrate. The black debris in the reservoir is literally the master cylinder destroying itself from the inside out, which will inevitably score the aluminum or cast-iron bore.
3. Reservoir Cap Vacuum Lock and Diaphragm Failure
The clutch reservoir cap features a flexible rubber diaphragm designed to collapse as fluid leaves the reservoir, preventing air and moisture ingress. If this diaphragm hardens or the cap's atmospheric vent clogs, a vacuum forms inside the reservoir as the master cylinder draws fluid. This vacuum restricts the gravity-fed flow of fluid into the master cylinder bore during rapid pedal releases, leading to a spongy pedal, delayed clutch engagement, and eventual cavitation inside the hydraulic line.
4. Fluid Pushback and Overflow During Engagement
When you depress the clutch pedal, the fluid should remain in the system. If you observe fluid violently erupting or 'geysering' back into the clutch reservoir upon pedal application, the master cylinder's compensation port is blocked. This blockage is often caused by a swollen primary cup covering the port even when the pedal is at rest, or by debris lodged in the port itself. This symptom is highly dangerous, as it prevents hydraulic pressure from fully releasing, causing the clutch to drag and leading to severe transmission synchronizer damage during shifts.
5. Micro-Bubbles and Aeration
If the clutch reservoir is full but filled with micro-bubbles that do not dissipate, the master cylinder's front pushrod seal is compromised. As the piston retracts, it draws air past the failing pushrod seal instead of pulling fresh fluid from the reservoir. This aeration results in a highly compressible hydraulic column, manifesting as a 'mushy' pedal feel that no amount of standard slave-cylinder bleeding will resolve.
Diagnostic Data Table: Reservoir Clues vs. Master Cylinder Failures
| Reservoir Observation | Probable Master Cylinder Fault | Corrective Action | Est. Part Cost (2026) |
|---|---|---|---|
| Fluid dropping, no external leaks | Secondary cup internal bypass | Replace master cylinder; flush shared brake system if applicable | $90 - $180 |
| Black sludge / rubber particulates | EPDM seal degradation / bore scoring | Replace MC, flush lines, replace slave cylinder | $120 - $250 |
| Fluid geysering on pedal press | Blocked compensation port / swollen primary cup | Replace MC; verify pushrod free-play adjustment | $90 - $180 |
| Micro-bubbles / aeration | Failing pushrod atmospheric seal | Replace MC; perform vacuum bleed at slave | $100 - $210 |
| Collapsed cap diaphragm | Vacuum lock (Cap/Reservoir issue, not MC) | Replace reservoir cap or entire reservoir assembly | $15 - $45 |
Step-by-Step Technical Diagnosis and Replacement Protocol
Diagnosing these clutch master cylinder symptoms requires more than a visual inspection. Follow this professional protocol to verify the fault and execute a flawless replacement.
Verifying the Compensation Port
Before condemning the master cylinder, verify the pushrod free-play. If the pedal lacks 1/8 to 1/4 inch of free-play, the pushrod is holding the piston slightly forward, covering the compensation port and causing the 'geyser' effect in the clutch reservoir. Adjust the pedal pushrod or firewall spacers before replacing parts.
Bench Bleeding and Installation Torque Specifications
When installing a high-quality OEM-equivalent replacement—such as an FTE KG19010.0.1 or a LuK LMC361 master cylinder—bench bleeding is mandatory to prevent trapping air in the primary chamber. Clamp the unit in a vise, fill the integrated or remote clutch reservoir with fresh DOT 4 fluid, and cycle the piston with a blunt tool until no bubbles emerge from the outlet port.
Expert Warning: Never reuse the old hydraulic line flare nut if the threads show any sign of cross-threading or corrosion. Aluminum master cylinder bodies are highly susceptible to thread stripping, which will result in a catastrophic pressure loss under load.
Adhere strictly to the following torque specifications during installation to prevent firewall flex and hydraulic leaks:
- Firewall Mounting Nuts (M8 hardware): 18 Nm (13 lb-ft). Over-torquing will distort the firewall and bind the master cylinder piston.
- Hydraulic Line Flare Nut (M10x1.0 or 3/8-24 UNF): 14 to 17 Nm (10 to 12 lb-ft). Use a crowfoot wrench and a calibrated torque wrench.
- Pushrod Clevis Pin / Retaining Clip: Ensure the clevis pin slides freely without binding; apply a light film of silicone grease to the pivot points.
Fluid Selection and System Longevity
The longevity of your new master cylinder is directly tied to the fluid residing in the clutch reservoir. According to the Federal Motor Vehicle Safety Standard (FMVSS) 116, DOT 3, DOT 4, and DOT 5.1 fluids are glycol-based and highly hygroscopic. They absorb moisture from the atmosphere through the microscopic pores of the flexible rubber hoses and the reservoir cap vent.
As moisture content rises, the fluid's boiling point drops, and its corrosive properties accelerate the pitting of the master cylinder's bore. To maintain optimal clutch hydraulics, perform a complete system flush every 24 months using a low-viscosity DOT 4 or DOT 5.1 fluid, which is specifically engineered for the rapid valve response times required by modern automated manual transmissions and performance clutch setups.
Conclusion
The clutch reservoir is far more than a simple fluid storage vessel; it is a real-time telemetry gauge for the entire hydraulic actuation system. By learning to interpret the visual and physical clues left in the reservoir, technicians and enthusiasts can accurately diagnose clutch master cylinder symptoms before they lead to stranded vehicles or destroyed transmission synchronizers. Whether you are sourcing parts from industry leaders like FTE Automotive or utilizing the technical diagnostic guides provided by Schaeffler's REPXPERT portal, prioritizing hydraulic health ensures crisp, reliable clutch engagement for the life of the drivetrain.