Rebuilding a locking differential requires precision, specialized tooling, and a deep understanding of gear geometry. Whether you are restoring a classic truck or upgrading a daily-driven SUV, the margin for error is measured in thousandths of an inch. In this comprehensive guide, we will use the ubiquitous GM 8.5-inch 10-bolt axle equipped with an Eaton G80 automatic locker as our benchmark case study. By the end of this article, you will have a complete blueprint for differential rebuild procedures, from teardown to final fluid fill.
The Core Mechanism: How Does a Locking Differential Work?
When enthusiasts and mechanics ask, 'how does a locking differential work?', the answer depends on the specific locker type. Unlike an open differential that routes power to the path of least resistance (the spinning wheel), a locking differential forces both axle shafts to rotate at the exact same speed, regardless of traction.
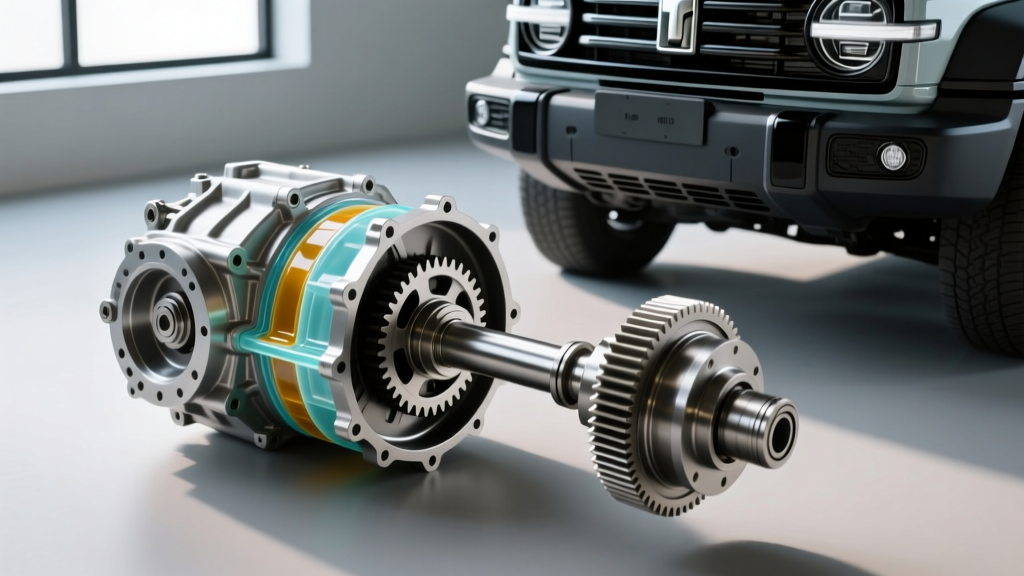
In the case of the Eaton G80 automatic locker, the mechanism relies on a flyweight governor. When one wheel spins faster than the other by a predetermined threshold (typically 100-150 RPM), centrifugal force throws a weighted latch outward. This latch catches a self-energizing clutch pack, which instantly locks the side gears to the differential case, delivering 100% torque to both wheels. Manual lockers (like the Detroit Locker) use spring-loaded cam plates and teeth that ratchet under load, while selectable pneumatic/electric lockers use physical dog clutches actuated by an external switch.
Tools and Bill of Materials for Differential Rebuild Procedures
Before unbolting the differential cover, gather your materials. As of 2026, sourcing high-quality Timken or SKF bearings is critical, as cheap offshore bearing kits frequently suffer from premature spalling and cage failure.
| Component | Specification / Part Number | Est. Cost (2026) |
|---|---|---|
| Master Rebuild Kit (Timken) | Set 10 / Set 34 (Axle Dependent) | $140 - $185 |
| Locker Assembly (Eaton G80) | GM 19638194 / Eaton 19645-010 | $450 - $600 |
| Ring Gear Bolts (Grade 8) | 7/16-20 Left-Hand Thread | $25 - $40 |
| Gear Marking Compound | Yellow Zinc Oxide Paste | $15 |
| Threadlocker (High Strength) | Loctite 271 (Red) | $12 |
Required Specialty Tools: Dial indicator with magnetic base, inch-pound beam-style torque wrench, foot-pound torque wrench, hydraulic press, bearing puller set, and a 1-inch drive socket for the pinion nut.
Step-by-Step Differential Rebuild Procedures
Step 1: Teardown and Case Inspection
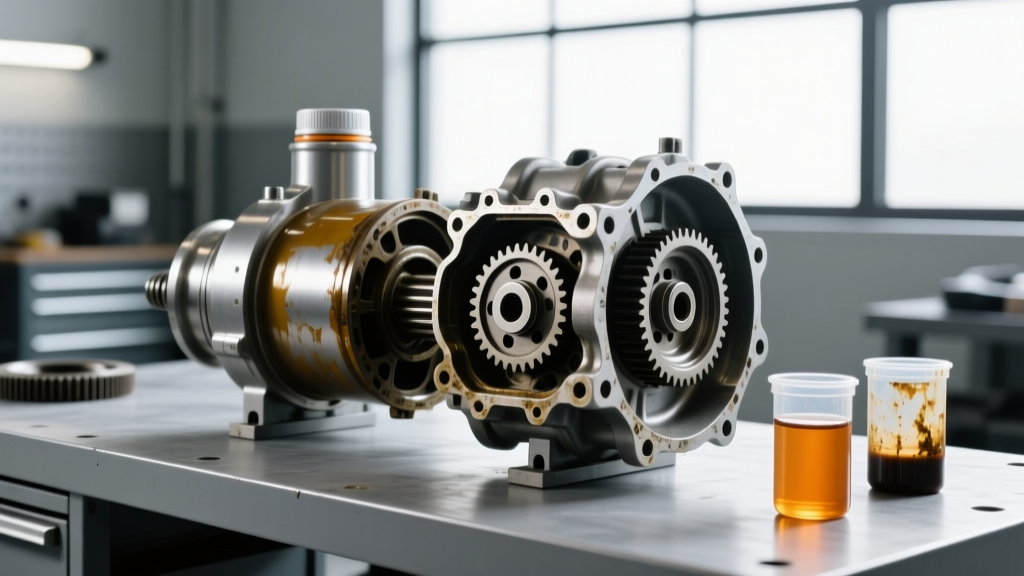
Begin by draining the axle fluid and removing the differential cover. Before removing the bearing caps, you must mark them. Bearing caps are line-bored at the factory with the housing. Mixing them up or installing them backward will result in severe bearing bind and immediate failure. Use a steel stamp to mark the caps and their corresponding sides.
Remove the pinion nut using a 1-inch drive impact wrench. Note that the pinion nut is torqued to roughly 250-300 lb-ft to crush the pinion crush sleeve. Extract the pinion gear from the housing. Next, remove the carrier bearing cap bolts (typically torqued to 60-70 lb-ft) and lift the differential case out of the axle housing.
Step 2: Pinion Gear and Bearing Replacement
Press the old inner pinion bearing off the pinion gear shaft. Clean the pinion shaft meticulously. If your rebuild kit includes a new pinion depth shim, install it now. The pinion depth is determined by the number stamped on the head of the pinion gear (e.g., +2 or -1). This number indicates the deviation from the nominal centerline in thousandths of an inch. Press the new inner Timken bearing onto the pinion shaft until it seats fully against the shim and gear head.
Step 3: Setting Pinion Depth and Preload
Install the pinion gear into the housing, followed by the outer pinion bearing, seal, and yoke. Install a new crush sleeve. This is a non-reusable component designed to deform and create bearing preload.
Thread on the new pinion nut. Using your inch-pound torque wrench on the yoke, tighten the pinion nut in small increments while measuring the rotating torque. For new bearings, the target pinion bearing preload is typically 15 to 25 inch-pounds of rotating resistance. If you overshoot the preload, you must replace the crush sleeve and start over; never back off the pinion nut to reduce preload, as this compromises the locking mechanism of the nut.
Step 4: Installing the Locker and Ring Gear
Thoroughly clean the mating surfaces of the differential case and the ring gear with brake cleaner. Any oil or debris here will cause the ring gear to warp under load, leading to catastrophic tooth shearing. Apply a thin bead of Loctite 271 to the new ring gear bolts.
Bolt the ring gear to the locker assembly in a crisscross pattern. Torque the bolts to the manufacturer's specification (usually 70 to 85 lb-ft for a 10-bolt axle). Press the carrier bearings onto the locker assembly using a hydraulic press, ensuring you only apply pressure to the inner bearing race to avoid destroying the bearing rollers.
Step 5: Setting Backlash and Gear Pattern
Drop the locker assembly into the housing and reinstall the marked bearing caps. Torque the cap bolts to 60 lb-ft. Mount your dial indicator to the housing and position the probe perpendicular to a ring gear tooth.
Move the ring gear back and forth while holding the pinion stationary. You are measuring backlash. The target specification for most street-driven axles is between 0.006" and 0.010". Adjust the side bearing adjusters (or swap shims on shim-adjusted axles like the Dana 44) until backlash is within spec and the carrier has zero lateral play.
Finally, apply yellow gear marking compound to three or four ring gear teeth on both the drive and coast sides. Rotate the pinion against the drag of the ring gear to print the pattern. You are looking for a centered pattern that is slightly biased toward the heel under load. If the pattern is too high on the tooth (face), move the pinion deeper into the housing. If it is too low (flank), move the pinion away.
Fluid Fill: Selecting the Right Gear Oil for Lockers
A critical aspect of differential rebuild procedures is selecting the correct fluid. A common and costly mistake is treating a locking differential like a limited-slip differential (LSD).
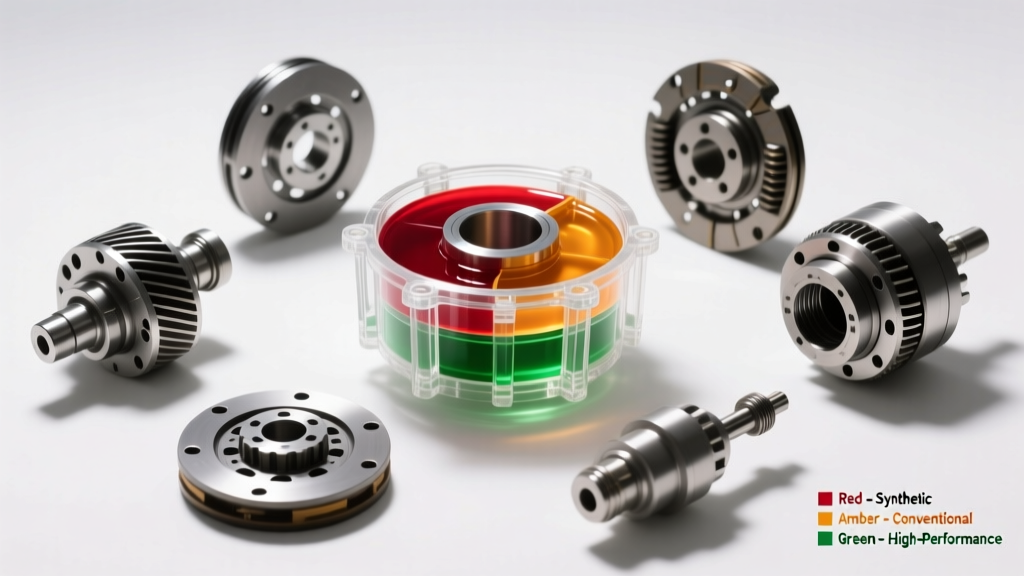
Expert Warning: Never add friction modifier to a mechanical locking differential (such as a Detroit Locker, Spartan, or Eaton G80). Friction modifiers are designed to help clutch packs in LSDs slip smoothly during cornering. In a locker, friction modifier will coat the dog teeth and flyweights, causing delayed engagement, slippage under heavy load, and eventual internal destruction.
For 2026 rebuilds, we recommend a high-quality, full-synthetic 75W-90 GL-5 gear oil, such as Mobil 1 Synthetic Gear Lube or Amsoil Severe Gear. GL-5 contains the necessary extreme pressure (EP) sulfur-phosphorus additives to protect the hypoid ring and pinion gears from wiping under high sliding friction. The fluid capacity for a standard GM 10-bolt is approximately 2.1 quarts. Fill until the fluid reaches the bottom of the fill hole, then reinstall the plug with a fresh crush washer or RTV silicone.
Common Rebuild Mistakes and Failure Modes
- Reusing the Crush Sleeve: This guarantees pinion bearing looseness, leading to pinion seal leaks and eventual ring/pinion destruction due to erratic gear mesh.
- Ignoring the Break-in Period: New ring and pinion gears generate immense heat during the first 500 miles. Fail to change the fluid after the break-in period, and the metallic particulate will embed into the soft babbitt material of the carrier bearings.
- Over-torquing Ring Gear Bolts: Stretching Grade 8 bolts past their yield point compromises the clamping force, allowing the ring gear to walk off the locker case under high-torque loads.
Mastering differential rebuild procedures takes patience and an adherence to exact measurements. By understanding how a locking differential works and respecting the precise tolerances of hypoid gear sets, you can build an axle assembly that delivers relentless traction and decades of reliable service.