Understanding Limp Mode and the Gear Position Sensor
When your vehicle suddenly loses shifting capability, locks into a single gear (usually 2nd or 3rd), and restricts engine RPMs, it has entered "limp mode." This failsafe state is triggered by the Transmission Control Module (TCM) when it detects a critical fault that could damage the drivetrain or compromise safety. One of the most frequent culprits behind this scenario is a failing transmission gear position sensor—commonly referred to as the Transmission Range (TR) sensor, PRNDL switch, or neutral safety switch.
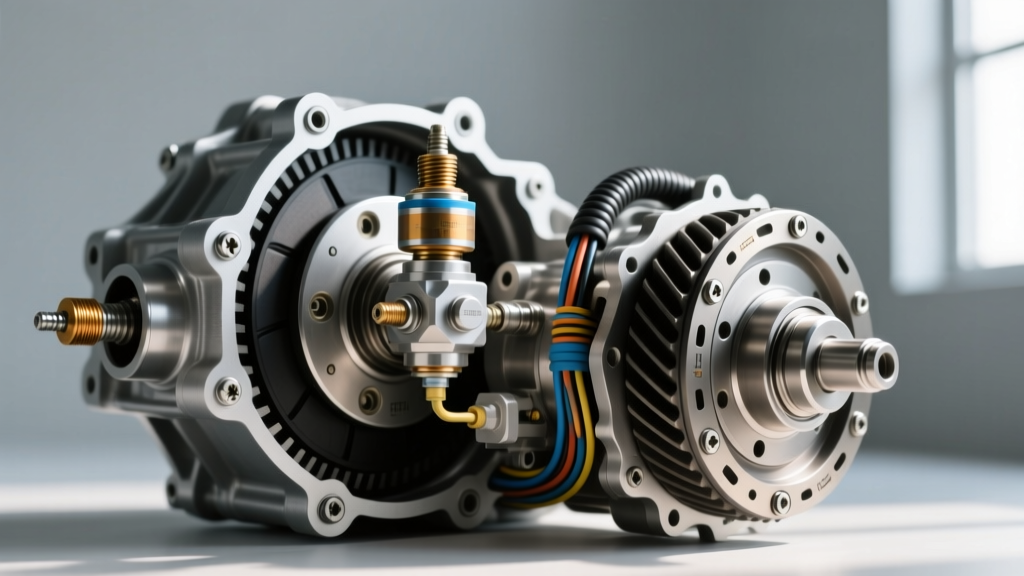
The transmission gear position sensor informs the TCM and Powertrain Control Module (PCM) about the exact physical position of the shift lever. If the TCM receives an irrational signal, a voltage drop-out, or conflicting data between the gear selector and the input/output speed sensors, it will immediately command limp mode to prevent catastrophic clutch pack failure or unintended vehicle movement.
This step-by-step guide will walk you through professionally diagnosing transmission limp mode faults related to the gear position sensor, covering everything from OBD2 data analysis to multimeter pinout testing and component replacement.
Step 1: OBD2 Code Retrieval and TCM Data Analysis
Before turning a single wrench, you must interrogate the TCM. A generic code reader is often insufficient; you need a bi-directional scan tool (such as an Autel MaxiSys or Snap-on Zeus) capable of reading manufacturer-specific TCM data Parameter IDs (PIDs).
Common Gear Position Sensor DTCs
- P0705: Transmission Range Sensor Circuit Malfunction (General circuit failure).
- P0706: Transmission Range Sensor Circuit Range/Performance (Sensor is reading out of expected parameters).
- P0707: Transmission Range Sensor Circuit Low Input (Short to ground).
- P0708: Transmission Range Sensor Circuit High Input (Short to power or open circuit).
- P0709: Transmission Range Sensor Circuit Intermittent (Often caused by wiring chafing or loose connectors).
According to OBD-Codes.com, a P0705 code doesn't automatically condemn the sensor. You must view the live data stream. Navigate to the TCM data PIDs and locate "Gear Commanded" versus "Actual Gear" and "TR Sensor Voltage." Slowly move the shift lever through the PRNDL detents. The voltage should step down or up in a precise ladder pattern. If the voltage skips, drops to zero, or fluctuates wildly between detents, you have isolated the electrical fault to the sensor circuit or the sensor itself.
Step 2: Mechanical Linkage and Shift Cable Inspection
A massive percentage of "sensor failures" are actually mechanical linkage issues. The transmission gear position sensor only reads the position of the transmission shift shaft, not the shifter inside the cabin. If the shift cable stretches, or the shift linkage bushing degrades, the cabin shifter will indicate "Drive," but the transmission shift shaft will physically rest between "Neutral" and "Drive."
Pro-Tip: On GM Silverado/Sierra trucks (4L60E/6L80) and Ford F-150s (6R80), the plastic shift cable bushing at the transmission shift lever is notorious for crumbling. This causes the cable to pop off or bind, triggering a P0706 code and immediate limp mode. Always inspect the mechanical linkage before condemning the electrical sensor.
Inspection Procedure:
- Place wheel chocks and ensure the parking brake is engaged.
- Crawl under the vehicle and locate the shift lever on the transmission case.
- Have an assistant move the cabin shifter through all gears while you observe the transmission shift shaft detents.
- Verify that the mechanical detents perfectly align with the cabin shifter positions. If there is slop, replace the shift cable bushing (often a $15 fix) or adjust the cable tension.
Step 3: Electrical Pinout and Multimeter Testing
If the mechanical linkage is tight and the scan tool shows erratic voltage, it is time to test the transmission gear position sensor with a high-impedance Digital Multimeter (DMM). External TR sensors typically use a 3-wire or 4-wire multiplex circuit, while newer internal sensors use digital CAN-bus communication.
Testing an External 3-Wire TR Sensor (e.g., Ford 6R80, GM 4L60E)
- Identify the Pinout: You will typically have a 5-Volt Reference (VREF) from the PCM, a Signal Return wire, and a Chassis Ground.
- Back-Probe the Connector: Do not pierce the wire insulation, as this invites corrosion. Use fine back-probe pins to access the terminals while the connector is plugged in and the ignition is in the "ON" position (engine off).
- Measure VREF: Verify you have a steady 4.8V to 5.2V on the reference wire. If VREF is missing, the issue is a broken wire between the PCM and the sensor, or a blown PCM driver.
- Sweep the Signal: Connect your DMM to the Signal Return wire. Have an assistant slowly move the shifter. You should see a smooth voltage transition. For example, Park might read 4.2V, Reverse 3.1V, Neutral 2.4V, and Drive 1.5V. Any sudden drop to 0V or spike to 5V indicates a dead spot on the sensor's internal carbon track or Hall-effect circuit.
Step 4: Component Replacement and Calibration Procedures
Replacing the transmission gear position sensor varies wildly depending on whether your transmission utilizes an external switch or an internal mechatronic/TEHCM unit.
Scenario A: External Sensor Replacement (Ford 6R80 / GM 4L60E)
External sensors are mounted on the side of the transmission case or the shift shaft. For the Ford 6R80, the TR sensor (Motorcraft part # SW-7189 / Ford # AL3Z-7F247-A) costs approximately $65.
- Removal: Disconnect the battery. Unbolt the shift lever nut (15 Nm). Remove the two sensor mounting bolts.
- Alignment: The new sensor will have alignment marks (usually small notches or lines) that must perfectly match the neutral alignment mark on the transmission case shaft. If misaligned, the vehicle will throw a P0706 code immediately upon startup.
- Torque Spec: Tighten the sensor mounting bolts to exactly 8 Nm (71 lb-in). Overtightening will crack the plastic sensor housing.
Scenario B: Internal Sensor Failure (GM 6L80/6L90 & ZF 8HP)
Modern transmissions have eliminated external switches to reduce failure points, integrating the gear position sensor directly into the internal control module.
- GM 6L80/6L90: The TR sensor is hardwired into the TEHCM (Transmission Electro-Hydraulic Control Module) located inside the transmission pan. You cannot replace just the sensor. You must replace the entire TEHCM assembly (ACDelco part # 24253824, costing $800–$1,200) and perform a J2534 security relearn and programming sequence using GM's SPS2 software.
- ZF 8HP (Chrysler 8-Speed, BMW, Audi): The gear position sensor is integrated into the ZF Mechatronic unit. As noted by transmission engineering experts at Sonnax, internal sensor faults in these units usually require a complete Mechatronic replacement or a specialized guide-sleeve connector repair if the fault is localized to the external chassis-to-mechatronic wiring sleeve.
DTC to Failure Mode Mapping & Cost Guide
| OBD2 Code | Primary Failure Mode | Typical Fix / Component | Est. DIY Part Cost |
|---|---|---|---|
| P0705 | Open circuit, corroded connector, or severed wiring harness. | Wiring repair or pigtail replacement. | $15 - $45 |
| P0706 | Mechanical misalignment, stretched cable, or worn internal carbon track. | Shift cable bushing or TR Sensor replacement. | $15 - $120 |
| P0707 | Signal wire shorted to chassis ground. | Locate chafed wire near transmission bellhousing. | $10 (Wire/Tape) |
| P0708 | 5V Reference shorted to 12V power or internal sensor open. | Sensor replacement or PCM diagnostics. | $65 - $1,200* |
*Note: Costs range from $65 for external switches (Ford 6R80) up to $1,200+ for internal TEHCM units (GM 6L80) requiring dealership-level programming.
Final Verification and Relearn
Once the transmission gear position sensor is replaced and torqued to spec, clear all DTCs. You must perform a TCM adaptation relearn. On most modern vehicles, this requires a bi-directional scan tool to command the "Transmission Range Sensor Learn" routine. The TCM will cycle the solenoids and map the exact voltage thresholds of the new sensor. Finally, perform a road test, monitoring the live data to ensure the "Actual Gear" PID matches the shift lever position perfectly through all ranges, confirming that limp mode has been successfully eradicated.