The Critical Role of Position Sensors in Modern Drivetrains
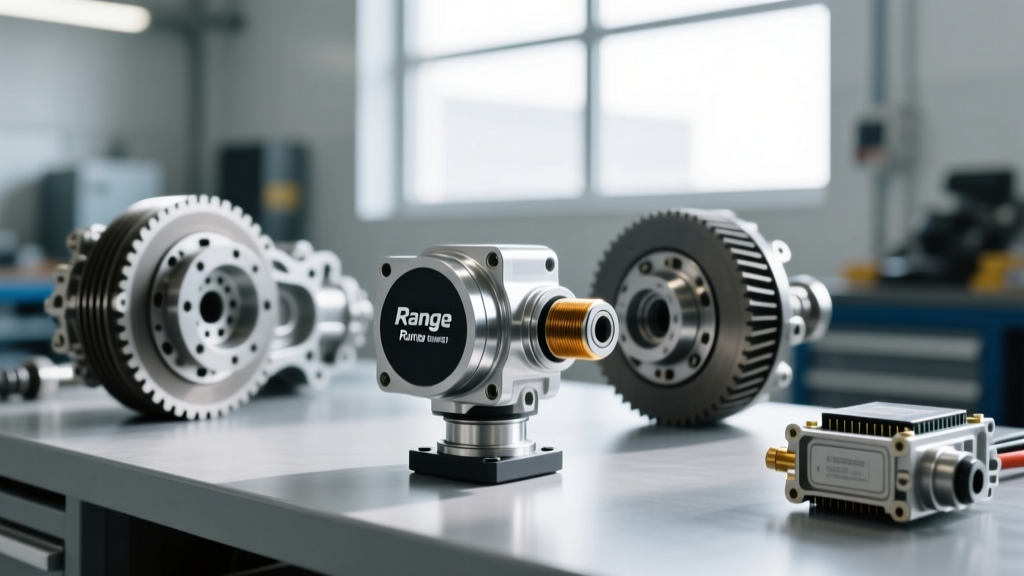
When discussing the complex network of transmission sensors, technicians often focus heavily on input and output speed sensors or fluid temperature thermistors. However, the Transmission Range (TR) sensor—commonly referred to as the Neutral Safety Switch, PRNDL switch, or Internal Mode Switch (IMS)—is arguably the most vital safety and operational gateway in the drivetrain. It dictates whether the engine can crank, engages the backup lights, and tells the Transmission Control Module (TCM) exactly which gear range the driver has selected.
A failing position sensor doesn't just cause a Check Engine Light; it can result in a no-crank condition, harsh shift engagements, or the transmission defaulting to limp mode (usually locking in 3rd or 4th gear). As an automotive transmission specialist, I have compiled this comprehensive guide on transmission position sensor replacement, focusing on real-world best practices, exact torque specifications, and the critical alignment procedures that separate a successful repair from a comeback.
Diagnostic Best Practices: Confirming the Failure
Before tearing into the transmission pan or dropping the exhaust to reach an external sensor, verify the fault. A common diagnostic trouble code (DTC) is P0705 (Transmission Range Sensor Circuit Malfunction). However, a code does not automatically condemn the sensor. Shift linkage binding, corroded harness connectors, and TCM software glitches can all mimic a failed TR sensor.
To properly diagnose a TR sensor, you need a digital multimeter (DMM) and a wiring diagram. The TCM typically supplies a 5-volt reference and a low-level ground. The signal return wire will show varying voltage or resistance depending on the gear selector position. For example, in Park, you might see 4.2V, dropping sequentially through Reverse, Neutral, and Drive. If your scan tool shows 'Invalid' or 'Error' for the gear position PID, but the 5V reference is present at the harness connector, the sensor's internal wiper track is likely worn or contaminated with metallic clutch material. Never pierce the wires to test; use a T-pin at the connector cavity to avoid creating a future corrosion point.
Application-Specific Replacement Procedures
Position sensors generally fall into two categories: external case-mounted switches and internal pan-mounted switches. The replacement strategy varies wildly between the two.
1. GM 6L80 / 6L90: Internal Mode Switch (IMS) Replacement
General Motors' ubiquitous 6-speed automatic uses an Internal Mode Switch located inside the transmission pan, directly over the manual shaft. The OEM replacement part is typically the ACDelco 24253134.
- Preparation: Drain the fluid. The 6L80 pan drop requires roughly 6.0 to 6.3 quarts of Dexron VI ATF. Inspect the pan magnets for excessive clutch debris, which can infiltrate the IMS seals.
- Disassembly: Remove the manual shaft retaining nut. Torque spec for reassembly: 18 lb-ft (24 Nm). Carefully unplug the IMS electrical connector. Do not pull on the wires; use a small pick to release the locking tab.
- Alignment: The new IMS must be aligned to the 'Neutral' position before sliding it over the manual shaft. Match the flat spots on the sensor's inner sleeve with the flats on the manual shaft. If forced out of alignment, you will shear the internal plastic wiper contacts immediately upon starting the vehicle.
- Reassembly: Reinstall the pan using a new gasket. Pan bolt torque spec is strictly 89 lb-in (10 Nm). Overtightening will warp the aluminum pan and cause persistent leaks.
2. Ford 6R80: External TR Sensor Alignment
Ford's 6R80 utilizes an external TR sensor (Motorcraft SW-7239) mounted on the side of the transmission case. While easier to access, it requires a precise mechanical alignment procedure.
- Vehicle State: The vehicle's shifter and the transmission manual lever must both be placed in the exact Neutral detent before removal.
- Removal: Remove the shift linkage, disconnect the electrical harness, and remove the two retaining bolts (torque spec: 89 lb-in).
- The Alignment Tool: The new sensor will feature a small alignment hole. You must insert a specific alignment pin (such as OTC tool 307-574) or a precision drill bit of the exact specified diameter through the sensor housing into the alignment hole on the transmission case. This locks the sensor's internal wiper in the Neutral position.
- Securing: Torque the retaining bolts to 89 lb-in, remove the alignment pin, and reinstall the linkage. If you skip the alignment pin step, the TCM will read the wrong gear, potentially allowing the engine to crank in Drive or Reverse.
Comparative Data: OEM Part Numbers and Torque Specifications
Reference this table for common applications encountered in the modern repair bay. Always verify with the specific VIN, as mid-year running changes are common in transmission electronics.
| Transmission Model | Sensor Type | OEM Part Number | Torque Spec (Mounting) | Avg. Dealer Cost |
|---|---|---|---|---|
| GM 6L80 / 6L90 | Internal Mode Switch (IMS) | ACDelco 24253134 | 18 lb-ft (Shaft Nut) | $140 - $180 |
| Ford 6R80 | External TR Sensor | Motorcraft SW-7239 | 89 lb-in (Bolts) | $85 - $120 |
| ZF 8HP (Chrysler/BMW) | Integrated Mechatronic | ZF 0501 216 251 | 8 Nm (Valve Body) | $800 - $1,200 |
| Toyota A750E | External Neutral Safety | Toyota 89250-60080 | 65 lb-in (Bolts) | $110 - $150 |
The ZF 8HP Exception: Integrated Mechatronics
In the 2026 service landscape, the ZF 8HP transmission (found in Chrysler, BMW, Audi, and Jaguar applications) represents a major shift in position sensor architecture. Unlike older designs with a standalone external switch, the ZF 8HP integrates the range sensor directly into the Mechatronic unit's conductor plate. If the TCM logs a range sensor fault, you cannot simply unbolt a cheap switch. You must address the valve body assembly.
Replacement requires dropping the transmission pan, removing the mechatronic securing bolts (torqued to exactly 8 Nm in a specific spiral sequence), and installing a new conductor plate or complete mechatronic unit. Crucially, the repair is not complete until a factory-level bi-directional scan tool is used to perform a 'Mechatronic Adaptation Reset.' Failing to run this software routine will result in harsh garage shifts and immediate limp-mode engagement. For deeper architectural insights, refer to the Transmission Digest Technical Archives.
Expert Pitfalls to Avoid
Even seasoned technicians make mistakes when rushing through transmission sensor replacements. Keep these best practices in mind:
- Dielectric Grease is Mandatory: Transmission engine bays and undercarriages are subjected to extreme thermal cycling and moisture. Apply a high-quality silicone dielectric grease to the sensor connector cavity to prevent micro-corrosion on the 5V reference pins.
- Never Pry the Sensor: Internal mode switches are made of high-temperature polymers. Prying them off the manual shaft with a screwdriver will crack the housing, leading to ATF ingress into the electronic wiper board.
- Clear the KAM: After replacing any critical transmission sensor, clear the Keep Alive Memory (KAM) in the TCM. This forces the module to relearn the base voltage parameters of the new sensor's wiper track.
- Check the Shift Cable: A stretched or binding shift cable will physically pull the manual shaft slightly out of the gear detent, causing the TR sensor to read a 'between-gear' state. Always verify cable tension before condemning the electronics.
Expert Insight: When dealing with intermittent P0706 (Transmission Range Sensor Circuit Range/Performance) codes, inspect the manual shaft for excessive end-play. Worn manual shaft bushings inside the transmission case allow the shaft to wobble, misaligning the sensor wiper track without any electrical fault being present. Mechanical wear often mimics electrical failure. Consult SAE International Automotive Standards for tolerancing guidelines on shaft end-play.
Final Thoughts on Drivetrain Electronics
Replacing a transmission position sensor is rarely as simple as 'unbolt and swap.' It requires a methodical approach to diagnostics, strict adherence to torque specifications, and a deep understanding of mechanical alignment. By treating the TR sensor as a precision calibration device rather than a simple on/off switch, you ensure reliable starting, seamless shift scheduling, and a satisfied customer. Always rely on OEM wiring diagrams and factory scan tools to validate your repair before returning the vehicle to the road.