The Anatomy of Tractor Drivetrain Vibration
When operating high-inertia implements like heavy-duty rotary cutters, commercial flail mowers, or large agricultural augers, drivetrain stress is immense. A common and highly destructive symptom in these setups is PTO (Power Take-Off) clutch chatter and severe harmonic vibration. Left unaddressed, this chatter accelerates wear on the transmission output shaft, destroys U-joints, and can ultimately crack the tractor's rear axle housing. To properly diagnose and upgrade these systems, technicians must first understand how to interpret a John Deere PTO clutch diagram, as the engagement mechanisms vary wildly between compact utility tractors and high-horsepower agricultural machines.
In this performance and upgrade guide, we break down the exact diagnostic protocols for both electromagnetic PTO clutches (common on the JD 1, 2, and 3 Series) and wet multi-plate PTO clutches (found on the 7R and 8R series). We will cover specific tolerance measurements, electrical diagnostics, and high-torque upgrade paths to eliminate chatter and maximize drivetrain longevity.
Interpreting the John Deere PTO Clutch Diagram
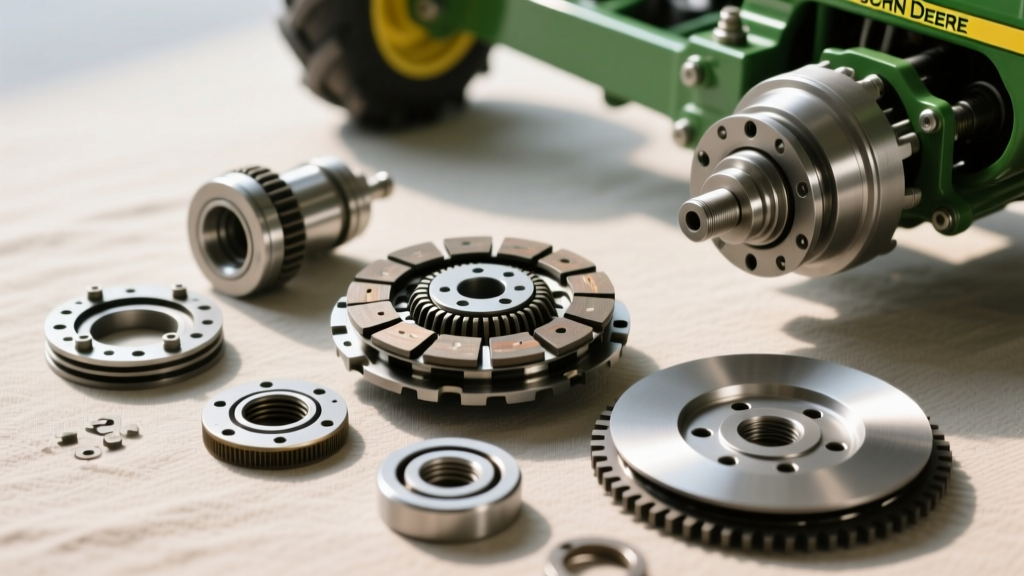
Before turning a wrench, you must map the system. A standard John Deere PTO clutch diagram for an electromagnetic system (such as those utilizing the OEM AM130353 or Warner Electric 5218-451-002 equivalents) reveals three primary sub-assemblies: the field coil (stator), the rotor, and the armature plate. Chatter in this system is almost always a failure of the magnetic circuit or a physical air-gap variance.
Electromagnetic vs. Wet Multi-Plate PTO Systems
- Electromagnetic PTO (Compact/Mid-Size Tractors): Relies on a 12V DC field coil to pull an armature plate against a rotating rotor. Chatter here is characterized by a rapid, high-frequency 'clicking' or grinding upon engagement, often accompanied by a burning ozone smell.
- Wet Multi-Plate PTO (Large Ag Tractors): Located inside the rear axle housing, bathed in Hy-Gard fluid. Engagement is modulated hydraulically via a PWM (Pulse Width Modulation) solenoid. Chatter presents as a deep, low-frequency shudder that vibrates the entire chassis when engaging heavy rear implements.
Root Causes of PTO Clutch Chatter and Vibration
Diagnosing chatter requires isolating the variable that is preventing uniform friction coupling. Below are the primary failure modes we see in performance landscaping and heavy-ag applications.
1. Electromagnetic Air Gap Degradation
As the friction surfaces of the rotor and armature wear, the physical distance between them (the air gap) increases. If the gap exceeds 0.030 inches, the magnetic field strength drops exponentially. The coil pulls the armature partially, but the rotational torque of the engine overcomes the weak magnetic bond, causing the armature to slip, snap back, and re-engage hundreds of times per second. This is the literal definition of electromagnetic chatter.
2. PWM Controller and Voltage Drop Failures
Modern John Deere tractors use a PWM controller to 'soft start' the PTO clutch, ramping up voltage to prevent shock-loading the drivetrain. If the PTO relay contacts pit, or if the wiring harness suffers from voltage drop, the clutch receives raw, unmodulated current or fluctuating amperage. This causes violent, instantaneous engagements that feel like severe drivetrain backlash or chatter. According to John Deere's official technical service bulletins, voltage drop at the clutch connector must not exceed 0.5V under load.
3. Wet Clutch Friction Glazing and Fluid Shear
On heavy agricultural models, the wet PTO clutch pack relies on specialized friction paper bonded to steel separator plates. When operators frequently 'slip' the PTO to start high-inertia implements, the friction material glazes. Furthermore, if the hydraulic fluid (e.g., John Deere Low Viscosity Hy-Gard) loses its friction-modifier additives due to thermal breakdown, the clutch plates will experience stick-slip friction, resulting in heavy chassis shudder.
Step-by-Step Chatter Diagnosis Protocol
Follow this systematic approach to isolate the chatter source. You will need a digital multimeter (DMM), a feeler gauge set, and a dial indicator.
Electromagnetic Clutch Diagnostics
- Resistance Test: Disconnect the clutch pigtail. Measure resistance across the coil terminals. A healthy JD/Warner coil should read between 2.2 and 3.8 ohms. A reading below 2.0 indicates shorted windings; above 5.0 indicates an open circuit.
- Voltage Drop Test: Reconnect the harness. Back-probe the connector with the DMM set to DC Volts. Engage the PTO. If battery voltage is 14.2V but the clutch sees only 12.5V, you have a 1.7V drop. Replace the PTO relay and clean the chassis grounds immediately.
- Air Gap Measurement: Insert a feeler gauge through the inspection slots or between the armature and rotor. Measure at three equidistant points. If the gap is uneven, the rotor is warped or the shaft bearing is failing.
Wet Multi-Plate Diagnostics
For rear-axle wet clutches, hook up a diagnostic pressure gauge to the PTO engagement test port. Command an engagement via the cab switch. The pressure should ramp smoothly from 0 to 250 PSI over 0.8 seconds. If the pressure spikes erratically or 'saws' up and down, the PWM solenoid valve is sticking, or the clutch accumulator spring has failed.
PTO Clutch Diagnostic Measurements & Tolerances
| Measurement Parameter | Specification / Tolerance | Failure Indicator (Chatter Risk) |
|---|---|---|
| Electromagnetic Air Gap | 0.015' - 0.020' | > 0.030' (Requires shimming or replacement) |
| Coil Resistance (12V Systems) | 2.2Ω - 3.8Ω | < 2.0Ω or > 5.0Ω |
| Rotor Axial Runout | < 0.005' TIR | > 0.008' (Causes cyclical rubbing/chatter) |
| Wet Clutch Engagement Pressure | 240 - 260 PSI (Max) | Erratic PWM solenoid pressure spikes |
| Voltage Drop (Under Load) | < 0.5V Drop | > 1.0V Drop (Insufficient magnetic clamping) |
Performance Upgrades for High-Torque Implements
If you are running extreme-duty implements—such as 15-foot heavy-duty batwing mowers or large agricultural post-hole diggers—the OEM clutch may simply be under-rated for the inertial shock load. Upgrading the drivetrain engagement system is critical to preventing catastrophic transmission failure.
Upgrading to High-Torque Electromagnetic Clutches
For compact and mid-size tractors, consider upgrading to heavy-duty aftermarket clutches engineered by manufacturers like Warner Electric or Ogura. These performance units feature higher-torque friction linings and upgraded field coils that generate up to 30% more clamping force. When upgrading, ensure the PTO shaft spline matches (typically 1-3/8' 6-spline for Category 1/2 tractors) and verify that the tractor's stator output can handle the slightly higher amperage draw (often jumping from 2.5A to 3.5A).
Heavy-Duty Wet Clutch Friction Materials
For large ag tractors experiencing wet clutch shudder, upgrading the friction material is the ultimate fix. While OEM paper-based friction discs (like JD Part # RE19628) are designed for smooth engagement and low noise, performance applications benefit from Kevlar-impregnated or sintered bronze friction plates. These materials resist thermal glazing up to 400°F and maintain a consistent coefficient of friction even when the Hy-Gard fluid degrades. Pair this with a high-capacity accumulator spring to increase the clamping force during initial engagement, effectively eliminating stick-slip chatter.
Expert Drivetrain Tip: Whenever you install a new electromagnetic PTO clutch or rebuild a wet clutch pack, a strict break-in procedure is mandatory. For electromagnetic clutches, perform 20 to 30 'dry' engagements (without the implement attached or with a very light load) to allow the machined steel surfaces to micro-polish and mate. Skipping this step will cause immediate localized hot-spotting, leading to permanent rotor warping and instant chatter.
When to Replace vs. Rebuild: Cost Analysis
Deciding between a rebuild and a full replacement depends on the extent of the thermal damage. If the armature plate on an electromagnetic clutch shows deep blue heat-stress marks, the metallurgy has been compromised. The steel has lost its temper and will no longer provide a consistent magnetic path. In this case, replacement is the only safe option. Expect to pay between $280 and $450 for a premium OEM or heavy-duty aftermarket electromagnetic clutch assembly.
For wet multi-plate systems, a full rear-axle teardown is labor-intensive (often 12-16 hours of shop time at $125/hr). If the steel separator plates are warped beyond 0.008 inches of runout, a simple friction disc swap will not solve the chatter. You must replace the entire clutch pack (friction and steel plates), which typically costs between $800 and $1,400 in parts alone. However, addressing the chatter early prevents the destruction of the tractor's main drive pinion gear, saving thousands in catastrophic drivetrain repairs.
By leveraging the correct John Deere PTO clutch diagram and adhering to strict diagnostic tolerances, you can eliminate drivetrain chatter, protect your transmission, and safely scale up to higher-torque performance implements.