Why Your Harley's Clutch Engagement Matters
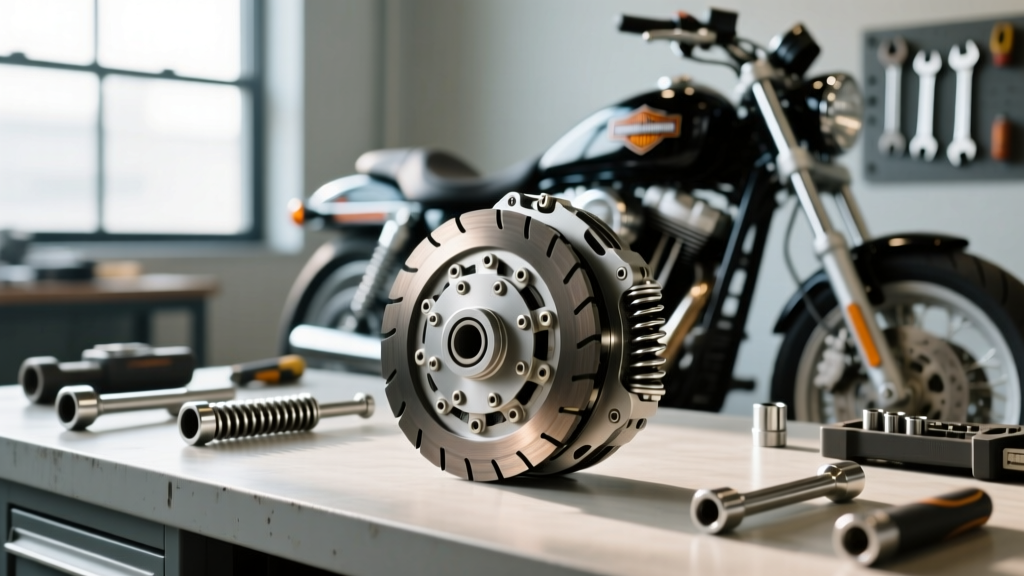
Riding a Harley-Davidson Big Twin or Milwaukee-Eight is all about low-end torque and highway rhythm. But when your clutch starts dragging at stoplights, clunking into first gear, or slipping under heavy acceleration, that rhythm is instantly broken. If you are a new owner or a weekend wrench wondering how to adjust clutch Harley Davidson systems, you have landed on the right guide. Clutch engagement and disengagement issues are among the most common complaints on models ranging from the older Twin Cam 88/103 to the modern Milwaukee-Eight 107, 114, and 121R engines.
Unlike many Japanese or European motorcycles that rely solely on a single cable or hydraulic master cylinder adjustment, Harley-Davidson manual transmissions require a precise two-step adjustment process. Failing to understand both the external cable tension and the internal primary chaincase release mechanism is the number one reason beginners end up with burnt clutch plates or snapped cables. In this beginner-friendly explainer, we will break down the exact symptoms of a poorly adjusted clutch, the tools you need, and the step-by-step procedure to restore flawless engagement.
Diagnosing Engagement vs. Disengagement Issues
Before you grab your wrenches, you must identify whether your motorcycle is suffering from an engagement issue (the clutch is slipping when it should be gripping) or a disengagement issue (the clutch is dragging when you pull the lever). Misdiagnosing the problem will lead you to adjust the system in the wrong direction, accelerating wear on your clutch pack and transmission shift forks.
| Symptom | Likely Cause | System State |
|---|---|---|
| Hard to find neutral at a stop | Cable too tight / Internal screw too far in | Disengagement (Dragging) |
| Motorcycle creeps forward with lever pulled | Warped steel plates or excessive cable slack | Disengagement (Dragging) |
| Loud "clunk" when shifting into first gear | Clutch not fully separating from the transmission input shaft | Disengagement (Dragging) |
| RPMs surge but motorcycle speed does not increase | Cable too loose / Internal screw backed out too far | Engagement (Slipping) |
| Loss of power on steep hills or under hard load | Worn friction plates or weak diaphragm spring | Engagement (Slipping) |
Pro Tip: If your Harley lurches forward when you pull the clutch lever in at a red light, your clutch is dragging. This puts immense strain on the transmission's shift drum and detent plunger. Never force the shifter into gear while the clutch is dragging; fix the adjustment first.
Tools and Specifications You Will Need
To properly service your clutch, you need more than just a feel for the lever. Precision is key to preventing primary chaincase leaks and snapped adjuster threads. Gather the following tools and reference the specifications below before starting.
- Torx T27 Bit: For removing the primary chaincase derby cover.
- 5/8" and 9/16" Wrenches: For the external cable adjuster locknuts.
- 11mm Wrench & Flathead Screwdriver: For the internal clutch release screw and locknut.
- Feeler Gauge or Ruler: To measure cable free play.
- Primary Fluid: Harley-Davidson Formula+ or SYN3 20W-50.
- Derby Cover O-Ring/Gasket: Part #60900013 (O-ring for most 2007+ models) or equivalent gasket.
Critical Torque and Measurement Specs
| Component | Specification | Notes |
|---|---|---|
| External Cable Free Play | 1/16" to 1/8" (1.6mm - 3.2mm) | Measured at the ferrule near the lever perch. |
| Internal Release Screw Back-out | 1/2 to 3/4 Turn | After seating the screw with light finger pressure. |
| Clutch Release Locknut Torque | 84 - 108 in-lbs | WARNING: This is INCH-pounds, not foot-pounds! |
| Derby Cover Fasteners | 84 - 108 in-lbs | Tighten in a crisscross star pattern. |
| Primary Chaincase Capacity | 32 oz (Softail) / 38 oz (Touring) | Fill to the bottom of the clutch basket diaphragm spring. |
Step 1: The External Cable Adjustment
Beginners often make the mistake of only adjusting the cable at the handlebars. While this is the first step, it only sets the baseline. You must ensure the cable has enough slack to allow the internal mechanism to fully engage the clutch pack when you release the lever.
- Locate the Adjuster: Find the rubber bellows boot on the clutch cable, usually located midway down the frame downtube or near the front engine mount.
- Expose the Threads: Pull the rubber boot back to expose the threaded adjuster and locknuts.
- Loosen the Locknuts: Use your wrenches to loosen the locknuts against the adjuster barrel.
- Set the Free Play: Turn the adjuster barrel to lengthen or shorten the cable housing. You are looking for exactly 1/16" to 1/8" of free play at the lever ferrule. This tiny amount of slack is vital; it ensures the cable isn't pulling on the clutch release bearing when your hand is off the lever.
- Secure the Adjuster: Hold the barrel in place and tighten the locknuts securely. Slide the rubber boot back over the mechanism to keep moisture and road grime out.
Step 2: The Internal Primary Adjustment
This is the step most novices skip, leading to chronic disengagement issues. The internal adjustment sets the relationship between the clutch release bearing and the diaphragm spring. According to RevZilla's Common Tread maintenance guides, skipping the internal adjustment forces the external cable to do all the work, eventually stretching the cable and wearing out the release mechanism.
- Access the Derby Cover: Place your motorcycle on a jiffy stand (leaning left) to keep the primary fluid pooled away from the cover. Remove the Torx T27 bolts securing the primary chaincase derby cover.
- Locate the Release Screw: In the center of the clutch release mechanism, you will see a slotted screw with an 11mm locknut.
- Loosen the Locknut: Use the 11mm wrench to break the locknut free, then back it off a few threads.
- Seat the Adjuster Screw: Using your flathead screwdriver, turn the center screw clockwise (inward) until you feel it gently bottom out against the clutch release pushrod. Do not force it. Use only light finger pressure on the screwdriver.
- Back Out the Screw: Once seated, turn the screw counter-clockwise exactly 1/2 to 3/4 of a turn. This creates the necessary clearance for the pushrod to disengage the clutch without riding the bearing.
- Torque the Locknut: Hold the screwdriver perfectly still to prevent the screw from turning, and tighten the 11mm locknut to 84-108 in-lbs. Using a foot-pound wrench here will strip the threads or snap the stud.
- Reinstall the Cover: Clean the mating surfaces. Install a new O-ring or gasket (Part #60900013 for O-ring models). Reinstall the derby cover bolts and torque them to 84-108 in-lbs in a star pattern.
A Note on 2015+ Hydraulic Clutch Systems
If you are riding a 2015 or newer Harley-Davidson Softail, Dyna, or Touring model equipped with a hydraulic clutch, the external cable adjustment does not apply to you. Hydraulic systems self-adjust for wear via the master cylinder pushrod. However, disengagement issues on hydraulic models are almost always caused by air in the system or degraded fluid.
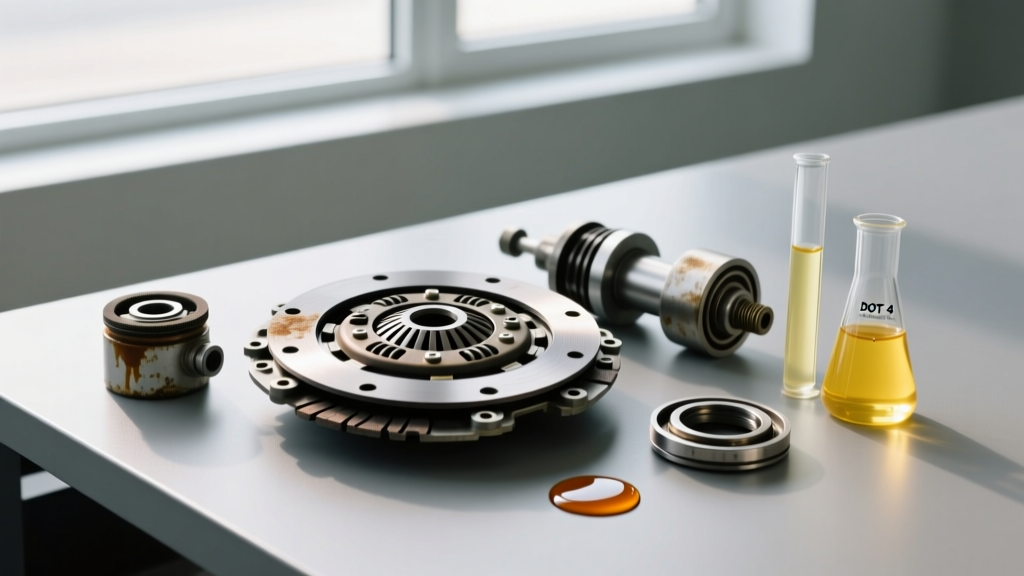
Harley transitioned from DOT 5 (silicone-based, purple) to DOT 4 (glycol-based) fluid around 2015. DOT 4 is hygroscopic, meaning it absorbs moisture from the air over time, which lowers its boiling point and causes a spongy lever feel. If your hydraulic clutch is dragging, you must bleed the system using fresh DOT 4 fluid and ensure the master cylinder reservoir is filled to the upper fill line. Always consult the official Harley-Davidson Owner Resources portal to verify the exact fluid specification for your specific VIN.
DIY vs. Dealership: Cost and Value Breakdown
Understanding how to adjust your clutch saves you significant money and downtime, especially during the peak 2026 riding season when dealership service departments are booked weeks in advance.
- Dealership Service: A standard clutch adjustment and primary fluid service typically bills out at 1.0 to 1.5 hours of shop time. At an average rate of $160/hour, plus $30 in fluids and an O-ring, expect to pay between $190 and $270.
- DIY Cost: A bottle of SYN3 20W-50 primary fluid ($22) and a replacement derby cover O-ring ($8) brings your total out-of-pocket cost to roughly $30. The job takes about 30 minutes once you are familiar with the process.
Final Thoughts on Clutch Longevity
Mastering the two-step clutch adjustment is a rite of passage for Harley-Davidson owners. By maintaining the correct 1/16" to 1/8" free play and ensuring the internal pushrod clearance is set to factory specifications, you will experience buttery smooth shifts, easy neutral finding, and extended life for your clutch friction plates. Always remember to re-check your cable free play every 5,000 miles, as cables naturally stretch and friction plates wear down over time. Treat your primary chaincase with respect, use a torque wrench for the inch-pound fasteners, and enjoy the ride.