Understanding John Deere Drivetrain Operations in Utility Vehicles
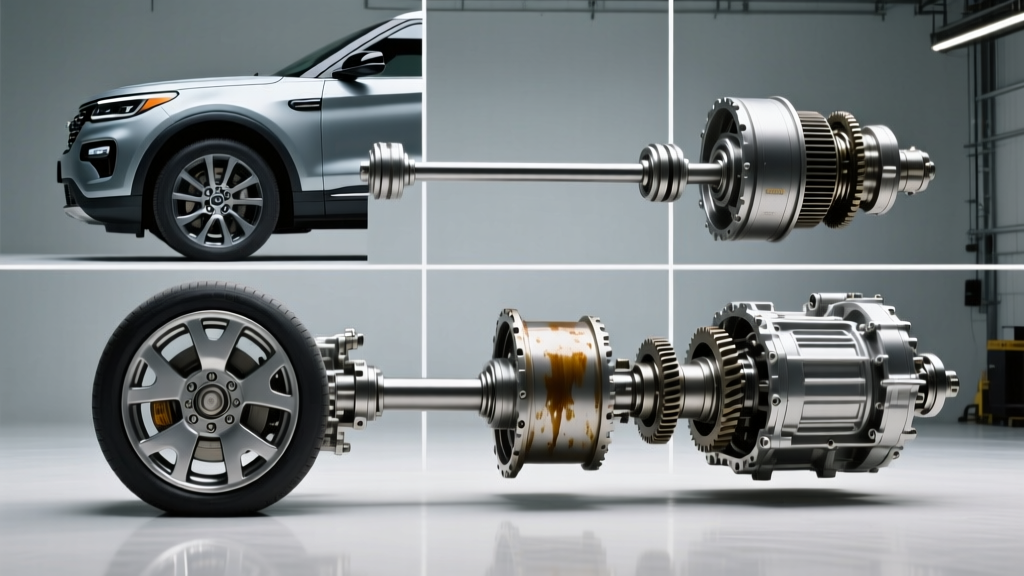
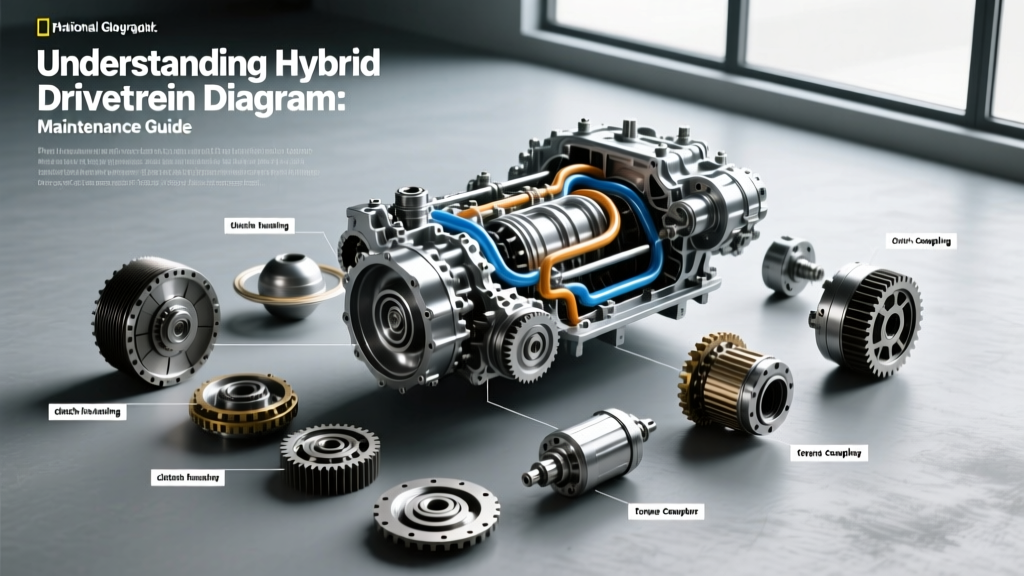
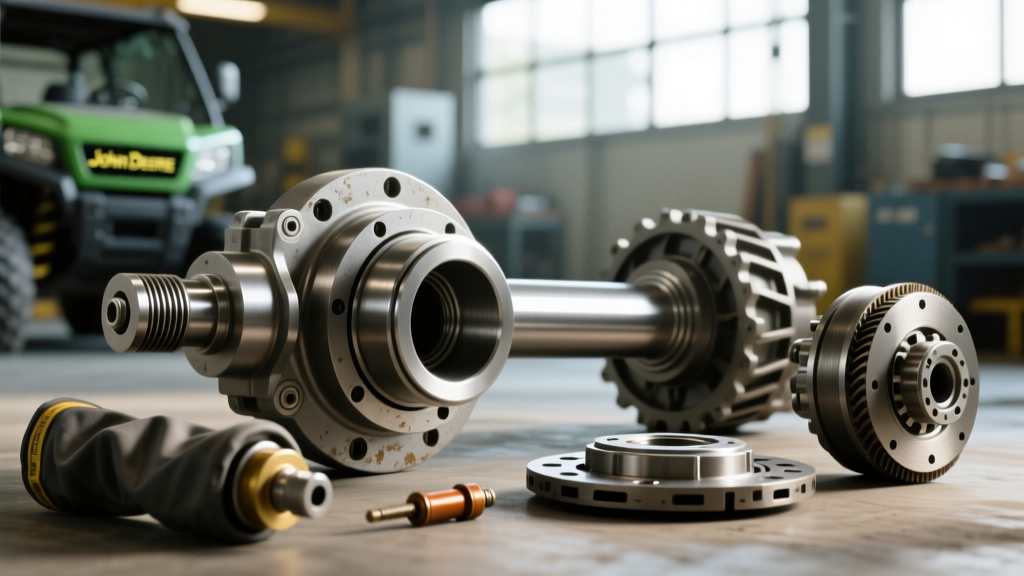
When managing a fleet of heavy-duty utility vehicles for agricultural, commercial landscaping, or industrial applications, understanding John Deere drivetrain operations is critical for minimizing downtime and controlling maintenance budgets. Unlike standard automotive applications, the drivetrain layout of a John Deere Gator XUV or HPX series utilizes a robust transaxle paired with independent front and rear suspensions. This configuration relies heavily on heavy-duty Constant Velocity (CV) axles to transfer torque from the transaxle to the wheels while accommodating extreme suspension articulation and steering angles.
CV axle failures represent one of the most common and costly drivetrain problems in the utility vehicle sector. A single failed CV joint can immobilize a machine, halting operations and triggering expensive emergency repair logistics. This comprehensive cost analysis breaks down the economics of CV joint and CV axle problems, comparing OEM versus aftermarket solutions, labor book times, and the precise installation protocols required to ensure longevity in harsh environments.
Primary Failure Modes in Gator CV Axles and Joints
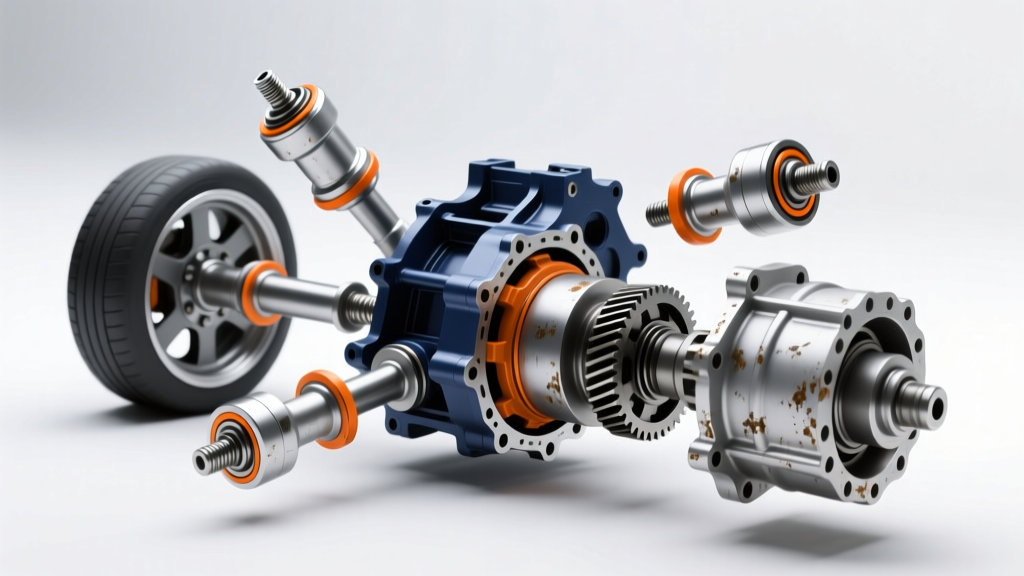
Before analyzing repair costs, it is essential to understand the mechanical failure points specific to John Deere utility vehicles. The CV axles in models like the XUV 835M or 855D feature an inboard plunge joint (which allows the axle to compress and extend as the suspension cycles) and an outboard Rzeppa-style joint (which handles the steering angle).
Boot Deterioration and Environmental Contamination
The most frequent precursor to catastrophic CV joint failure is the tearing or degradation of the thermoplastic or rubber CV boots. In agricultural and off-road environments, axles are constantly bombarded by abrasive mud, chemical fertilizers, and freezing water. Once a boot is compromised, the factory-packed molybdenum disulfide (moly) grease is rapidly flushed out, and silica-laden mud infiltrates the joint housing. This creates a lapping compound that destroys the bearing cage, inner race, and ball bearings within a matter of hours under load. Replacing a boot early costs under $40 in parts, whereas ignoring it leads to a complete axle replacement costing upwards of $400.
Outboard Joint Clicking and Spline Wear
Operators often report a rhythmic clicking or popping noise originating from the front hubs during tight, low-speed turns under 4WD load. This is the hallmark of outboard CV joint wear. Furthermore, the internal splines that mate the axle shaft to the transaxle differential and the wheel hub can suffer from 'spline walk' or galling if the axle nut is not torqued to exact specifications. This micro-movement eventually strips the splines, requiring not just an axle replacement, but potentially a costly wheel hub or transaxle output shaft repair.
2026 Cost Analysis: OEM vs. Aftermarket CV Axles
When a CV axle assembly requires complete replacement due to internal joint failure or severe spline damage, fleet managers and owners must choose between Original Equipment Manufacturer (OEM) parts and the aftermarket sector. The pricing disparity is significant, and the correct choice depends on the vehicle's operational profile.
| Brand / Type | Part Number Example (Front) | Average Price Range | Warranty Coverage | Best Operational Use Case |
|---|---|---|---|---|
| OEM John Deere | AM137994 / AM-Series | $380.00 - $520.00 | 12 Months / Unlimited Hours | Warranty-covered fleet vehicles, strict OEM compliance |
| TrakMotive (OEM Replacement) | JD-8014 / JD-8015 | $160.00 - $210.00 | 1 Year Limited | Standard farm, ranch, and light commercial utility |
| All Balls Racing (8-Ball Extreme) | 8-500 Series | $230.00 - $290.00 | 1 Year (Excludes Boot Damage) | Heavy towing, lifted suspensions, extreme mud/rock |
| High Lifter (DHTX Series) | DHTX-JD Front | $250.00 - $310.00 | Lifetime (Specific Conditions) | Modified UTVs, oversized tires, high-torque winching |
While OEM John Deere Parts guarantee exact metallurgical specifications and factory fitment, the premium pricing is often difficult to justify for out-of-warranty workhorses. High-quality aftermarket options from manufacturers like TrakMotive utilize high-grade chrome-moly steel and offer superior puncture-resistant boots, often outlasting OEM axles in severe mud applications at less than half the cost.
Labor Costs, Book Times, and Downtime Economics
The financial impact of a CV axle failure extends far beyond the parts invoice. Dealership and independent heavy-equipment shop labor rates in 2026 average between $135 and $185 per hour. Understanding standard flat-rate book times helps owners estimate total repair costs and decide whether to perform the repair in-house.
- Front CV Axle R&R (Remove & Replace): 1.2 to 1.5 hours. Requires removal of the front wheel, brake caliper, and rotor to access the hub nut, followed by unbolting the lower ball joint or strut assembly to drop the hub and slide the axle out of the transaxle.
- Rear CV Axle R&R: 1.5 to 2.0 hours. Rear axles often require the removal of skid plates, exhaust heat shields, and in some XUV configurations, dropping the rear differential cross-member to gain the necessary clearance to extract the inboard plunge joint from the diff housing.
- CV Boot Replacement Only: 2.0 to 2.5 hours. Ironically, replacing just a torn boot takes longer than replacing the entire axle assembly, as the mechanic must completely disassemble the CV joint, clean all components, repack with fresh moly grease, and reinstall the circlips and bands.
For a commercial landscaping fleet, a $200 aftermarket axle and 1.5 hours of in-house labor is vastly more economical than paying $850+ at a dealership, factoring in the transport costs of trailering a disabled Gator to the service center.
Critical Torque Specifications and Installation Protocols
A leading cause of premature aftermarket CV axle failure is improper installation. The drivetrain operations of a high-torque utility vehicle place immense stress on the axle hub interface. Technicians and DIY mechanics must adhere strictly to torque specifications to prevent spline galling and hub bearing preload issues.
Installation Best Practices and Torque Data
- Spline Preparation: Never install a CV axle dry. Apply a thin layer of anti-seize compound to the transaxle and hub splines. This prevents micro-welding and corrosion, ensuring the axle can be removed in the future without requiring a hydraulic press or torch.
- Seating the Plunge Joint: When inserting the inboard joint into the transaxle, ensure the internal circlip is properly aligned and seats with an audible click. Forcing it with a hammer can shatter the internal differential side gears.
- Hub Nut Torque: The outboard CV axle nut is a prevailing-torque (crimped) nut and should never be reused. The standard torque specification for most John Deere Gator XUV front hub nuts is 155 lb-ft (210 Nm). Always use a calibrated torque wrench; using an impact gun to 'tighten it until it stops' will stretch the axle shaft, leading to catastrophic snapping under heavy towing loads.
- Cotter Pin Installation: After torquing, align the nearest castellation on the nut with the hole in the axle shaft and install a new, heavy-duty cotter pin. Bend the ends securely to prevent backing out.
Preventative Maintenance for Extended Drivetrain Life
To optimize the cost-per-hour of your utility vehicle, implement a proactive drivetrain inspection schedule. Every 100 operating hours, or after any deep-water submersion, visually inspect the CV boots for tears, swelling, or missing retaining clamps. If a vehicle is frequently operated in heavy brush, consider installing aftermarket CV boot guards or neoprene covers, which cost less than $30 per axle and deflect branches and rocks that would otherwise slice the factory rubber. Additionally, ensure that transaxle breather tubes are routed high and clear of water lines to prevent hydro-locking the differential, which can blow out the output shaft seals and flood the inboard CV joints with contaminated gear oil.
Conclusion
Effectively managing John Deere drivetrain operations requires a strategic approach to CV axle maintenance and replacement. By recognizing the early symptoms of boot failure, understanding the cost-benefit analysis of OEM versus heavy-duty aftermarket axles, and strictly adhering to torque specifications during installation, fleet managers and owners can drastically reduce downtime and repair expenditures. Investing in high-quality replacement components and rigorous preventative inspections ensures that your utility vehicle remains operational, regardless of the terrain or the load.