The Dana 44 Rear Axle: Leak Detection and Diagnostic Protocol
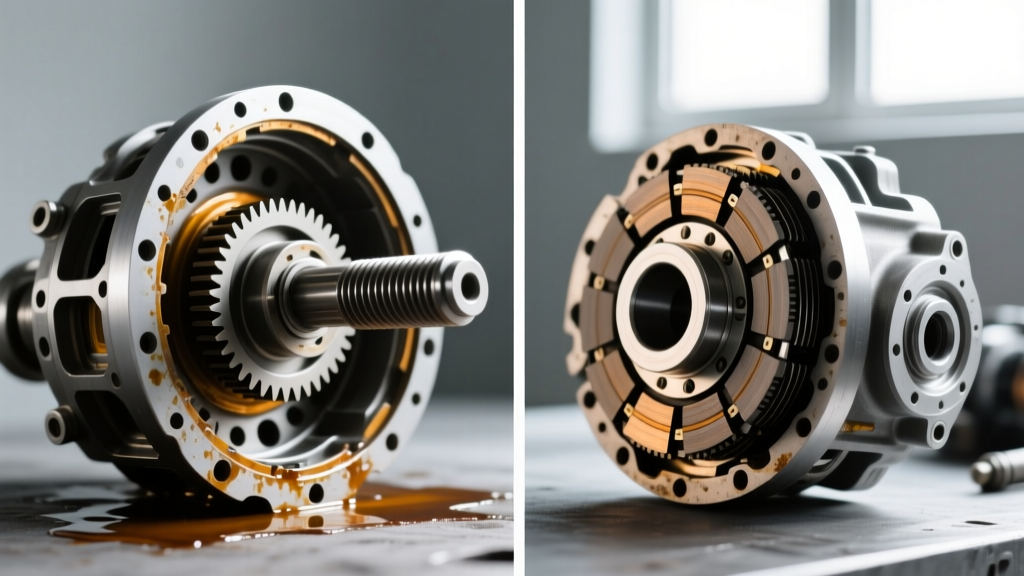
The Jeep Wrangler JK (2007-2018) equipped with the Dana 44 rear axle is a cornerstone of the off-road community. However, as these vehicles age and accumulate high mileage, differential fluid leaks become a prevalent issue. Fixing rear differential leaks on the JK platform requires a methodical approach to accurately identify the failure point before tearing into the housing. Misdiagnosing a pinion seal leak as a loose cover bolt can lead to catastrophic gear failure if fluid levels drop below the pinion bearing centerline.
Before ordering parts, thoroughly degrease the axle housing using a dedicated brake cleaner or aerosol degreaser. Take the Jeep for a 10-mile drive to pressurize the differential and heat the gear oil, then inspect the three primary failure zones on a lift or jack stands.
Primary Leak Zones on the Dana 44
- The Pinion Seal: Look for fluid slung forward along the driveshaft and accumulating on the skid plate or exhaust. This is caused by a hardened or torn lip on the pinion seal.
- The Axle Tube Seals: Inspect the backside of the brake backing plates. If fluid is coating the ABS sensor wiring or dripping from the inner wheel hub, the inner axle shaft seal has failed.
- The Differential Cover: The stamped steel or cast aluminum cover relies on a gasket or RTV. Leaks here typically manifest at the 6 o'clock position, dripping directly onto the track bar or rear sway bar.
Repair Cost and Parts Matrix (2026 Estimates)
| Leak Source | OEM / Premium Part Number | Est. Parts Cost | Book Labor Time |
|---|---|---|---|
| Pinion Seal | National 710936 / Spicer 43109 | $15 - $28 | 1.5 Hours |
| Inner Axle Seal (Per Side) | Spicer 39425 / Crown 83500325 | $12 - $22 | 2.5 Hours |
| Differential Cover Gasket | Lube Locker LL-D44 | $35 - $45 | 0.5 Hours |
| Solid Pinion Spacer Kit | Ratech 4119 | $45 - $60 | Add 1.0 Hour |
Step-by-Step: Fixing Rear Differential Pinion Seal Leaks
The pinion seal is the most common culprit on high-mileage JKs. Replacing it seems straightforward, but improper torque procedures can destroy the crush sleeve and ruin the pinion bearing preload. According to the Quadratec Jeep Technical Archive, failing to measure rotational torque is the number one cause of post-repair differential whine.
Removal and Rotational Torque Measurement
- Mark the Flange: Use a paint pen to mark the pinion nut, the yoke, and the pinion shaft. This is your reference point if you are reusing the factory crush sleeve.
- Measure Preload: Remove the driveshaft. Using a dial inch-pound torque wrench on the pinion nut, measure the rotational torque required to turn the pinion. For used bearings, the specification is typically 12 to 20 in-lbs. Record this exact number.
- Remove the Yoke: Use an impact wrench to remove the pinion nut (typically 1/2" - 20 thread). Do not pry the yoke off with a crowbar; use a dedicated steering wheel or yoke puller to avoid damaging the pinion shaft threads.
- Extract the Seal: Carefully pry out the old National 710936 seal using a blind seal puller, ensuring you do not gouge the aluminum or cast-iron sealing bore.
Installation and the Crush Sleeve Dilemma
Lubricate the lip of the new seal with fresh gear oil and tap it flush into the bore using a seal driver. Reinstall the yoke. Here is where the repair diverges based on your chosen methodology:
Master Tech Tip: Upgrade to a Solid Spacer
Factory Dana 44 axles use a crush sleeve to set pinion bearing preload. If you overtighten the pinion nut past the crush point, you must replace the sleeve, requiring a complete teardown of the pinion gear. When fixing rear differential seals, we highly recommend installing a Ratech 4119 Solid Pinion Spacer Kit. This replaces the crush sleeve with a solid steel spacer and shims, allowing you to torque the pinion nut to a safe 150 ft-lbs and adjust preload purely via shims. It makes future seal changes a 20-minute job with zero risk of over-crushing.
If retaining the factory crush sleeve: Tighten the pinion nut using a 1/2" drive torque wrench in 5 ft-lb increments. Stop frequently to check rotational torque with the inch-pound wrench. Stop tightening the exact moment you reach your recorded preload spec (e.g., 16 in-lbs). Never exceed 250 ft-lbs without a new crush sleeve.
Axle Shaft Seal Replacement: Dealing with Leaking Tubes
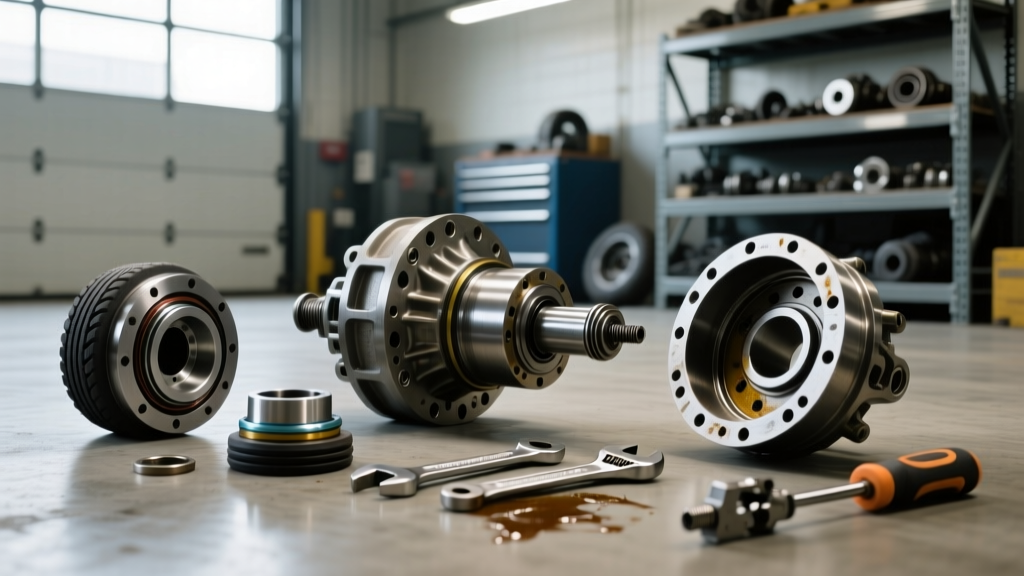
If the leak is originating from the axle tube ends, the inner axle shaft seals have failed. This is common on JKs that have been lifted or subjected to extreme articulation, which pulls the axle shaft slightly out of the housing and damages the seal lip.
Shaft Removal Procedure
- Drain the differential fluid and remove the differential cover.
- Rotate the carrier until the spider gear pinion shaft lock bolt (5/16" hex) is accessible. Remove the bolt and slide the pinion shaft out partially.
- Push the axle shaft inward to expose the C-clip (if equipped with an aftermarket C-clip eliminator or older Dana 44 variant) or simply pull the shaft if it is a standard pressed-bearing JK setup. Note: Most JK Dana 44 rear axles use a pressed bearing and seal retained by a flange bolted to the axle tube end, not internal C-clips.
- Unbolt the five 1/2" flange nuts (torque spec: 55 ft-lbs) holding the bearing retainer plate to the axle tube.
- Slide the axle shaft, bearing, and seal assembly out of the tube. Use a slide hammer attached to the wheel studs if the bearing is seized in the tube.
Pressing and Reassembly
The Spicer 39425 seal must be pressed into the axle tube end. Clean the tube bore with emery cloth. Coat the outer edge of the new seal with a light layer of grease and tap it in using a large socket that contacts only the outer metal ring. Reinstall the axle shaft, ensuring the splines do not damage the new seal lip during insertion. Torque the flange nuts to 55 ft-lbs in a star pattern.
Sealing the Cover: The RTV vs. Gasket Debate
When fixing rear differential cover leaks, many DIYers default to black or grey RTV silicone. While RTV works in a pinch, it is notorious for squeezing into the differential housing during torquing. These silicone beads can break off and clog the oil pickup or wedge between the ring gear and pinion, causing catastrophic scoring.
For a permanent, leak-free seal, use a reusable gasket like the Lube Locker LL-D44. These gaskets feature a steel core with molded Viton O-rings that compress into a groove, completely eliminating the risk of internal debris. If you must use RTV, apply a continuous 3mm bead to the cover, wait 10 minutes for it to skin over, and then install. Torque the 3/8" - 16 cover bolts to 25 ft-lbs (34 Nm) in a crisscross pattern. Overtightening will warp the stamped steel cover and guarantee a leak.
2026 Fluid Specifications and Refill Protocol
Once the leaks are repaired, refilling the Dana 44 with the correct fluid is critical for the longevity of the ring and pinion. The Spicer Parts Catalog and modern tribology standards dictate the use of high-quality synthetic gear oils capable of handling the extreme pressure (EP) of hypoid gears.
Gear Oil Viscosity and Additives
- Standard / Daily Driver: API GL-5 75W-90 Full Synthetic (e.g., Mobil 1 Synthetic Gear Lube or Amsoil Severe Gear 75W-90).
- Heavy Towing / Off-Road / 35"+ Tires: API GL-5 75W-140 Full Synthetic. The higher high-temperature viscosity prevents film breakdown when the differential exceeds 220°F on the trail or while towing.
- Capacity: The JK Dana 44 rear differential holds approximately 2.2 quarts (2.08 liters).
The Limited-Slip Additive Requirement
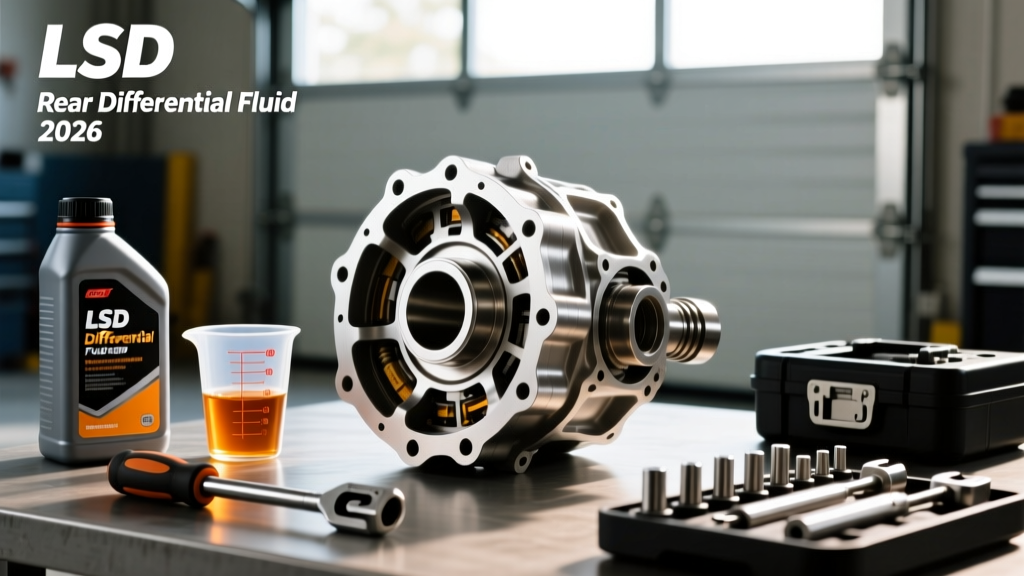
If your JK is equipped with the factory Trac-Lok limited-slip differential, you must add a friction modifier. Without it, the clutch packs will chatter violently during low-speed turns, leading to rapid wear. Add 4 ounces (118 ml) of Mopar Friction Modifier (P/N 04318060AD) or an equivalent like Lubegard Limited Slip Supplement directly into the fill hole before topping off with the 75W-90 base oil. Perform a figure-eight test drive in an empty parking lot; if chatter persists, add another 1-ounce increment of modifier until the engagement is smooth.
Final Inspection and Break-In
After completing the repair and filling the differential to the bottom of the fill hole threads, reinstall the fill plug and torque it to 25 ft-lbs. Drive the vehicle for 50 miles, then re-inspect the pinion yoke, axle tube ends, and cover perimeter with a flashlight. The heat from the 50-mile drive will fully pressurize the housing and reveal any marginal seals. By adhering to these precise torque specifications and utilizing modern sealing technology, your Dana 44 will remain dry and reliable for the next 100,000 miles.