The Case for the 3.73 Positraction Differential Swap
For enthusiasts running classic GM muscle cars, 3rd and 4th generation F-Body platforms, or early S10 trucks, the factory 8.5-inch 10-bolt rear end is a legendary foundation. However, many of these axles left the factory equipped with a sluggish 2.73 open differential. While great for highway fuel economy, an open 2.73 setup completely bottlenecks the torque output of a healthy V8, resulting in lazy off-the-line acceleration and one-tire firewheel burnouts. Upgrading to a 3.73 positraction differential setup is the single most transformative bolt-on modification you can perform for street and strip performance.
When paired with a 4L60E or 700R4 overdrive transmission and a standard 26-inch tall rear tire, a 3.73 gear ratio drops your highway cruising RPM into the sweet spot of the torque curve (roughly 2,100 RPM at 70 MPH), while multiplying off-the-line torque by over 36% compared to a 2.73 gear. But a gear ratio swap is not just about bolting in new iron; it requires a complete axle teardown, precision measurement, and a highly specific differential fluid break-in protocol to ensure the longevity of your new ring and pinion and limited-slip clutch packs.
GM 8.5-Inch 10-Bolt: Parts List and Pricing Breakdown
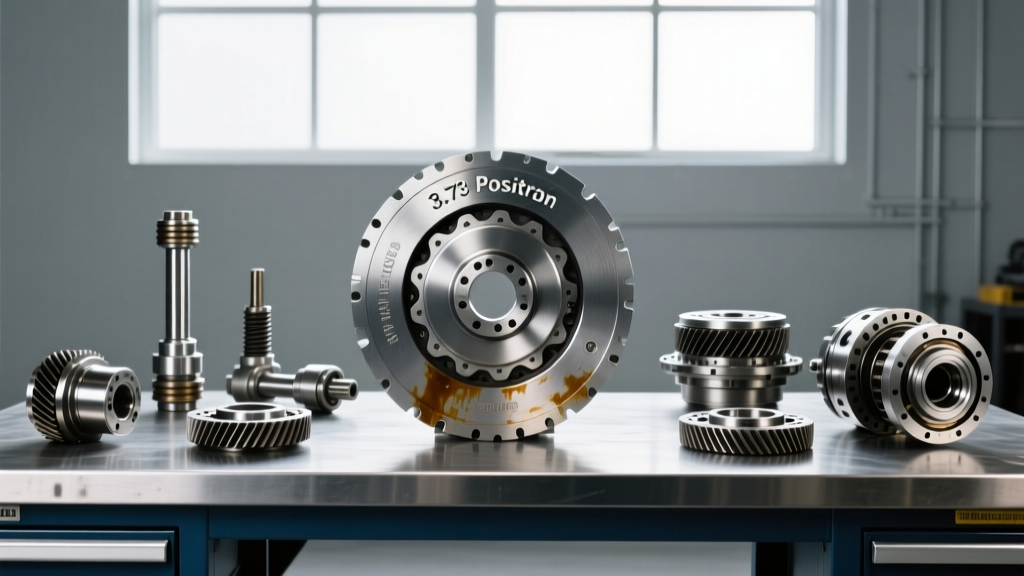
To execute this swap correctly, you must replace the carrier (as the 2-series and 3-series carriers have different thicknesses to accommodate gear offsets), the bearings, the crush sleeve, and the fluid. Below is a professional-grade parts list for a 28-spline GM 8.5-inch 10-bolt positraction differential upgrade.
| Component | Recommended Part Number | Description | Est. Cost (2026) |
|---|---|---|---|
| Ring & Pinion | Motive Gear G37385 | 3.73 Ratio, 8.5-inch, 28-Spline | $220 - $260 |
| Positraction Unit | Eaton 19589-01 (or GM 26017214) | Posi Limited Slip, 28-Spline, 3-Series | $450 - $520 |
| Master Rebuild Kit | Ratech 130K | Timken Bearings, Seals, Shims, Crush Sleeve | $110 - $140 |
| Solid Pinion Spacer | Ratech 406K | Eliminates crush sleeve (Highly Recommended) | $35 - $45 |
| Break-In Gear Oil | Lucas 10048 | 80W-90 Conventional GL-5 (2 Quarts) | $25 - $35 |
| LSD Friction Modifier | GM 88900401 | Positraction Limited Slip Additive (4 oz) | $12 - $18 |
| Long-Term Synthetic | Amsoil SVG | Severe Gear 75W-90 Synthetic | $40 - $50 |
Total Parts Cost: $892 - $1,068. Professional machine shop setup labor typically adds $350 - $500 if you are not pressing bearings and setting patterns yourself.
Precision Setup: Torque Specs and Gear Pattern Reading
Setting up a positraction differential requires meticulous attention to tolerances. If you are performing the teardown at home, invest in a magnetic base dial indicator and an inch-pound torque wrench. According to drivetrain experts at Ring & Pinion, the most common cause of premature gear failure is improper pinion bearing preload and incorrect backlash.
Critical Torque Specifications
- Ring Gear Bolts: 75 lb-ft (Apply medium-strength Loctite 243 to threads; never use lock washers).
- Carrier Bearing Cap Bolts: 65 lb-ft (Ensure caps are installed in their original factory orientation and location).
- Pinion Nut (Crush Sleeve Method): Torque gradually (often 150-250 lb-ft) until you achieve 18-22 in-lbs of rotational preload on new bearings.
- Pinion Nut (Solid Spacer Method): Torque to 125 lb-ft, measure preload, and adjust shims behind the solid spacer until 18-22 in-lbs is achieved.
Target Tolerances and Pattern Analysis
For the GM 8.5-inch 10-bolt, your target backlash is 0.008 to 0.010 inches. You must measure this at three different points around the ring gear; variance should not exceed 0.002 inches, which indicates a warped ring gear or improper seating on the carrier.
When applying gear marking compound (like yellow oxide), you are looking for a pattern centered on the tooth face. The drive side (convex) and coast side (concave) must be evaluated. If the pattern is biased toward the heel (inner edge) or toe (outer edge), you must adjust your pinion depth shim. A pattern that is too high or too low on the tooth face requires adjusting the side carrier shims to alter backlash. A perfect pattern will show a slightly biased toe-heavy drive pattern under load, which centers out perfectly once the gears deflect under actual driving torque.
The Break-In Procedure: Fluid Selection and Thermal Cycles
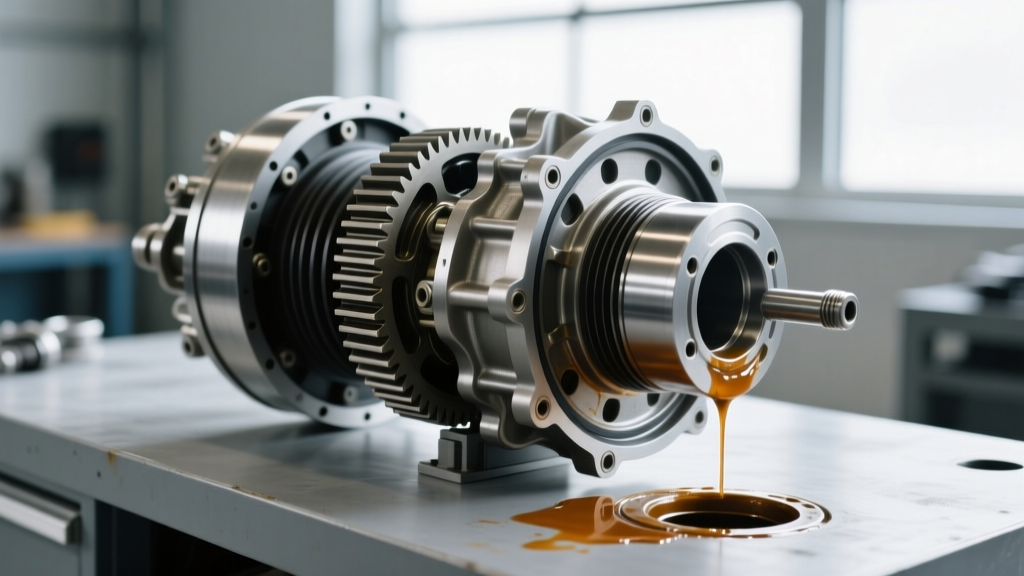
Because this modification requires a total fluid replacement, understanding the chemistry of differential fluid during the break-in phase is paramount. The internet is flooded with conflicting advice regarding synthetic vs. conventional gear oil for new gears. For a newly installed positraction differential, the break-in fluid protocol will dictate whether your gears run quiet and your clutch packs engage smoothly for the next 100,000 miles.
Phase 1: The 500-Mile Conventional Break-In
When new ring and pinion gears mesh, the microscopic peaks and valleys of the machined metal must wear into each other. This creates immense friction and heat. Furthermore, the carbon-fiber or steel clutch packs inside the Eaton positraction unit need to bed into the side gears.
Do not use synthetic fluid for the initial break-in. Synthetic 75W-90 fluids contain advanced friction modifiers and extreme pressure (EP) additives that are simply too slippery. If you use synthetic immediately, the gears will not mate properly, leading to a permanent, high-pitched whine, and the positraction clutch packs may glaze over, resulting in a limited-slip unit that acts like an open differential.
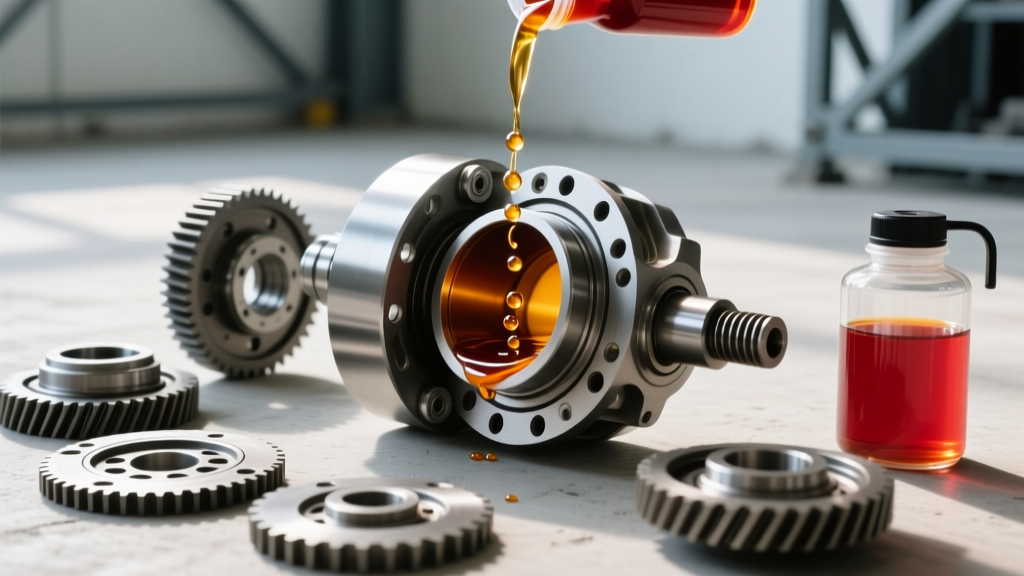
Fill the housing with 2.5 to 2.75 pints of a high-quality, petroleum-based 80W-90 GL-5 conventional gear oil. Crucially, do not add the limited-slip friction modifier during the break-in phase. You want the clutch packs to experience enough friction to bed properly. The slight chatter you may feel during tight, low-speed parking lot turns during this phase is normal and necessary for clutch pack seating.
Phase 2: Thermal Cycling
The break-in process generates extreme heat. If the fluid exceeds 250°F, the gear oil breaks down, and the ring and pinion can suffer metallurgical damage (bluing). Follow this thermal cycle protocol:
- Drive the vehicle normally for 15-20 miles, keeping speeds under 50 MPH.
- Pull over and allow the differential housing to cool to ambient temperature (minimum 45 minutes).
- Repeat this cycle 4 to 5 times.
- For the first 500 miles, avoid heavy towing, drag strip launches, or sustained highway speeds over 65 MPH.
Phase 3: The Synthetic Swap and Additive Integration
At the 500-mile mark, drain the conventional break-in oil. You will likely notice a metallic sheen or fine glitter in the fluid; this is the normal byproduct of the gears lapping together. Clean the magnetic drain plug thoroughly.
Refill the housing with a premium synthetic fluid, such as Amsoil Severe Gear 75W-90. Synthetic fluids offer vastly superior thermal stability and film strength for the long haul. Before pouring in the synthetic, mix the entire 4 oz bottle of GM Limited Slip Additive (Part #88900401) or an equivalent like Lubegard Limited Slip into the new oil. This friction modifier alters the coefficient of friction on the clutch packs, eliminating the low-speed chatter while maintaining the locking bias required for hard launches.
Troubleshooting Post-Swap Anomalies
Even with meticulous setup, issues can arise. Here is how to diagnose them based on auditory and tactile feedback:
- High-Pitched Whine on Deceleration (Coast): Usually indicates the pinion is too deep, or the coast-side backlash is too tight. This requires pulling the carrier and adjusting pinion depth shims.
- Whine on Acceleration (Drive): Typically means the pinion is too shallow, or the ring gear is being pushed away from the pinion due to insufficient carrier bearing preload.
- Positraction Chatter After 500 Miles: If the clutch packs chatter during turns *after* the synthetic swap and friction modifier addition, the additive may not have fully circulated into the clutch discs. Perform a series of tight figure-eight maneuvers in an empty parking lot to force the clutch packs to slip and distribute the modifier evenly. If chatter persists, drain and add an additional 2 oz of friction modifier.
Upgrading your GM 10-bolt to a 3.73 positraction differential is a masterclass in drivetrain mechanics. By respecting the precision required for gear setup and adhering to a strict, multi-phase fluid break-in protocol, you will transform your vehicle's performance while ensuring the axle remains whisper-quiet and relentlessly reliable for decades to come.