Beyond the Drain and Fill: When a Jeep Differential Service Requires a Full Rebuild
When most owners search for a Jeep differential service, they are typically looking for a routine drain, fill, and gasket replacement. However, if your Wrangler JK, JL, or older Cherokee is emitting a rhythmic howl on deceleration, a sharp clunk when shifting from reverse to drive, or exhibiting noticeable wheel play, a simple fluid swap will not save your axle. You are looking at a complete differential rebuild.
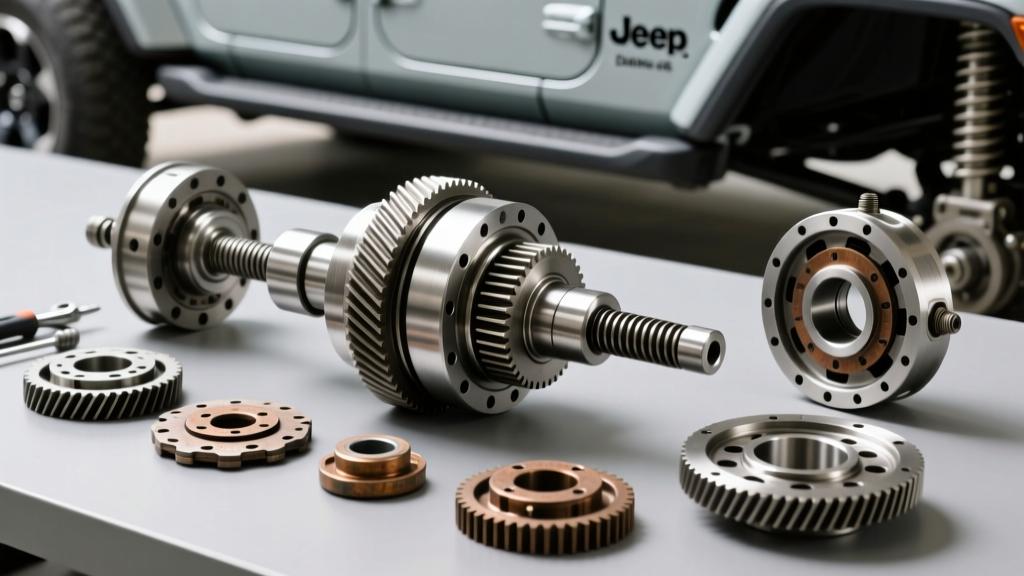
The Dana 44 is the legendary workhorse of the Jeep ecosystem, found in Rubicon models and countless aftermarket big-tube housings. Rebuilding a Dana 44 requires precision, specialized measuring tools, and an understanding of gear geometry. This step-by-step guide transitions you from basic maintenance to advanced drivetrain surgery, ensuring your axle survives the harshest trails and highway miles in 2026 and beyond.
Diagnosing the Failure: Bearings vs. Gears
Before tearing into the pumpkin, accurately diagnose the failure point to avoid replacing unnecessary components during your Jeep differential service.
- Pinion Bearing Failure: Characterized by a continuous whine that changes pitch with vehicle speed, regardless of throttle position. Often accompanied by fluid leaking past the pinion seal due to excessive shaft runout.
- Carrier Bearing Failure: Produces a low-frequency rumble or growl that typically peaks between 30-50 mph. You may feel a vibration in the seat or floorboards.
- Ring and Pinion Wear: A howl that occurs strictly under load (acceleration) or strictly on deceleration indicates improper gear contact patterns or worn teeth. If you see metallic glitter in your differential fluid, the gear set is compromised.
Essential Tools and 2026 Parts Procurement
A successful rebuild hinges on using OEM or premium aftermarket components. Avoid cheap, unbranded master install kits from anonymous online marketplaces; the shims are often inconsistently machined, and the bearings will fail prematurely. Below is a breakdown of a premium Dana 44 rebuild kit and associated costs for a standard 4.10 gear ratio setup.
| Component | Part Number / Spec | Est. 2026 Cost |
|---|---|---|
| Carrier Bearings & Races | Timken SET 10 (LM501346/11) | $45 - $60 |
| Pinion Bearings & Races | Timken SET 11 (LM603049/12) | $55 - $75 |
| Ring & Pinion Set (4.10) | Spicer 260374610X | $280 - $340 |
| Master Install Kit | Spicer 706097X (Seals, Shims, Sleeve) | $110 - $140 |
| Dial Indicator & Magnetic Base | Precision 0.001" Travel | $65 - $120 |
| Inch-Pound Beam Torque Wrench | 0-100 in-lbs capacity | $80 - $150 |
Note: Always source your drivetrain components from authorized distributors like Quadratec or direct from Spicer Parts to avoid counterfeit metallurgy.
Phase 1: Teardown and Component Inspection
1. Marking and Removal
Drain the gear oil and remove the differential cover. Before removing the bearing caps, use a paint pen or steel stamp to mark the left and right caps and their corresponding housing saddles. Critical Rule: Dana 44 bearing caps are line-bored with the housing at the factory. They are not interchangeable. Mixing them up will destroy your new carrier bearings instantly.
2. Extracting the Carrier
Remove the cap bolts (usually 1/2" x 13 thread). Use a specialized carrier spreader tool or a pry bar with extreme caution to pop the carrier assembly out. Do not pry on the mating surface of the ring gear or the bearing journals.
3. Pinion Yoke and Seal Removal
Mark the pinion yoke's relationship to the driveshaft for reassembly. Remove the pinion nut using an impact gun or a massive breaker bar. Slide the yoke off using a three-jaw puller—never hammer the yoke, as this will damage the pinion threads and internal splines.
Phase 2: Setting Pinion Depth
Pinion depth is the distance from the centerline of the carrier to the face of the pinion gear. Getting this wrong results in catastrophic gear failure within 500 miles.
- Read the Pinion Head: Look at the face of your new Spicer pinion gear. You will see a number etched into it, such as "+2" or "-1". This represents thousandths of an inch variance from the nominal depth.
- Measure the Old Setup: If your previous gear set was quiet, measure the thickness of the old pinion depth shim using a micrometer. Adjust this baseline measurement based on the variance etched into your new pinion gear.
- Install the Inner Pinion Bearing: Press the new Timken inner bearing onto the pinion shaft. Install the new depth shim, the slinger, and press the pinion into the housing.
- Use a Setting Tool: For absolute precision, use a pinion depth setting tool (like the OTC 7140) to measure the exact distance without relying solely on shim math.
Phase 3: Backlash and Contact Pattern
Backlash is the amount of rotational play between the ring and pinion gears. For a Dana 44, the target specification is 0.006" to 0.010".
Dial Indicator Setup
Mount the magnetic base of your dial indicator to the differential housing. Position the stylus perpendicular to the drive face of a ring gear tooth. Hold the pinion yoke completely stationary and rotate the ring gear back and forth. The total sweep on the dial indicator is your backlash.
- Too tight (< 0.005"): Gears will whine, overheat, and bind under load.
- Too loose (> 0.012"): You will experience clunking, accelerated wear, and potential tooth shearing under shock loads.
Adjust the backlash by moving the side shims (located behind the carrier bearings) from left to right. Adding shim thickness to the ring gear side decreases backlash; moving it to the opposite side increases backlash.
Reading the Pattern
Apply yellow gear marking compound to three or four teeth on the ring gear. Apply moderate rotational resistance to the ring gear while spinning the pinion yoke. Inspect the pattern:
- Ideal Pattern: Centered on the tooth face, slightly biased toward the heel under drive, and evenly distributed on coast.
- Face/Top Contact: Pinion is too deep. Reduce pinion depth shim.
- Flank/Root Contact: Pinion is too shallow. Increase pinion depth shim.
Phase 4: The Crush Sleeve and Reassembly
Expert Warning: The Dana 44 uses a crush sleeve to set pinion bearing preload. If you over-tighten the pinion nut and crush the sleeve too much, you cannot simply back the nut off. You must completely disassemble the pinion, install a brand-new crush sleeve, and start over. Proceed in increments of 5 ft-lbs.
Achieving Rotating Torque
Install the new outer pinion bearing, seal, and yoke. Thread on a new pinion nut. Using a breaker bar, tighten the nut while frequently checking the rotating torque with your inch-pound beam torque wrench. Wrap a cord around the yoke or use a specialized holding tool. The target rotating torque for a Dana 44 with new bearings is 20 to 35 in-lbs (with the carrier removed). This typically requires 200 to 250 ft-lbs of breaking torque on the nut.
Final Torque Specifications
Once your pattern and preload are set, finalize the assembly using these exact specifications:
- Ring Gear Bolts (7/16" x 20): 70 lb-ft (Apply Red Loctite 271 to threads).
- Cross-Pin Bolt Lock: 25 lb-ft.
- Bearing Cap Bolts: 60 lb-ft (Ensure alignment marks match perfectly).
- Differential Cover Bolts: 30 lb-ft (Use RTV silicone or a high-quality reusable gasket).
Phase 5: Fluid Fill and the Critical Break-In Procedure
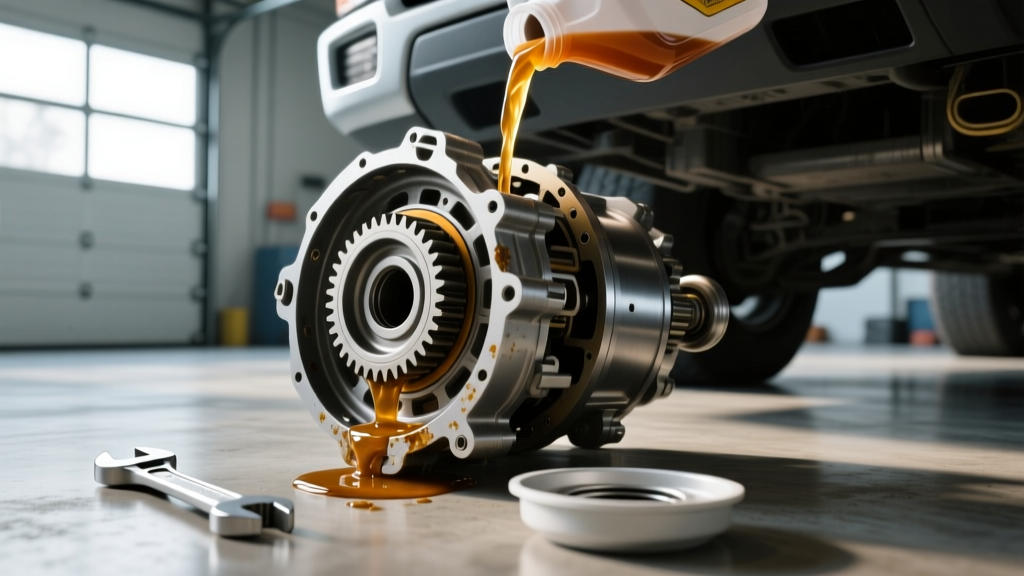
No Jeep differential service is complete without the correct fluid chemistry. The break-in period generates immense heat as the gears lap together. Using the wrong fluid will glaze the gears and ruin your rebuild.
Selecting the Right Gear Oil
For a daily-driven Jeep that sees occasional trail use, a high-quality 75W-90 Full Synthetic (such as AMSOIL Severe Gear or Royal Purple Max Gear) provides excellent cold-weather flow and adequate heat dissipation. If your Jeep is dedicated to rock crawling, heavy towing, or running 37-inch tires on low-pinion Dana 44s, step up to a 75W-140 Synthetic for maximum film strength under extreme boundary lubrication conditions.
Limited-Slip Additives
If your Dana 44 is equipped with a factory Trac-Lok clutch-type limited-slip differential, you must add approximately 4 ounces of Limited Slip Friction Modifier (meeting Chrysler MS-5620 or Ford EST-M2C118-A specs) before topping off. Failure to do so will result in violent chattering during tight turns. If you have upgraded to an aftermarket locker (like an Eaton E-Locker or ARB Air Locker), skip the modifier entirely.
The 500-Mile Break-In Protocol
- Fill to the Plug: Dana 44 rear axles typically hold 2.0 quarts; front axles hold 1.3 quarts. Fill until fluid trickles out of the fill hole.
- Initial Drive: Drive the Jeep on the highway for 15-20 minutes at varying speeds (45-65 mph). Do not exceed 55 mph on the first trip.
- Cool Down: Allow the axle housing to cool completely to ambient temperature. This prevents heat-induced oil degradation.
- Repeat: Perform this heat-and-cool cycle 3 to 4 times over the first 500 miles.
- The First Service: At 3,000 miles, drain the fluid. You will likely see a fine, dark metallic paste on the drain plug magnet. This is normal lapping residue. Refill with fresh synthetic gear oil, and your differential is now set for a 50,000+ mile service interval.
For further technical documentation on gear ratios and torque specifications, consult the engineering guides available at Timken or your vehicle's specific factory service manual. Mastering the Dana 44 rebuild transforms your Jeep differential service from a costly shop bill into a rewarding, money-saving mechanical triumph.