Heavy-duty agricultural transmissions, specifically the John Deere 8R series e23 PowerShift and IVT (Infinitely Variable Transmission) models, utilize a robust rear PTO clutch assembly to transfer immense torque to implements. When operators report a high-pitched whine, squeal, or metallic grinding during PTO engagement, the culprit is rarely the friction clutch pack itself. Instead, it almost always points to throw-out bearing (release bearing) noise and failure. However, accessing this bearing requires overcoming one of the most notoriously difficult fasteners in the drivetrain: the main PTO shaft retaining bolt. In this model-specific repair guide, we detail exactly how to remove PTO clutch bolt hardware, diagnose the release bearing, and restore your drivetrain to factory specifications.
Diagnosing Throw-Out Bearing Noise in Heavy-Duty PTO Systems
Accurate diagnosis is critical before splitting a tractor or dropping a rear PTO housing. A failing throw-out bearing on an 8R series tractor typically emits a 2kHz to 4kHz squeal that only occurs during the transitional slip phase of PTO engagement (usually between 1100 and 1400 engine RPM). During this phase, the release bearing is under maximum axial load while spinning at differential speeds against the clutch pack pressure plate fingers.
Once the PTO is fully engaged, the bearing stops spinning relative to the clutch fingers, and the noise ceases. If the noise continues while the PTO is fully engaged and under load, you are likely dealing with a rear pilot bearing failure, an input shaft alignment issue, or severe spalling on the PTO drive gears. According to Farm Progress maintenance guidelines, misdiagnosing a continuous gear whine as a throw-out bearing failure can lead to unnecessary teardowns of the rear axle housing.
Auditory and Tactile Symptoms of Bearing Failure
- Engagement Squeal: A sharp, metallic chirp or squeal lasting 1-3 seconds as the PTO clutch pack compresses.
- Disengagement Grind: A low-frequency grinding noise when the PTO is switched off, indicating the bearing is binding on the transmission shaft sleeve due to dried-out moly grease or rust pitting.
- Pedal/Linkage Vibration: In manual-linkage PTO setups (common on older or specialized forestry variants of the 8R), you will feel a distinct high-frequency buzzing through the engagement lever when the bearing's internal cage begins to fracture.
The Core Challenge: How to Remove PTO Clutch Bolt Hardware
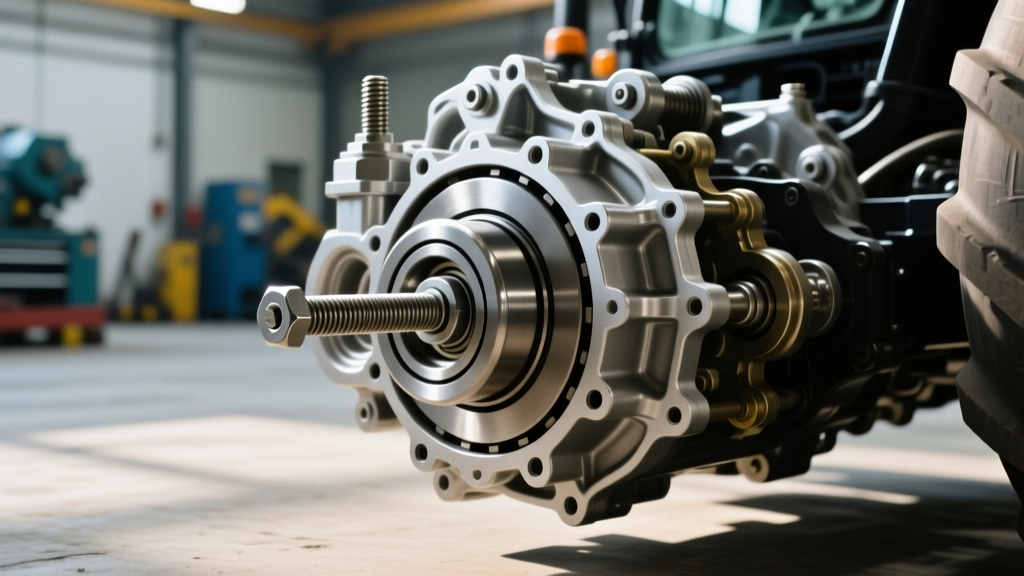
If you are researching how to remove PTO clutch bolt assemblies without stripping the threads or damaging the hardened rear output shaft, you must understand the factory assembly process. The main PTO shaft flange bolt is secured with 271 Red Threadlocker from the factory to prevent backing out under the extreme torsional shock loads of rotary mowers and balers. Applying brute force with a standard impact wrench often results in shearing the bolt head, turning a 4-hour repair into a multi-day machine shop nightmare.
Step 1: Neutralizing Factory Threadlocker
Red Loctite 271 requires heat to break its chemical bond. The correct procedure involves using an automotive induction heater (such as the Mini-Ductor Viper or equivalent 1000W induction tool). Apply the induction coil directly to the head of the 46mm PTO flange bolt. Heat the bolt head to approximately 450°F (232°C) for 45 to 60 seconds. This targeted thermal expansion breaks the threadlocker bond without compromising the heat treatment of the surrounding transmission casing or the output shaft splines.
Step 2: Impact and Extraction
Immediately after heating, use a 1-inch drive heavy-duty impact wrench with a 6-point, 46mm impact socket. Do not use 12-point sockets, as the risk of rounding the bolt head is exceptionally high at these torque thresholds. Set the impact wrench to a minimum of 1,200 ft-lbs of breakaway torque. Once the bolt breaks free, back it out slowly. Inspect the threads for galling; if the threadlocker has carbonized into a hard residue, clean the bolt threads with a wire wheel and solvent before proceeding.
Teardown: Inspecting the Release Bearing and Clutch Fingers
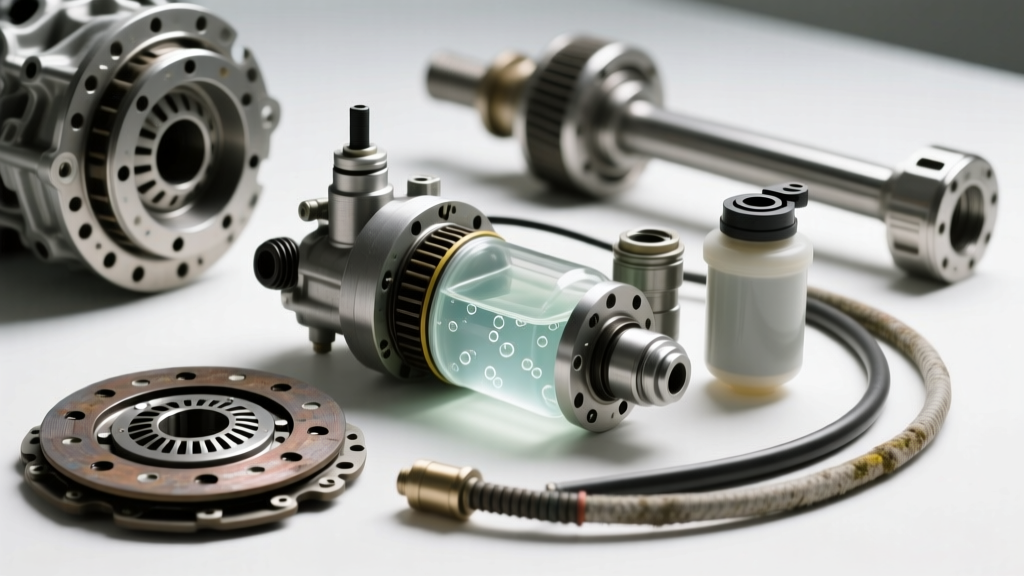
With the main shaft bolt removed, the PTO clutch pack and throw-out bearing assembly can be slid off the output shaft. The throw-out bearing on these heavy-duty applications is typically a sealed, heavy-duty angular contact thrust bearing.
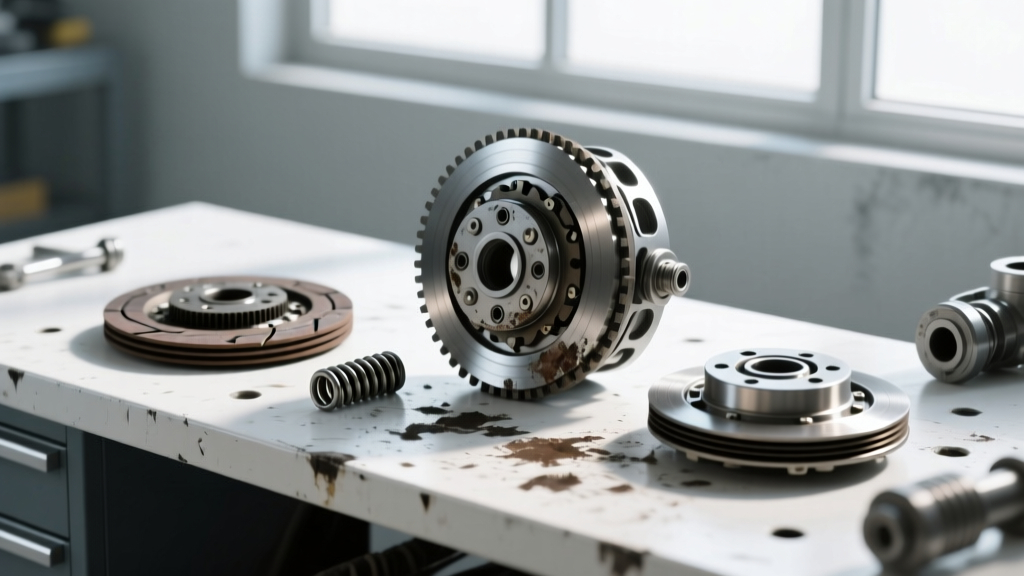
Inspect the bearing's contact face for Brinelling (small indentations caused by static overload) and Spalling (flaking of the bearing race material). If the clutch pack fingers show deep "scalloping" or uneven wear grooves, the throw-out bearing was likely binding and failing to rotate smoothly, acting as a grinding stone against the hardened steel fingers. According to John Deere Parts & Service documentation, whenever the throw-out bearing is replaced due to noise, the clutch pack pressure plate fingers must be measured for depth; if wear exceeds 1.5mm, the entire clutch pack assembly must be replaced to prevent premature failure of the new bearing.
John Deere 8R PTO Clutch & Bearing Specifications
Precision reassembly requires strict adherence to factory torque specifications. The following table outlines the critical hardware, part numbers, and torque specs for the e23 PowerShift rear PTO assembly.
| Component | OEM Part Number | Torque Specification | Service Notes |
|---|---|---|---|
| PTO Shaft Flange Bolt | RE508123 | 475 Nm (350 lb-ft) + 90° turn | Apply high-temp anti-seize to threads; do not reuse if stretched. |
| PTO Clutch Pack Housing | RE223456 | 120 Nm (88 lb-ft) | Tighten in a crisscross star pattern to prevent housing warp. |
| Throw-Out Bearing Assembly | AL169578 | N/A (Press/Slip Fit) | Pack internal cavity with Moly-Lithium complex grease before install. |
| Output Shaft Retaining Nut | AL155432 | 650 Nm (479 lb-ft) | Requires specialized spline holding tool (JDG-1542). |
Reassembly and Torque Sequence
Reinstalling the throw-out bearing requires meticulous attention to lubrication. The bearing must be packed with a high-molybdenum lithium complex grease (such as John Deere Multi-Purpose HD Lithium Complex Grease) to withstand the high axial loads and ambient heat generated by the rear axle and PTO friction. Apply a thin film of the same grease to the transmission shaft sleeve where the bearing rides to prevent micro-corrosion and ensure smooth axial travel.
When reinstalling the main PTO shaft flange bolt, apply a medium-strength threadlocker (Blue Loctite 243) rather than the factory Red 271. Blue 243 provides sufficient vibration resistance for heavy agricultural loads but allows for future removal with standard impact tools without the mandatory use of an induction heater, significantly reducing future service times.
2026 Repair Cost Analysis
Addressing throw-out bearing noise and failure on a heavy-duty tractor is a significant investment. Below is a breakdown of expected costs for the 2026 service year, factoring in recent supply chain adjustments for heavy-duty OEM bearings.
- Dealership Repair: $3,800 - $5,200. This includes 12-16 hours of shop labor at $150-$180/hour, a complete OEM clutch pack, the throw-out bearing, and factory fluid top-offs.
- Independent Agricultural Mechanic: $2,500 - $3,400. Lower hourly rates ($110-$130/hour) and the potential use of high-quality aftermarket bearings (e.g., SKF or Timken heavy-ag lines) can reduce parts costs by 20%.
- Owner-Operator DIY: $650 - $900. This covers the OEM bearing, new flange bolts, threadlocker, grease, and the rental or purchase of an induction heater and heavy-duty impact sockets.
Ultimately, understanding how to remove PTO clutch bolt assemblies safely and diagnosing throw-out bearing noise early prevents catastrophic damage to the transmission output shaft. By following these model-specific procedures, you ensure your equipment remains operational through the most demanding harvest and planting seasons.