Why Clutch Fluid Dictates Pedal Feel, Noise, and Vibration
Most drivers and novice mechanics immediately associate clutch issues with worn friction discs, warped flywheels, or fatigued pressure plates. However, the hydraulic actuation system is the primary culprit for a vast array of drivability complaints. If you are researching how to check clutch fluid to diagnose spongy pedal feel, gear-grind noise, or strange engagement vibrations, you must look beyond simply topping off the reservoir. This guide bridges the gap between basic fluid maintenance and advanced symptom-based diagnostics for manual transmissions like the Tremec T56 Magnum, Getrag 6-speeds, and Honda K-Series hydraulics.
Clutch hydraulics operate on Pascal's Law: pressure applied to an enclosed fluid is transmitted undiminished. Because brake fluid is hygroscopic (absorbs moisture) and hydraulic lines are subjected to extreme engine bay heat, the fluid's physical state directly alters the mechanical movement of the slave cylinder and release bearing. A degraded fluid profile or failing seal will manifest as distinct physical symptoms at the pedal and the transmission bellhousing.
Step-by-Step: How to Check Clutch Fluid Level and Condition
Performing a comprehensive clutch fluid inspection requires evaluating the entire hydraulic circuit, not just the plastic reservoir. Follow these steps to accurately assess your system's health.
Step 1: Reservoir and Fluid Color Inspection
Locate the clutch master cylinder reservoir. In 90% of modern vehicles, this is a shared reservoir with the brake master cylinder, featuring a dedicated nipple or internal divider for the clutch feed line. Wipe the cap clean before opening to prevent debris ingress. Inspect the fluid color: fresh DOT 4 fluid is clear to slightly amber. If the fluid is dark brown or black, it indicates severe oxidation, moisture contamination, or degrading rubber seals within the master cylinder.
Step 2: Moisture Contamination Testing
Because clutch lines often feature long, exposed runs near the exhaust, fluid boiling is a real threat. Use an electronic brake fluid tester or copper test strips to check water content. According to the SAE J1703 standard, DOT 4 fluid must maintain a dry boiling point of at least 230°C (446°F). If your tester indicates more than 3% water content, the fluid's wet boiling point has dropped dangerously low, leading to vapor lock and a spongy pedal under heavy stop-and-go traffic.
Step 3: Master Cylinder Pushrod and Boot Verification
Peel back the rubber accordion boot where the master cylinder pushrod enters the firewall. Look for signs of weeping fluid. A leaking primary seal here will allow fluid to escape into the cabin or onto the pedal assembly, causing a slow drop in hydraulic pressure and resulting in a pedal that slowly sinks to the floor while held at a stoplight.
Step 4: Slave Cylinder and Flex Line Tracing
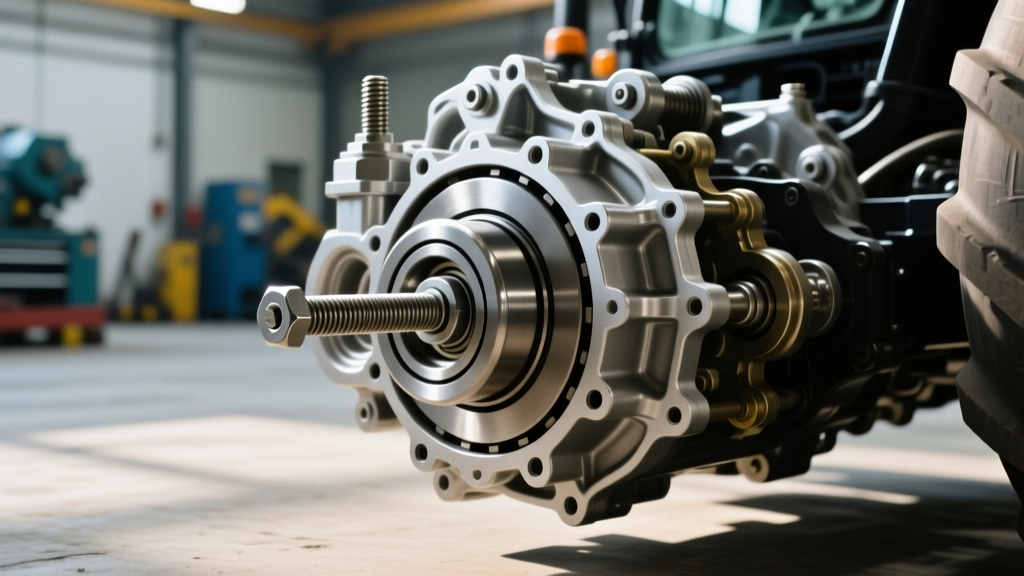
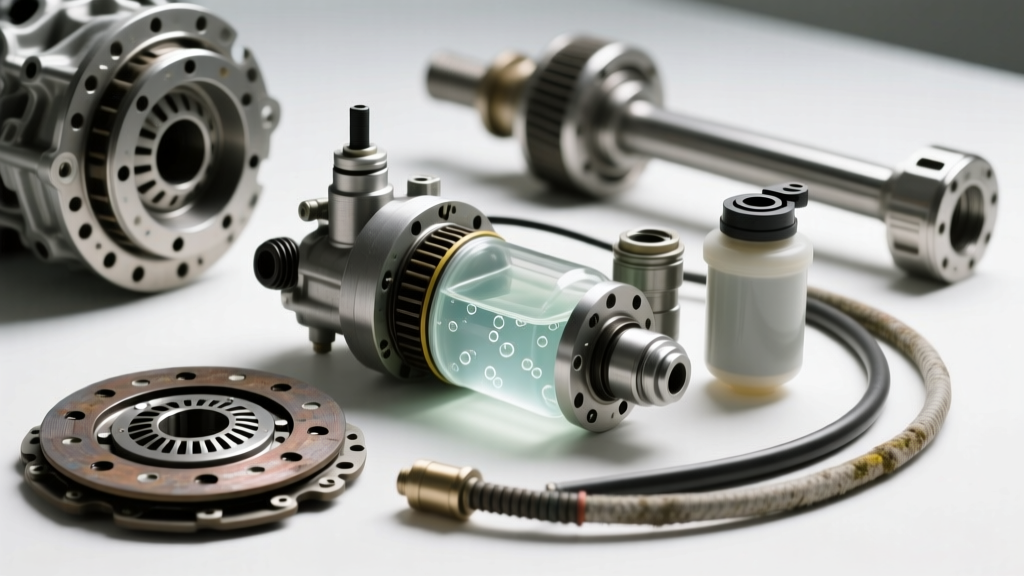
Trace the hard line from the firewall down to the rubber flex hose, and finally to the slave cylinder. For external slaves (common on GM LS platforms and older Honda/Acura models), check the rubber boot for leaks and ensure the pushrod moves freely. For internal Concentric Slave Cylinders (CSC), found in vehicles like the Porsche 997 or modern Ford Mustangs, you cannot visually inspect the slave without dropping the transmission. Instead, you must diagnose internal CSC failure by monitoring for fluid loss with no external puddles, accompanied by a sudden change in pedal engagement height.
Diagnostic Matrix: Matching Symptoms to Hydraulic Failures
Use the following diagnostic matrix to correlate your specific drivability symptoms with their underlying hydraulic causes.
| Symptom Category | Specific Symptom | Probable Hydraulic Cause | Verification Method |
|---|---|---|---|
| Feel | Spongy, Soft, or Inconsistent Pedal | Air ingress in the line, or degraded fluid boiling and creating vapor pockets. | Pump the pedal rapidly and hold; if it slowly sinks or feels 'mushy', perform a manual bleed to check for air bubbles. |
| Noise | Gear Grind on Downshifts or Reverse Engagement | Incomplete clutch disengagement due to low fluid volume or worn slave cylinder bore. | Measure slave cylinder pushrod travel. (e.g., Honda S2000 spec is ~14mm). If travel is short, the clutch is still dragging on the flywheel. |
| Noise | Whining or Release Bearing Chatter at Idle | Slave cylinder not fully retracting; blocked master cylinder compensation port. | Check the master cylinder pushrod free-play (spec: 0.5mm - 1.0mm). Lack of free-play keeps hydraulic pressure applied, riding the bearing on the diaphragm fingers. |
| Vibration | Pulsation or Chatter During Friction Engagement | Collapsed rubber flex hose acting as a check valve, or warped master piston causing hydraulic pulsation. | Have an assistant engage the clutch while you feel the hard line and flex hose. A ballooning or restricted hose will transmit rhythmic kickback to the pedal. |
| Feel | Pedal Sticking to the Floorboard | Blown slave cylinder seal, or severely degraded fluid causing internal master cylinder bypass. | Inspect under the car for fluid drips near the bellhousing. If dry, the master cylinder internal bypass seal has failed. |
Advanced Troubleshooting: Fluid Specs and Bleeding Protocols
When you determine that a fluid flush or system bleed is necessary, using the correct fluid and torque specifications is critical for long-term reliability. While DOT 3 is the factory fill for many economy vehicles, upgrading to a high-performance DOT 4 or DOT 5.1 fluid is highly recommended for performance driving or heavy towing.
Fluid Selection and Boiling Points
Never use DOT 5 (silicone-based) fluid in a standard hydraulic clutch system, as it is not hygroscopic and will trap water in localized pockets, causing severe internal corrosion. Instead, opt for a premium DOT 4 fluid like Motul RBF 600, which boasts a dry boiling point of 312°C (593°F) and a wet boiling point of 204°C (399°F). This provides a massive safety margin against vapor lock in high-heat bellhousing environments.
Precision Bleeding and Torque Specs
Air trapped in the slave cylinder is notorious for causing persistent spongy feel. When bleeding the system, adhere to the following mechanical specifications to avoid damaging soft brass or aluminum components:
- Bleeder Valve Torque: 8-12 Nm (7-11 lb-ft). Over-torquing an M7 or M8 bleeder screw will snap the head off inside the slave cylinder casting, requiring full replacement.
- Master Cylinder Firewall Nuts: 20-25 Nm (15-18 lb-ft). Ensure the mounting gasket is properly seated to prevent cabin fumes and leaks.
- Line Banjo Bolts: 25-30 Nm (18-22 lb-ft) with new crush washers.
For stubborn air pockets, particularly in systems where the slave cylinder sits higher than the master cylinder (common in some mid-engine and rear-transaxle layouts), use a pressure bleeder set to 15-20 PSI, or employ the 'reverse bleed' method using a syringe to push fluid from the slave bleeder up to the reservoir, forcing air upward against its natural buoyancy.
Cost Breakdown and OEM Component Replacement
If your diagnostic steps reveal that checking and bleeding the fluid hasn't resolved the noise or vibration, component replacement is required. Labor and parts costs vary wildly depending on whether your vehicle uses an external slave or an internal CSC.
- External Slave Cylinder: Parts range from $40 to $120 (OEM suppliers like Sachs, LUK, or Aisin). Labor is minimal, usually under $100, as it is mounted on the outside of the bellhousing.
- Internal Concentric Slave Cylinder (CSC): Parts range from $150 to $350. Because the CSC wraps around the transmission input shaft, the driveshaft, exhaust, and transmission must be removed. Expect labor costs between $600 and $1,200 depending on the vehicle (e.g., Porsche 997 or Nissan 370Z).
- Clutch Master Cylinder: $60 to $180 for the part. Labor is typically 1 to 2 hours, requiring under-dash panel removal and pedal pin extraction.
- Hydraulic Flex Hose: $25 to $60. If you diagnosed a collapsed hose causing engagement vibration, replace it with a braided stainless steel line for improved pedal firmness and longevity.
Expert Tips for Long-Term Hydraulic Health
To prevent future clutch diagnosis headaches, integrate the clutch reservoir into your standard brake fluid flush interval (every 2 years or 30,000 miles). Because the clutch feed line often draws from the lowest point of the shared reservoir, old, moisture-laden fluid tends to settle there. Furthermore, always verify that your aftermarket clutch pedal stop or over-center spring modifications are not over-extending the master cylinder pushrod, which is a leading cause of premature internal seal failure and subsequent gear-grind noise. For deeper dive tutorials on mechanical bleeding techniques, resources like the Haynes clutch bleeding guide offer excellent visual references for specific vehicle layouts.
By systematically checking the fluid condition, measuring hydraulic travel, and matching your specific vibration or noise symptoms to the matrix above, you can accurately diagnose clutch hydraulic failures before they leave you stranded or cause catastrophic damage to your transmission's synchronizers and gearsets.