The True Cost of a "Cheap" Coleman Mini Bike Clutch Replacement
You just spent a Saturday afternoon replacing the centrifugal clutch on your Coleman CT200U, BT200X, or KT196 mini bike. The old one was slipping, so you ordered a $25 replacement online, bolted it on, and hit the trails. But a week later, the new Coleman mini bike clutch is exhibiting the exact same symptoms—or worse, it's rattling, throwing the chain, or refusing to engage entirely. Welcome to the frustrating reality of post-replacement clutch failures.
As an automotive and small-engine transmission specialist, I see this scenario constantly. The root cause of post-repair clutch problems rarely stems from the bike itself; it stems from a combination of low-tier aftermarket metallurgy and critical installation errors. When we analyze clutch system diagnostics for 196cc OHV engines (the ubiquitous Honda GX200 clones powering most Coleman mini bikes), we must look beyond the initial parts receipt. A failed $30 clutch job can easily cascade into a $250 engine teardown if the crankshaft taper is damaged. Let's break down the exact failure modes, the diagnostic steps to identify them, and the real-world 2026 cost analysis of doing the job right the first time.
Common Post-Replacement Clutch Failures (And What They Cost to Fix)
When a newly installed clutch begins to fail within the first 10 to 20 hours of operation, it typically manifests in one of three distinct ways. Identifying the specific symptom is the first step in calculating your secondary repair costs.
1. Sheared Woodruff Key and Crankshaft Taper Gouging
The 196cc Coleman engine utilizes a tapered crankshaft output with a 3/4" bore. The clutch is secured by a center bolt and a 3/16" x 3/4" Woodruff key (often part number 10402). If the center bolt is not torqued to the exact specification of 14 to 18 ft-lbs with a medium-strength thread locker (like Loctite 242), microscopic lateral movement occurs during engagement.
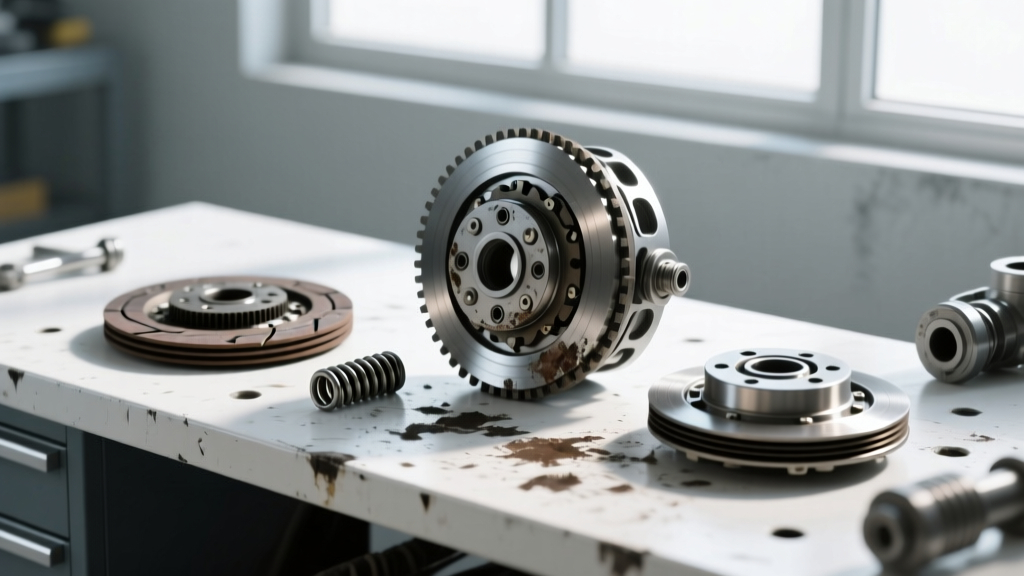
This wobble shears the Woodruff key instantly. If caught early, it is a $2 fix. However, if the rider continues to operate the bike, the hardened steel clutch bore will gouge the softer cast-iron crankshaft taper. Once the taper is scored, the new clutch will never seat flush again. You will be forced to replace the entire crankshaft ($45-$60) or purchase a complete 196cc short block assembly ($140-$180). According to Jacks Small Engines, crankshaft scoring is the number one cause of total engine replacement in mini bikes following a botched clutch swap.
2. Premature Shoe Glazing and High-RPM Slipping
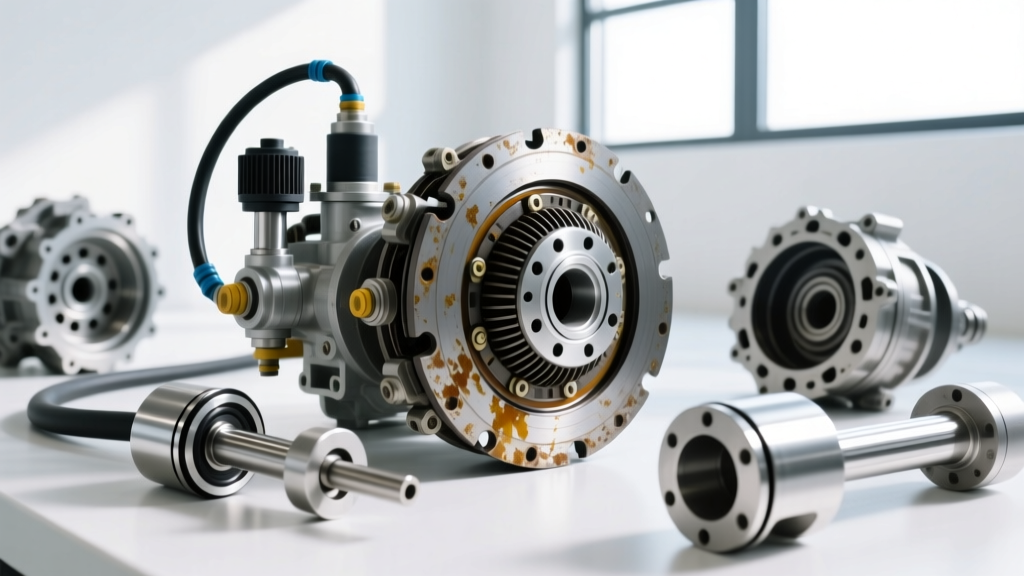
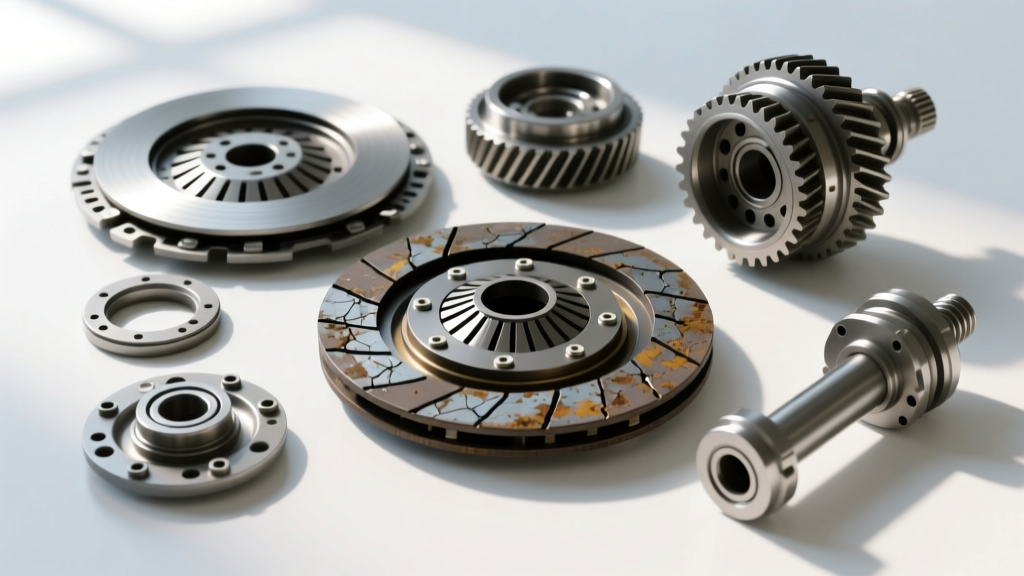
If your new clutch engages erratically or slips under load (like climbing a hill), the friction material has likely glazed over. Budget import clutches use low-density, asbestos-free composite shoes that cannot dissipate heat effectively. When the clutch slips during initial engagement, temperatures inside the drum exceed 400°F, melting the resin in the friction pads and creating a glass-like surface. Once glazed, the clutch will slip continuously, generating enough heat to warp the bell housing and destroy the internal snap rings.
3. Bell Housing Warping and Chain Derailment
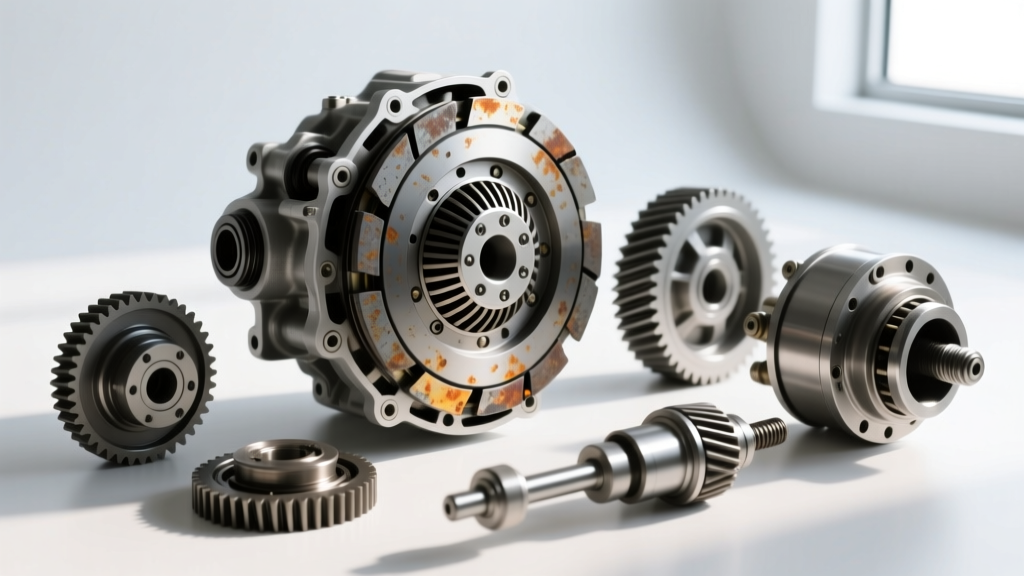
A post-repair symptom characterized by a loud metallic rattling at idle, followed by the #40, #41, or #420 chain jumping off the sprocket, points to a warped bell housing or improper chain alignment. Cheap stamped-steel bell housings lack the structural rigidity of cast-iron or billet aluminum alternatives. Under the torque of a modified 196cc engine, the housing flexes, pushing the 10-tooth sprocket out of parallel alignment with the rear driven sprocket. At 35 MPH, a derailed #420 chain can whip into the engine block, cracking the crankcase and resulting in a catastrophic $300+ failure.
2026 Price Breakdown: Generic vs. Premium Centrifugal Clutches
To avoid the hidden costs of post-repair diagnostics and secondary part replacements, you must invest in the correct component upfront. The table below outlines the current 2026 market pricing and performance metrics for the three main tiers of Coleman mini bike clutches.
| Clutch Tier | Brand / Example | Specs & Engagement | 2026 Avg. Price | Est. Lifespan |
|---|---|---|---|---|
| Tier 1: Generic Import | Amazon/eBay Unbranded | 3/4" Bore, 10T #420, 2200+ RPM | $22 - $28 | 50 - 100 Hours |
| Tier 2: OEM Standard | Coleman Powersports OEM | 3/4" Bore, 10T #420, 1800 RPM | $45 - $55 | 150 - 200 Hours |
| Tier 3: Premium Heavy-Duty | Hilliard Xtreme / Comet | 3/4" Bore, 10T #420, 1800 RPM | $85 - $115 | 500+ Hours |
While the Tier 1 clutch saves you $60 today, its unpredictable engagement RPM (often surging to 2500 RPM before catching) puts immense shock-loading on the drivetrain chain and rear sprocket. For serious riders or those running performance air filters and exhausts, the Hilliard Corporation's centrifugal clutch engineering data proves that precision-machined hubs and high-temperature Kevlar-reinforced shoes eliminate post-repair slip and dramatically extend drivetrain life.
Hidden Installation Costs: Where the Money Really Goes
When budgeting for a clutch replacement, the clutch itself is only half the equation. If you are experiencing post-repair issues, you likely skipped one of these critical, low-cost installation steps. Factor these into your 2026 repair budget:
- Thread Locker (Loctite 242 Blue): $8.00. Absolutely mandatory for the center clutch bolt to prevent vibrational backing out.
- Replacement Woodruff Keys (Pack of 5): $6.00. Always keep spares; they are easily lost in the grass during installation.
- Heavy-Duty #420 Chain (Master Link Included): $18.00 - $25.00. A worn chain will destroy a brand-new clutch sprocket in under 10 hours.
- Crankshaft End Puller Tool: $25.00. Prying a tight clutch off with a screwdriver will bend the clutch backing plate, guaranteeing future runout issues. Use a proper threaded puller.
- Dial Indicator & Magnetic Base: $35.00. Used to measure lateral runout on the installed bell housing. Anything over 0.015" of wobble indicates a bad clutch or a bent crankshaft.
Diagnostic Checklist: Did Your Mechanic (or You) Cut Corners?
If your Coleman mini bike is back in the garage with a suspect new clutch, run through this diagnostic sequence before throwing more money at the problem.
Expert Tip: Never diagnose a clutch issue without first checking the engine's rear crankshaft seal. A leaking main seal will spray 10W-40 engine oil directly onto the backside of the clutch drum. The oil seeps inside, contaminates the friction shoes, and causes massive slipping that mimics a defective clutch. Always inspect the engine block behind the clutch for wet, oily grime before condemning the new part.
Step 1: Verify Chain Alignment and Tension
Use a straight edge or a specialized laser chain alignment tool. The 10-tooth clutch sprocket must sit in the exact same plane as the rear axle sprocket. Furthermore, #420 chains require exactly 1/2" to 3/4" of vertical slack at the midpoint between the sprockets. Too tight, and you will destroy the clutch's internal bushing; too loose, and the chain will whip and derail under load.
Step 2: Inspect for Lateral Runout
Mount a dial indicator to the engine block and rest the needle on the outer edge of the bell housing. Spin the clutch by hand. If the housing wobbles laterally, the friction shoes will only make partial contact with the drum, leading to localized hot spots, glazing, and eventual failure. If runout exceeds 0.015", the clutch is defective and must be returned under warranty.
Step 3: Check the Driven Sprocket for Hooking
If your old clutch failed due to slipping, the resulting chain slack likely caused accelerated wear on the rear driven sprocket. Look closely at the teeth. If they are asymmetrical, sharp, or "hooked," the sprocket is acting like a file against your new clutch sprocket. Replacing the rear sprocket ($20-$30) is mandatory to protect your new clutch investment.
Final Thoughts on Drivetrain Economics
Diagnosing Coleman mini bike clutch problems after a repair almost always reveals a failure in installation protocol or a reliance on sub-standard metallurgy. By understanding the precise torque specs, alignment tolerances, and material differences outlined above, you can stop the cycle of repeated failures. Spend the extra $60 on a premium Hilliard or OEM clutch, use a torque wrench, and verify your chain alignment. In the world of small-engine drivetrains, doing the job right the first time is always cheaper than paying for the collateral damage of a $25 mistake.
For exact OEM part diagrams and torque specifications for your specific Coleman model, always consult the official Coleman Powersports resource center before turning your first wrench.